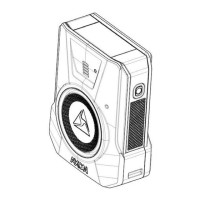
8 Secure the harness in the groove leading out of the mount.
9 Screw the metal clamp plate into place.
10 Ensure the wires are not covering the standoff that the cover screw goes into.
11 Place the outer plastic shell back onto the camera to cover the connections.
12 Screw the outer shell back in.
13 Install the #4 half-inch (12.7 mm) screw to secure the back cover.
Locate the Vehicle’s Electronics
The next step to installing the Axon Fleet system is locating the wiring for the vehicle.
The vehicle make and model will dictate where wiring is found. The installer will need to
locate the following wires:
1. Active Power
2. Ground
3. Ignition/ accessory
To easily access wiring, it may be helpful to remove the weather-stripping and door
seals near the wiring harness. It may also be helpful to remove any plastic interior that
easily snaps on and off below the A-pillar.
Running the Wiring Harness
Run the wiring harness to the Axon Fleet power unit the safest, most direct way.
Do not interfere with any lifesaving equipment.
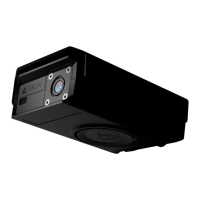
Step 3: Wiring the Power Unit
Be sure to observe appropriate safety protocols while working with vehicle electronics.
Axon Fleet Power Unit to Car
1 Confirm the mounting location.

 Loading...