For the rear camera, the installer should find a proper location, based on the particular
installation.
• For the rear camera, Installer can use Axon View XL to find the location that best
views the cage area.
• For proper adhesion, ensure the rear camera is mounted on a flat surface.
Axon Signal Vehicle Unit
For information on installing the Axon Signal Vehicle unit, refer to the Axon Signal
Vehicle Installation Manual.
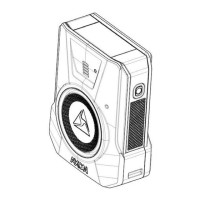
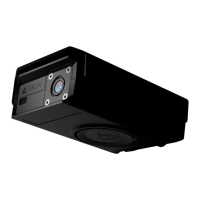
Step 2: Wiring the Axon Fleet Mount/Camera Unit
The Axon Fleet camera is a mounted camera that draws power from the Axon Fleet
power unit, and therefore they must be wired together.
1 Unscrew the outside shell of the Axon Fleet camera mount.
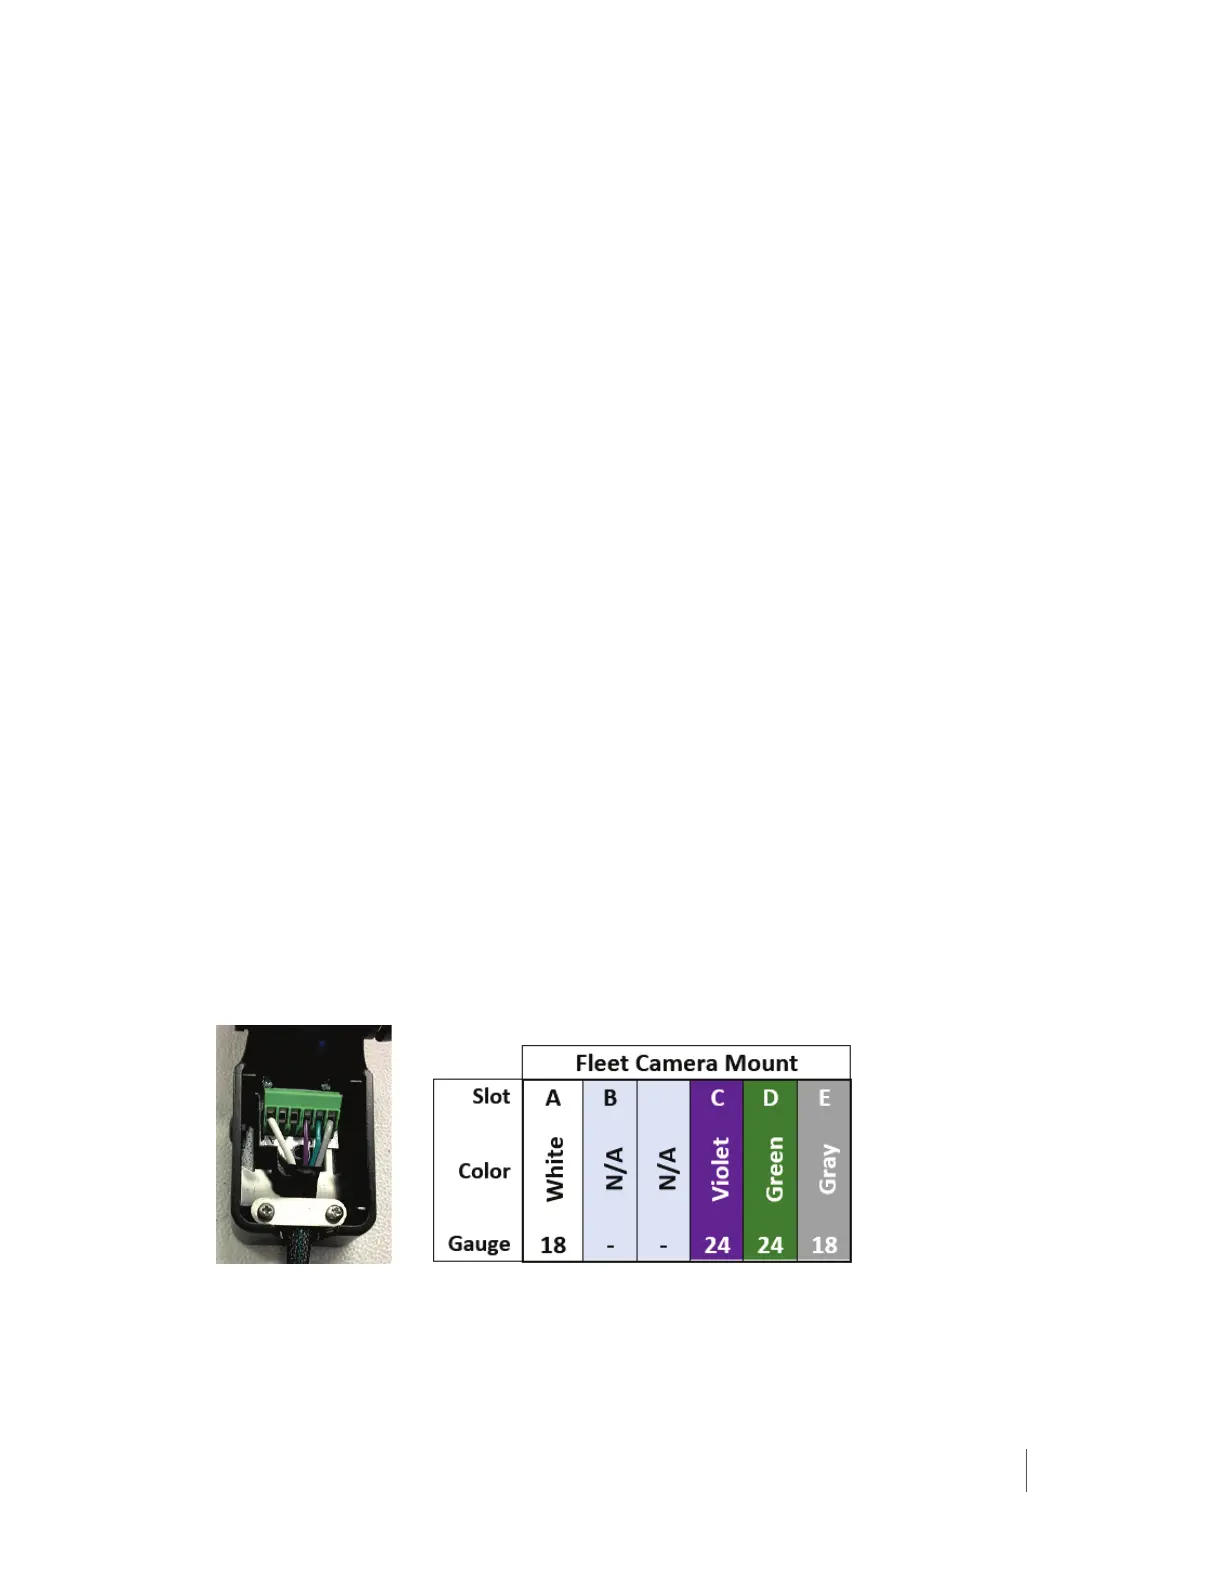
2 Use a small screwdriver to unscrew and raise the screws in the green camera
unit connector.
3 Locate the 18-foot (5.5 m) wiring harness.
Do not strip more than 0.25′′ (6.35 mm) of insulation from the wires.
4 Confirm the exposed part of the wires are not nicked.
5 Place the stripped wire ends into the connections in the correct slots.
• White – A
• Violet – C
• Green – D
• Gray – E
6 Tighten the appropriate screws to clamp down on the exposed wire ends.
7 Inspect the connector to confirm that:
• The wires are attached securely to the Fleet connector.
• No frayed wire strands are outside the cage clamps.

 Loading...