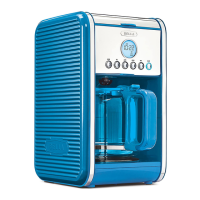
Para congurar la función de encendido automático, siga los pasos 1 al 5 de la página
anterior y lue
o continúe con los pasos que se especican a continuación:
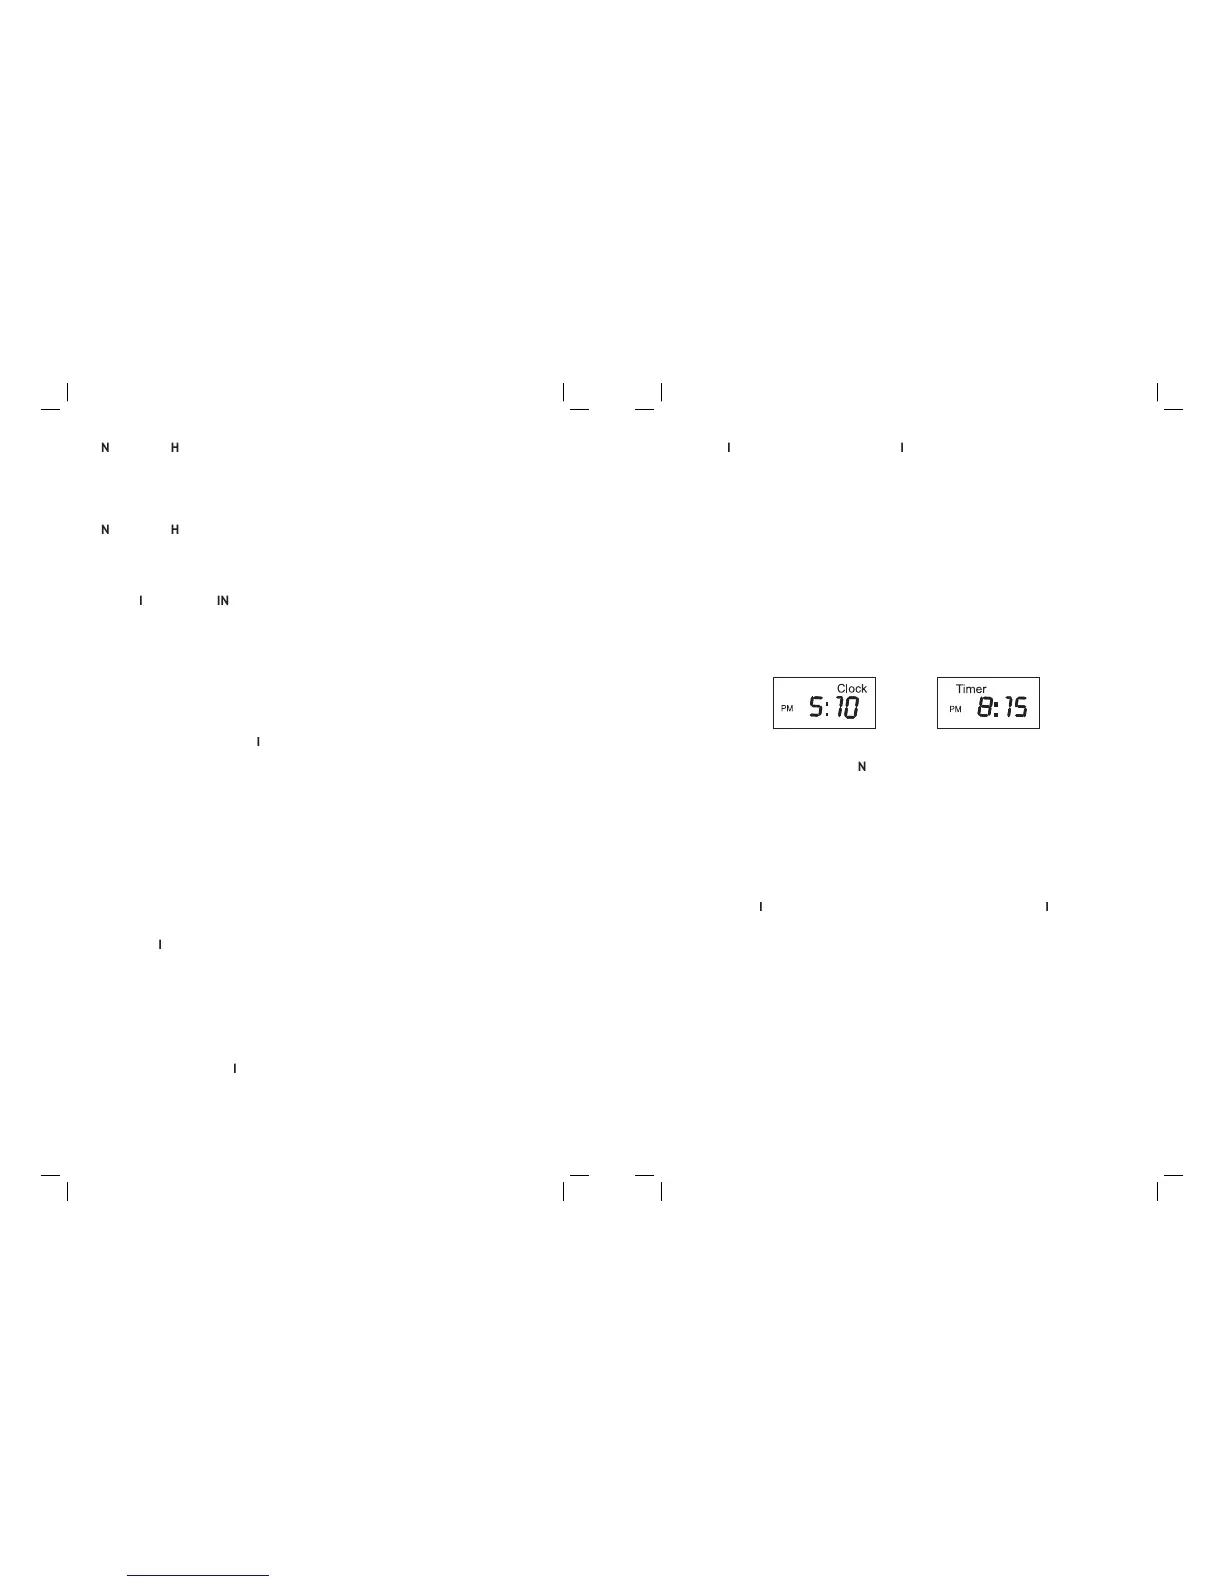
1. Presione
dos veces; el indicador AUT
se iluminará de color VERDE.
ongure la hora correcta con los botones H
OTA: el ciclo de tiempo es de 24 horas; la indicación de “AM”
, luego congure la hora autom
tica de encendido con los botones
H
A las 8:15 el indicador AUT
ará y el indicador RUN (EN FUNCIONAMIENTO) se iluminará de color azul. El
electrodoméstico comenzará a funcionar automáticamente. Una vez nalizada la infusión
TA: si la cafetera no se supervisa por m
s de dos horas una vez nalizada la infusi
Para preparar otra jarra de caf
y espere diez minutos para que el elemento
calentador se enfr
e. Retire y deseche los gr
; luego enjuague la jarra y la cesta
del ltro con agua y repita el procedimiento de infusi
IA: si no deja que el electrodom
e completamente antes de utilizarlo
uevamente, el agua que est
a recalentarse y provocar la emisi
a tener como consecuencia quemaduras y otros tipos de lesiones
a
tenga un sabor exquisito, es esencial que la cafetera est
a cafetera con regularidad, de la manera especicada en la secci
iempre utilice agua potable fr
. Almacene el café no utilizado en un lu
ar fresco y seco. Después de abrir un paquete de
café, vuelva a sellarlo herméticamente y
uárdelo en la heladera para mantenerlo fresco.
. Para que el sabor del caf
ptimo, compre granos de caf
lalos en
granos nos inmediatamente antes de hacer la infusión.
o vuelva a utilizar posos de caf
ran medida el sabor del caf
o se recomienda recalentar el caf
, ya que tiene mejor sabor reci
ie la cafetera cuando el exceso de extracción favorezca la
otitas de aceite sobre la supercie del café ne
ro preparado se deben a la extracción
de aceite de los
. Esto puede producirse con ma
recuencia si se utilizan variedades de
caf
OTA: Para obtener un funcionamiento ó
timo, la unidad deberá lim
This product has a polarized plug
one blade is wider than the other
. To reduce the risk of
electric shock, this plug will t in a polarized outlet only one way. If the plug does not t fully
into the outlet, reverse the plu
. If it still does not t, contact a qualied electrician. Never use
ith an extension cord unless plu
can be fully inserted. Do not alter the plu
The provided short power-suppl
cord (or detachable power-suppl
cord) should be used to
reduce the risk resultin
er cord. Do not use
an extension cord with this product. Always plu
directly into a wall outlet/receptacle
To prevent Plasticizers from mi
to the nish of the counter top or table top
or other furniture,
lace NON-PLASTIC coasters or
the counter top or table top. Failure to do so may cause the
the electrical circuit is overloaded with other appliances, your appliance may not operate
roperly. It should be operated on a separate electrical circuit
Do not use a cracked cara
e with a l 1. oose or weakened handle.
2. This carafe is desi
ned to be used only on the warmin
plate of your Coffee Maker
Do not use in a conventional oven.
. To avoid breakage, handle carafe with care. Avoid impact.
lass will break as a result o
impact. Use care when lling with water to avoid hitting faucet
. Do not set empty carafe on a hot heating surface. Do not clean with steel wool pads,
abrasive cleanser, or an
. Do not bump or scratch the cara
urning or scorching. Never operate the
offee Maker with a carafe that has boiled dry.
. Discard carafe if it is cracked, scratched, or heated while empt
A 5-oz.cup is the American industr
anufacturers. To ll your favorite over-sized mu
, ll Coffee Maker reservoir with enou
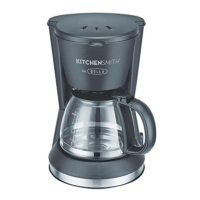
KET
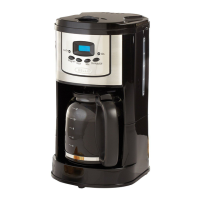
The permanent coffee lter basket takes the place of disposable paper lters. Simpl
ermanent coffee lter basket into the removable lter basket holder. Unfold and use handle to
lift basket of used coffee
rounds up and out of the Coffee Maker; fold handle down to close
 Loading...