. Push reservoir lid forward to o
en and ll the water reservoir with the correct amount o
ater as indicated on the water
2. Ensure that lter and lter basket are properl
shake the lter basket to distribute the coffee evenl
lose water reservoir lid and place the carafe on the warm plate.
. Plug the power cord into a standard 120V A
electrical outlet and press the
the RUN Indicator will be illuminated blue.
The appliance will be
You can take out the cara
e, pour and serve at any time. The appliance will stop
. Do not open water reservoir lid when the coffee maker is operatin
. You can take out carafe, pour and serve when nish brewing
about one minute after the
coffee stops dripping out.
et will be less than the water you have input, as some water is
absorbed by the co
ety, be sure to cover the lid o
. To keep the coffee warm, return the carafe to the warmin
FF button twice to turn off the appliance; the RUN indicator li
ill go out. Unplug the power cord
rom the electrical outlet when the appliance i
t unattended, or when the cara
o set the automatic start function, follow steps 1 to 5 of the previous page, and then
indicator will be illuminated
REEN.
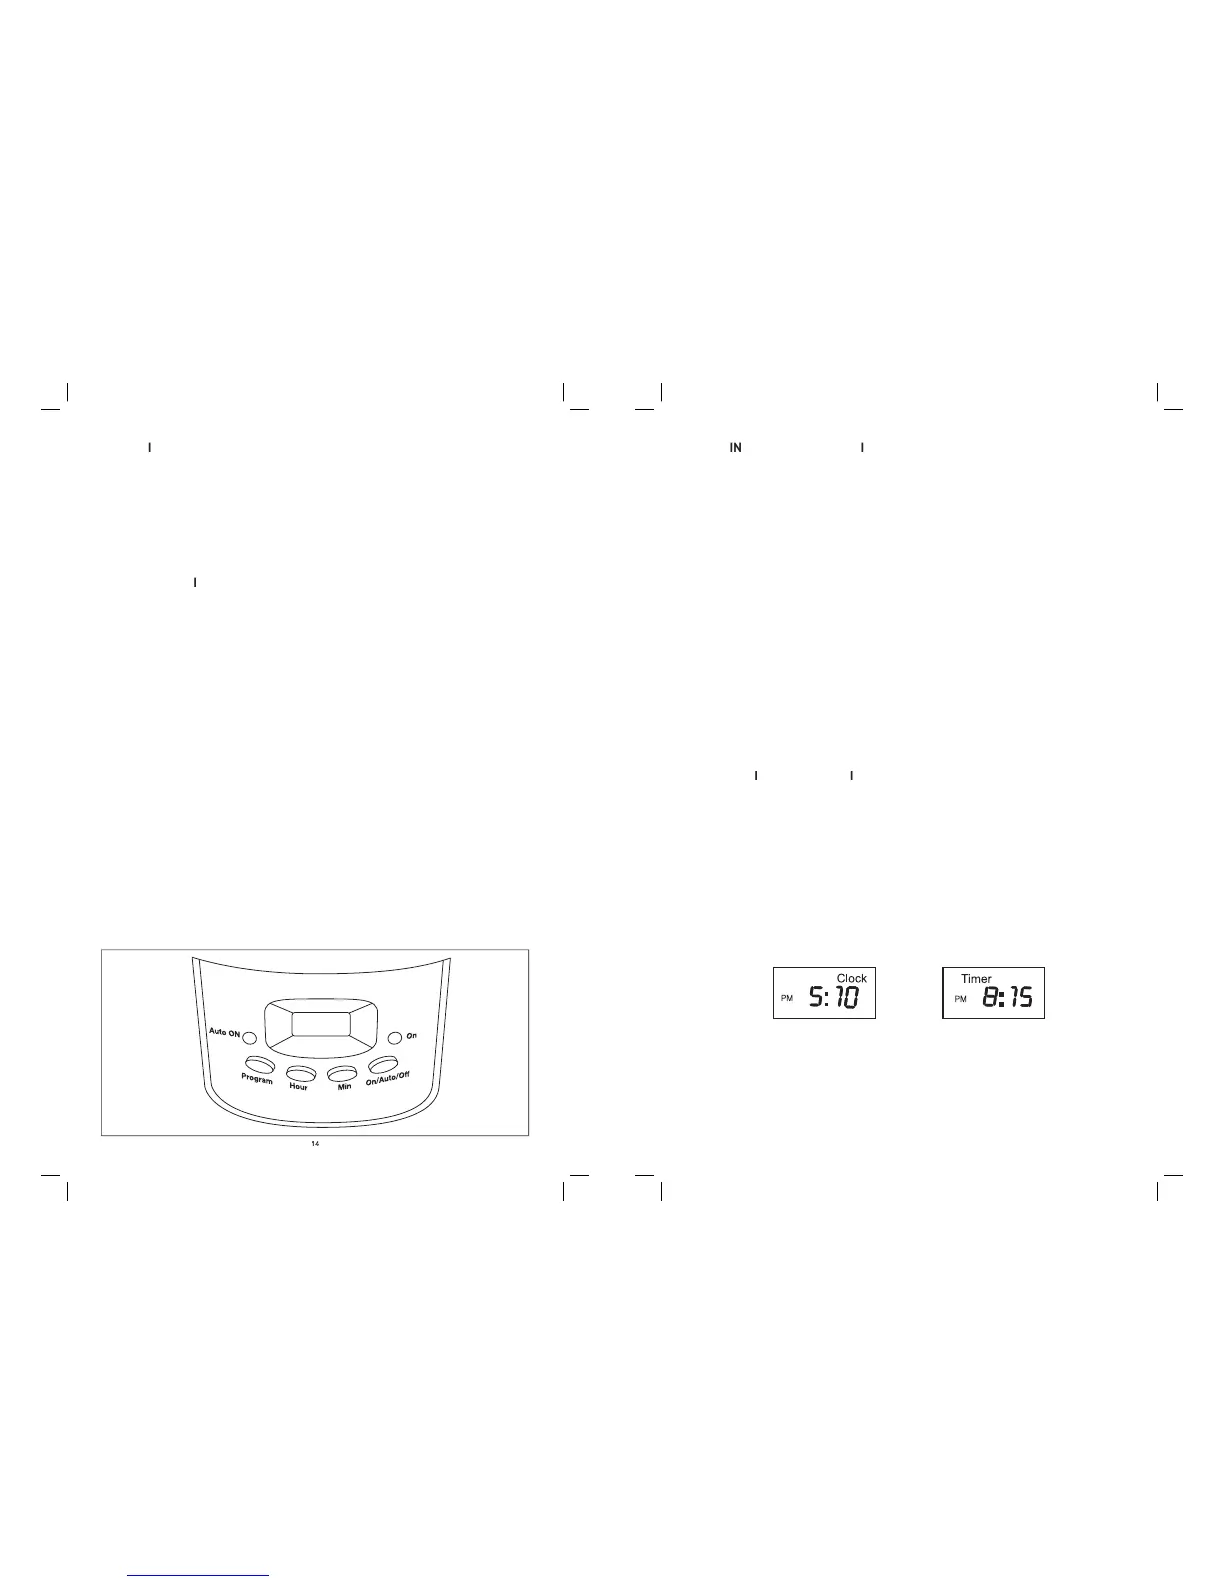
2. Press PROG button; the LCD will display CLOCK. Set the current time by pressin
the
HOUR and MIN. (See Fi
. Press PROG button, the LCD will displa
TIMER, then set the automatic start time b
the HOUR and MIN. (See Fi
ure 4.) At 8:15 PM the AUTO indicator will be
extin
uished, and the RUN Indicator will be illuminated blue. The appliance will start
automatically. A
If the coffee maker is left unattended for two hours after brewing, it will shut off
automaticall
afetera para 12 tazas: 12 tazas
TA: Una taza de 5 onzas es el est
ndar industrial en los Estados Unidos
es el que utilizan
la mayor
a de los fabricantes de cafeteras. Para llenar su taza extra grande favorita, llene el
depósito de la cafetera con agua suciente para 3 a 4 tazas (de 15 a 20 onzas).
ADVERTEN
NO RETIRE LA CUBIERTA INFERIOR. NO HAY PIEZAS QUE PUEDAN SER
REPARADA
La canasta del ltro de caf
permanente reemplaza a los ltros de papel desechables.
implemente coloque la canasta del ltro de caf
permanente en el soporte de la canasta del
ble. Levante el mango y util
celo para retirar la canasta con los posos del caf
de la
cafetera; baje el mango para cerrar la tapa del dep
D con luz de fondo: si la cafetera di
enchufada en un
tomacorriente de CA de 120 V, el indicador LCD se iluminará con luz azul. A
e hora futura de preparación AUTO (automática). Reloj di
i presionado una vez:
la cafetera encender
i presionado dos veces: la
afetera estará en el modo Automático y comenzará a preparar café cuando la hora pre
rogramada sea igual a la hora actual.
i presiona tres veces: apagar
nelo primero para congurar la hora actual del reloj
ital. Presiónelo nuevamente para pro
ramar la hora de preparación automática.
Después de la preparación, presione el botón PROG (Pro
Tiempo desde la preparaci
nelo para ajustar el tiempo en horas del
reloj di
ramación para la función de preparación AUTO (Automática).
a presionado el botón para avanzar rápidamente.
nelo para ajustar el tiempo en minutos
a presionado el botón para avanzar rápidamente.
 Loading...