18 | Installation US
Copyright6 720 646 951 (2011/09)
4.6 Starting up
4.6.1 Checking for leaks and purging air
B Verify all circuit breakers supplying power to the
water heater are turned off.
B Open all hot water taps supplied by the water heater
and inspect all water connections for leaks.
B With all hot water taps still open, inspect each tap to
ensure all air in the lines has been purged out.
B With the air purged and taps still flowing, turn on all
circuit breakers supplying the water heater.
B Close all hot water taps and proceed to the next
section.
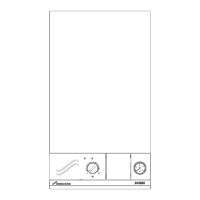
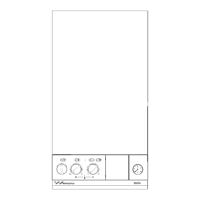
4.6.2 Adjusting the temperature dial
B The temperature adjustment is made using the dial on
the bottom edge of the unit. The adjustment is
between approximately 95 °F and 131 °F. Turning the
dial clockwise increases the temperature setting as
indicated by the marking on the unit.
4.6.3 Adjusting the flow
B Open fully both inlet and outlet shut-off valves at the
heater, then:
B Turn on fully the highest flowing hot water faucet
(e.g., bathtub) served by the water heater.
B Adjust the outlet shut-off valve until the water flow
rate from the hot faucet corresponds to the value
given in Fig. 11 below.
Fig. 11
For example:
• For the WH17 unit, using the outlet ball valve, ensure
the flow rate does not exceed 2.3 gallons/minute.
• For the WH27 unit, using the outlet ball valve, ensure
the flow rate does not exceed 3.5 gallons/minute.
These figures are based on an inlet water temperature of
55 °F and a supply voltage of 240 volts. If the inlet water
temperature is lower than 55 °F, or if the supply voltage
is less than 240 volts, then the outlet temperature will be
lower than what is shown in Fig. 11. If a higher outlet
water temperature is desired, then reduce the flow rate
and/or supply the unit with 240 volts.
 Loading...