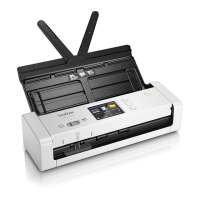
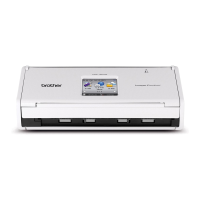
Scan from the Control Panel of the Machine
126
4
Scan Using Scan to Network Profiles 4
a Load your document.
b Press d or c to display to Network.
c Press to Network.
d Press a or b to choose one of Network server profiles listed.
If the LCD prompts you to enter a PIN number, enter the 4-digit PIN number for the profile on the LCD.
Press OK.
Do one of the following:
If the Scan to Network profile is complete, go to g.
If the Scan to Network profile is not complete, go to e.
e Press Options.
f Choose the settings for 2-sided Scan, Scan Type, Resolution, File Type, Document Size,
Auto Deskew, Skip Blank Page and User Name as needed. Press OK.
If you want to save the settings as a shortcut, press Save as Shortcut.
g Press Start.
The LCD shows Connecting. When the connection to the Network is successful the machine starts the
scanning process.
Save Scanned Documents on Your Computer 4
Scan to PC (USB Connect) 4
(ADS-1100W)
If you have set up the machine using the wireless network method with the installation DVD-ROM and a
USB cable, you need to set up the machine using the USB interface method (see the Quick Setup Guide)
to display the Scan to PC Settings button in the ControlCenter application and to use the Scan to PC
(USB Connect) feature.
a Start the ControlCenter application.
Windows
®
1 Click the (ControlCenter4) icon in the task tray and then select Open from the menu.
The ControlCenter4 window will appear.
 Loading...
