17
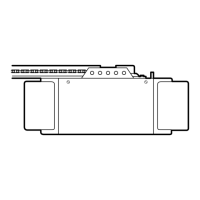
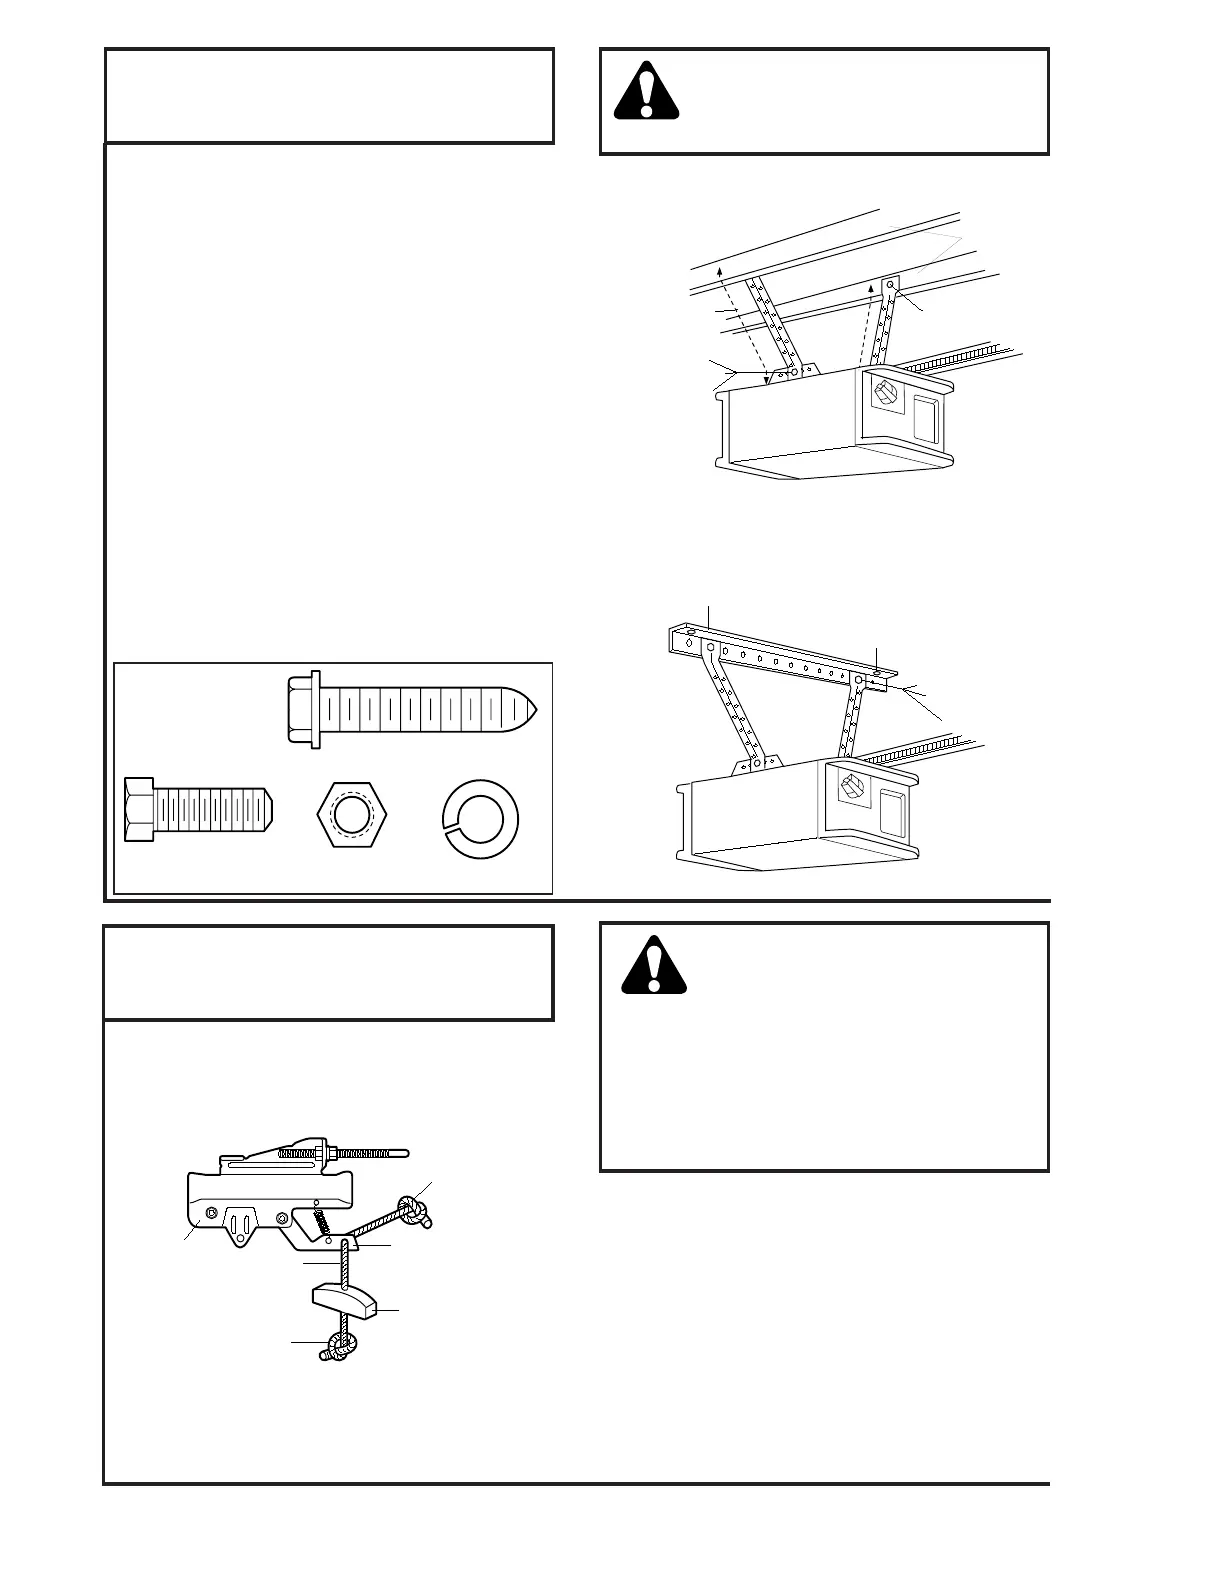
Figure 1
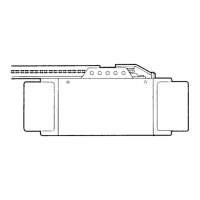
Figure 2
Two representative installations are shown.
Yours may be different. Hanging brackets should
be angled, Figure 1, to provide rigid support. On
finished ceilings, Figure 2, attach a sturdy metal
bracket (not supplied) to structural supports before
installing opener.
• Measure the distance from
each
side of the
opener to structural support.
• Cut both pieces of the hanging bracket to required
lengths.
• Drill 5mm pilot holes in the structural supports.
• Attach one end of each bracket to a support with
5/16"-9x1-5/8" lag screws.
• Fasten the opener to the hanging brackets with
5/16"18x7/8" lag screws, lock washers and nuts.
• Check to make sure T-rail is centered over the
door.
• Remove the 25mm board. Operate the door
manually. If door hits the rail, raise the header
bracket.
INSTALLATION STEP 6
Attach Manual Release Rope & Handle
Do not use the red handle to pull the door
open or closed.
The rope knot could
become untied and you could fall.
Use the
manual release only to disengage the
trolley and, if possible, only when the door is closed.
Garage doors are heavy. If the door is open when the
handle is pulled, the door could close inadvertently if
it is not properly balanced. Serious injury may result
to persons under the door. Make sure the doorway is
clear of persons and obstructions before pulling
handle when door is open.
• Thread one end of rope through hole in the top of
red handle so "NOTICE" reads right side up as
shown. Secure with an overhand knot.
The knot should be at least 25mm from the end of
the rope to prevent slipping.
• Thread other end of rope through hole in release
arm of outer trolley.
• Adjust rope length so that handle is 1.8m above the
floor. Secure with an overhand knot as above.
If it is necessary to cut the rope, heat seal cut end
with a match or lighter to prevent fraying and/or
unraveling.
 Loading...