500-9030v3.3
Welcome Alarm Status
Admin
Reference
29
5)
Then, select
Yes
to delete the user,
or select
Cancel
if
you changed your mind.
6)
To return to the main screen (log out), press
the (
) key a few times, or let the system
time-out (1 minute).
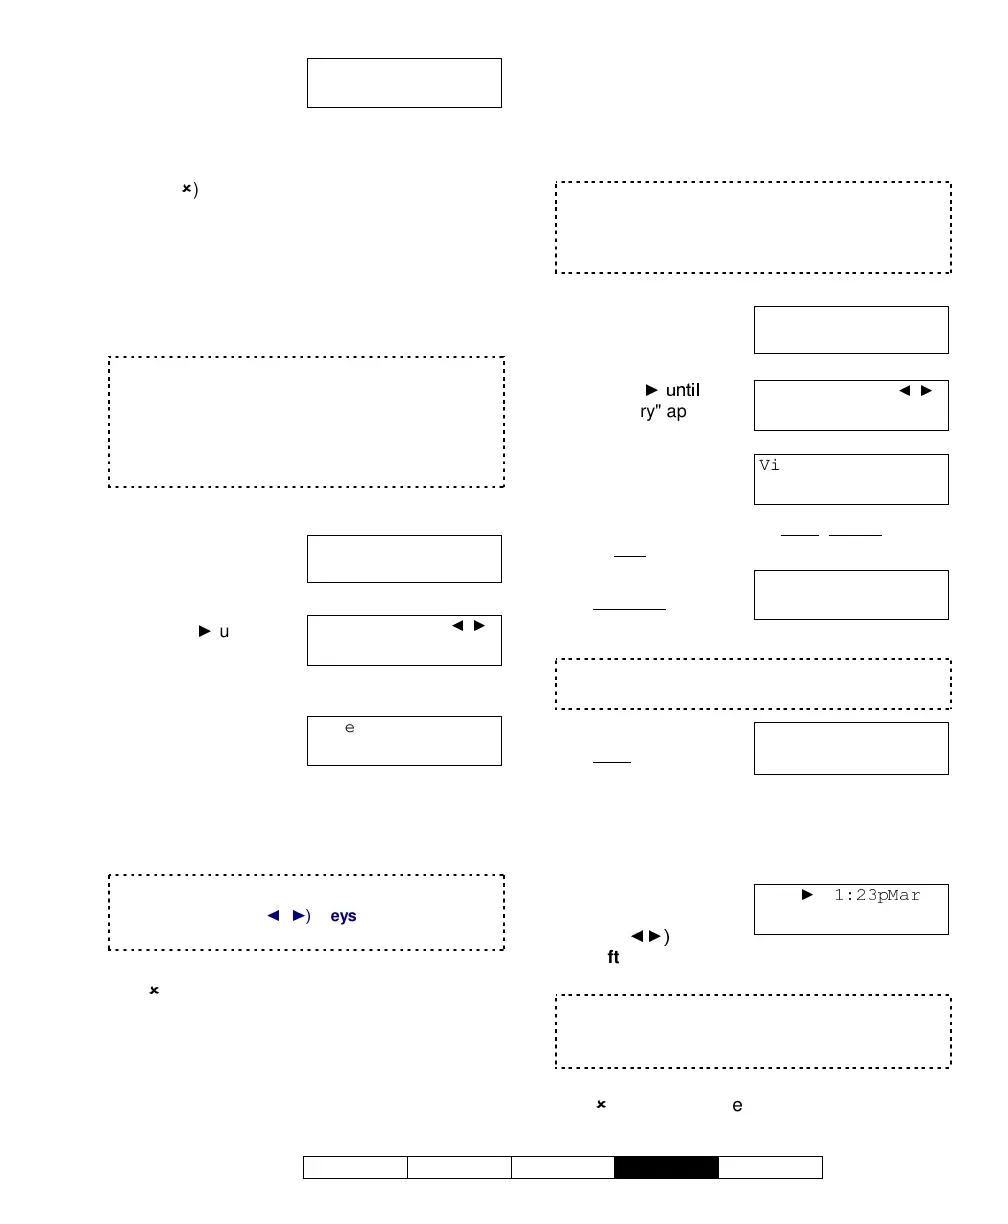
Setting the Date and Time
The panel date and time can be set through an
LCD keypad if necessary.
"Service Test" authority is required to set the date
and/or time.
For a reference of the dates to automatically switch
between standard time and daylight-savings time,
refer to "Holidays and Time-Change Dates" (in the
Reference section).
Steps:
1)
Enter your user ID
and/or PIN to log
into the keypad.
2)
Press
until
"Time" appears,
and then select
Time
.
3)
Enter current
Date and Time.
Watch the flashing cursor as you enter the
year, month, day, hours, and minutes (2 digits
each).
When finished, select
Ok
.
Enter the hours as 00-23 (24-hr. clock).
You can use the (
keys
to scroll back or
forward within the date or time if needed.
To return to the main screen (log out), press
the (
) key a few times, or let the system time-
out (1 minute).
Viewing the History
All activity that occurs in the system can be
viewed one event at a time. This includes
area/door activity, as well as the tasks that
users have performed at a keypad.
Depending on your system type and licensing, up to
65
536 events will be recorded.
Viewing an area's history requires authority for that
area.
Steps:
1)
Enter your user ID
and/or PIN to log
into the keypad.
2)
Press
"History" appears.
Select
History
.
3)
Select
All
for a
complete list, or
Category
for
history pertaining to an Area
, Condo keypad,
or Application module (e.g., HSC).
4)
If you selected
Category, select
your desired topic
(such as by
Area
).
If you selected "All" the area or other item associated
with each event will be shown on-screen.
5)
If you selected by
Area
, the arming-
level for the first
area will be shown, and you can select:
•
Hist:
Shows the log of events for the
displayed area;
•
Next Area:
Jumps to the next area.
6)
To cycle through
the History press
the (
right or
left arrow
keys. For more details about
this event select
"..."
.
Press either key to continue viewing the History.
"T/L" next to the time indicates that the date/time had
not been set when the event occurred.
To return to the main screen (log out), press
the (
) key a few times, or let the system time-
out (1 minute).
Del?
↓
Yes
↓Cancel
Welcome
Enter ID: _
_
_
Menu Options
↓Test ↓
Time
Date YY-MM-DD
Time HH:MM ↓Ok
Welcome
Enter ID: _
_
_
Menu Options
↓Bypass ↓
History
View History of:
↓All ↓Category
View History of:
↓Area ↓Condo ↓App
AreaName.....Off
↓Hist ↓Next Area
xxx
Event ...↓
 Loading...