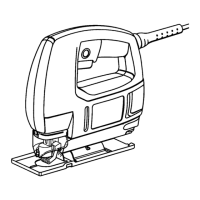
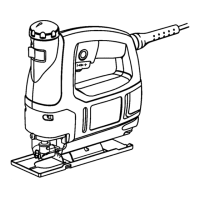
TOINSTALLOPTIONALFLUSHCUTTING
BLADES
See Figures 15 and 16.
Flushcuttingblades should be used when making
close or flush cutsto the wails,
• Unplug your saw.
_i, WARNING: Failure to unplug your saw could
result in accidental starting causing possible
serious injury.
• Usinga screwdriver,loosen base pivotscrew and
rotate base 180° as shownin Figure 15.
• Slide base all the way to the rear ofsaw.
• Set the cuttingangle at 0°. To set, adjust base until
0° markon scale alignswith the partingline
locatedon the front of the motor housing.
• Tighten base pivotscrew securely.
CENTERNOTCH
INBASE
SLIDEBASE CLAMPPLATE
TOTHEREAR
EASE
PIVOTSCREW
BASE
SCREWDRIVER Fig. 15
TO INSTALL:
See Figure 16.
• Inthe blade clamp, loosenthe blade screw infront
blade slotand insertflush cuttingblade as faras
possibleintoslot.
• Tighten bladescrew securely.
Note: The holes in the saw blades were notdesigned
for alignmentwiththe screw hole in the blade clamp.
BLADE
CLAMPViEW
FROMBo'rr0M
INSTALL
BLADEIN
FRONTSLOT
BLADE I
BLADE
CLAMP
Fig. 16
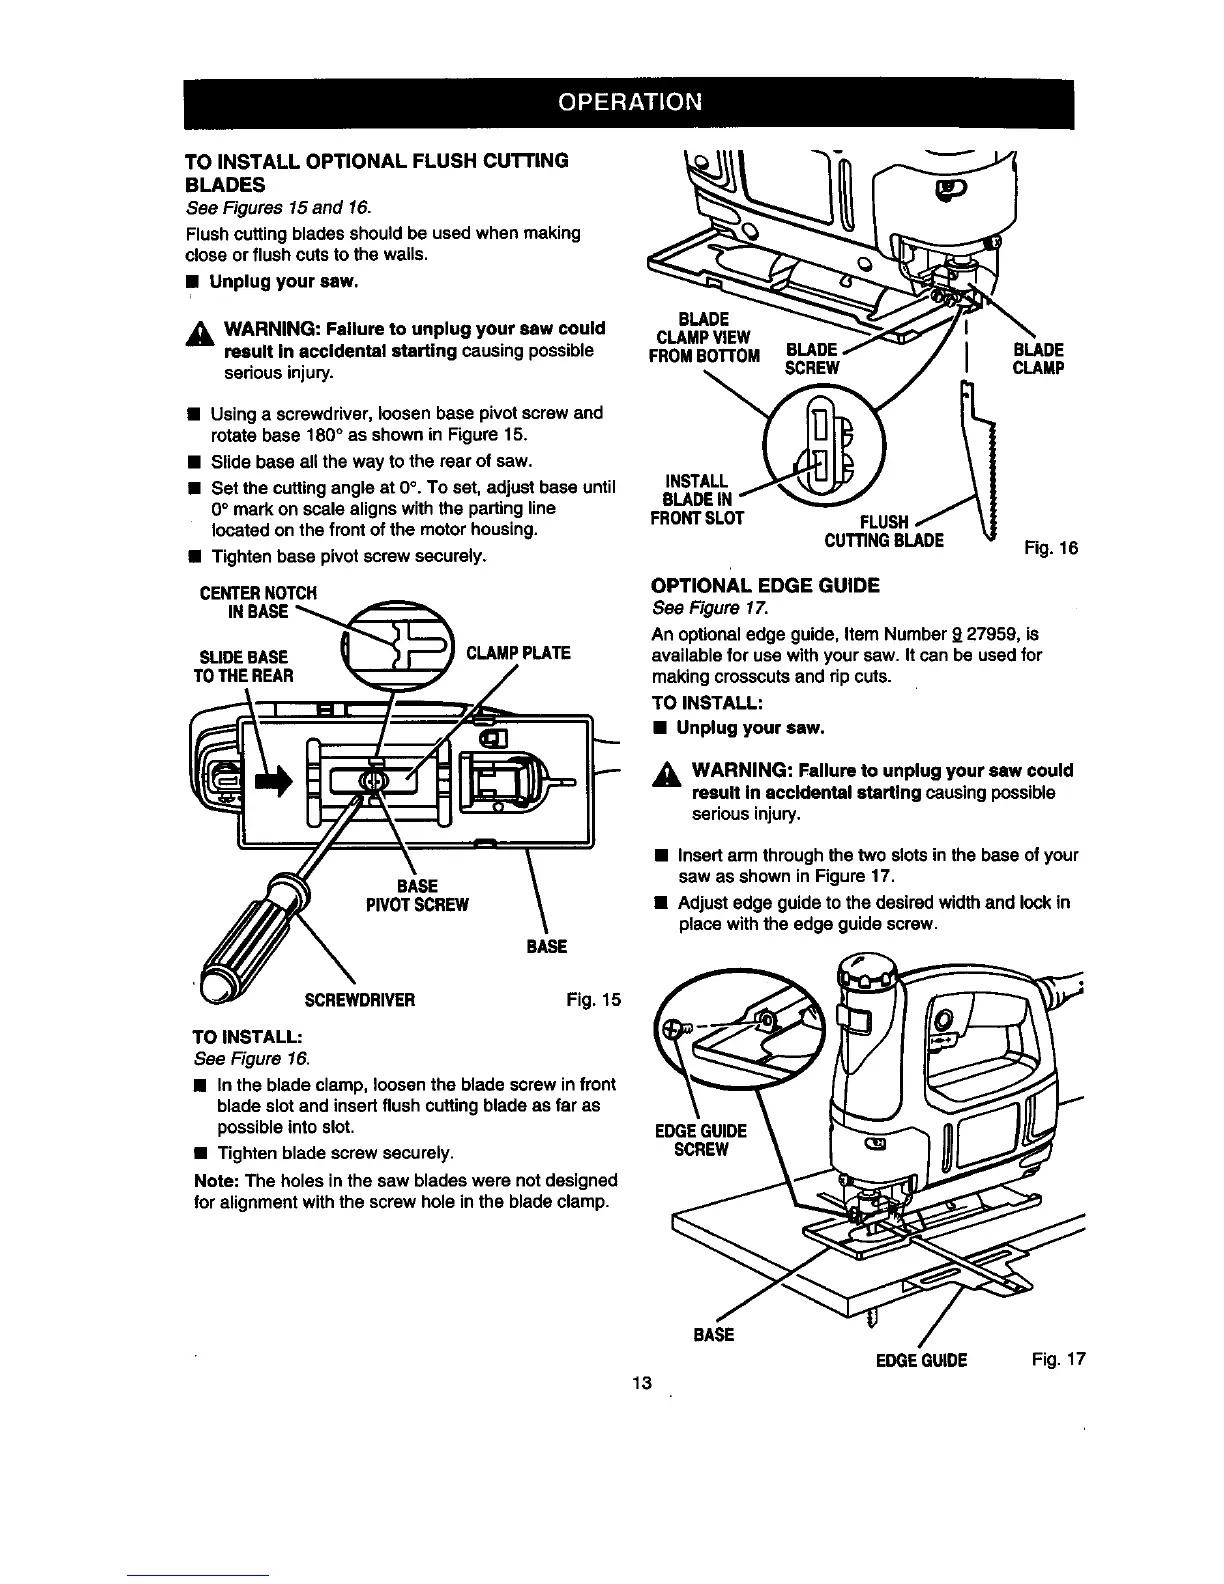
OPTIONAL EDGE GUIDE
See Figure 17.
An optionaledge guide, Item Number 9 27959, is
availablefor use withyoursaw. It can be usedfor
makingcrosscutsand ripcuts.
TO INSTALL:
• Unplug your saw.
_1, WARNING: Failure to unplug your saw could
result in accidental starting causingpossible
seriousinjury.
• Insertarm throughthe two slotsin thebase of your
saw as shown in Figure17.
• Adjustedge guideto the desiredwidthand lockin
place withthe edge guidescrew.
==Jj
EDGEGUIDE
SCREW
BASE
EDGEGUIDE Fig. 17
13
 Loading...