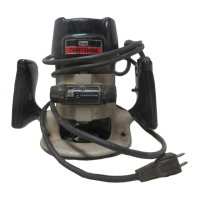
Yoursawhasbeenshippedcompletelyassembled
exceptfortheblade,inspectitcarefullytomakesure
nobreakageordamagehasoccurredduringshipping.
Ifanypartsaredamagedormissing,contactyour
nearestSearsretailstoretoobtainreplacementparts
beforeattempting to operate saw. A blade, vacuum
attachment,and thisowner'smanual are also
included.
,_ WARNING: If any parts are missing,do not
operatethis tool untilthe missingparts are
replaced.Failuretodo so could resultin possible
seriouspersonal injury.
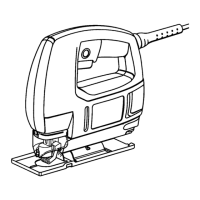
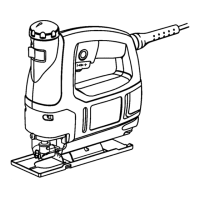
TWO BLADE SLOTS
Your saw has been designedwith two blade slots. For
general cutting,making straightcuts, anglecutting,
plungecutting, or splinter-freecutting,or when using
a flush cuttingblade, installblade inthe front slot. For
scrollcutting,installblade in the backslot.
_i, WARNING: To avoidpossibleserious injury,
alwayswear safetygoggles or safety glasses
with side shields.Keep hands and fingersfrom
betweenthe motorhousingand blade clampand
do notreach underneathwork whileblade is
cutting.
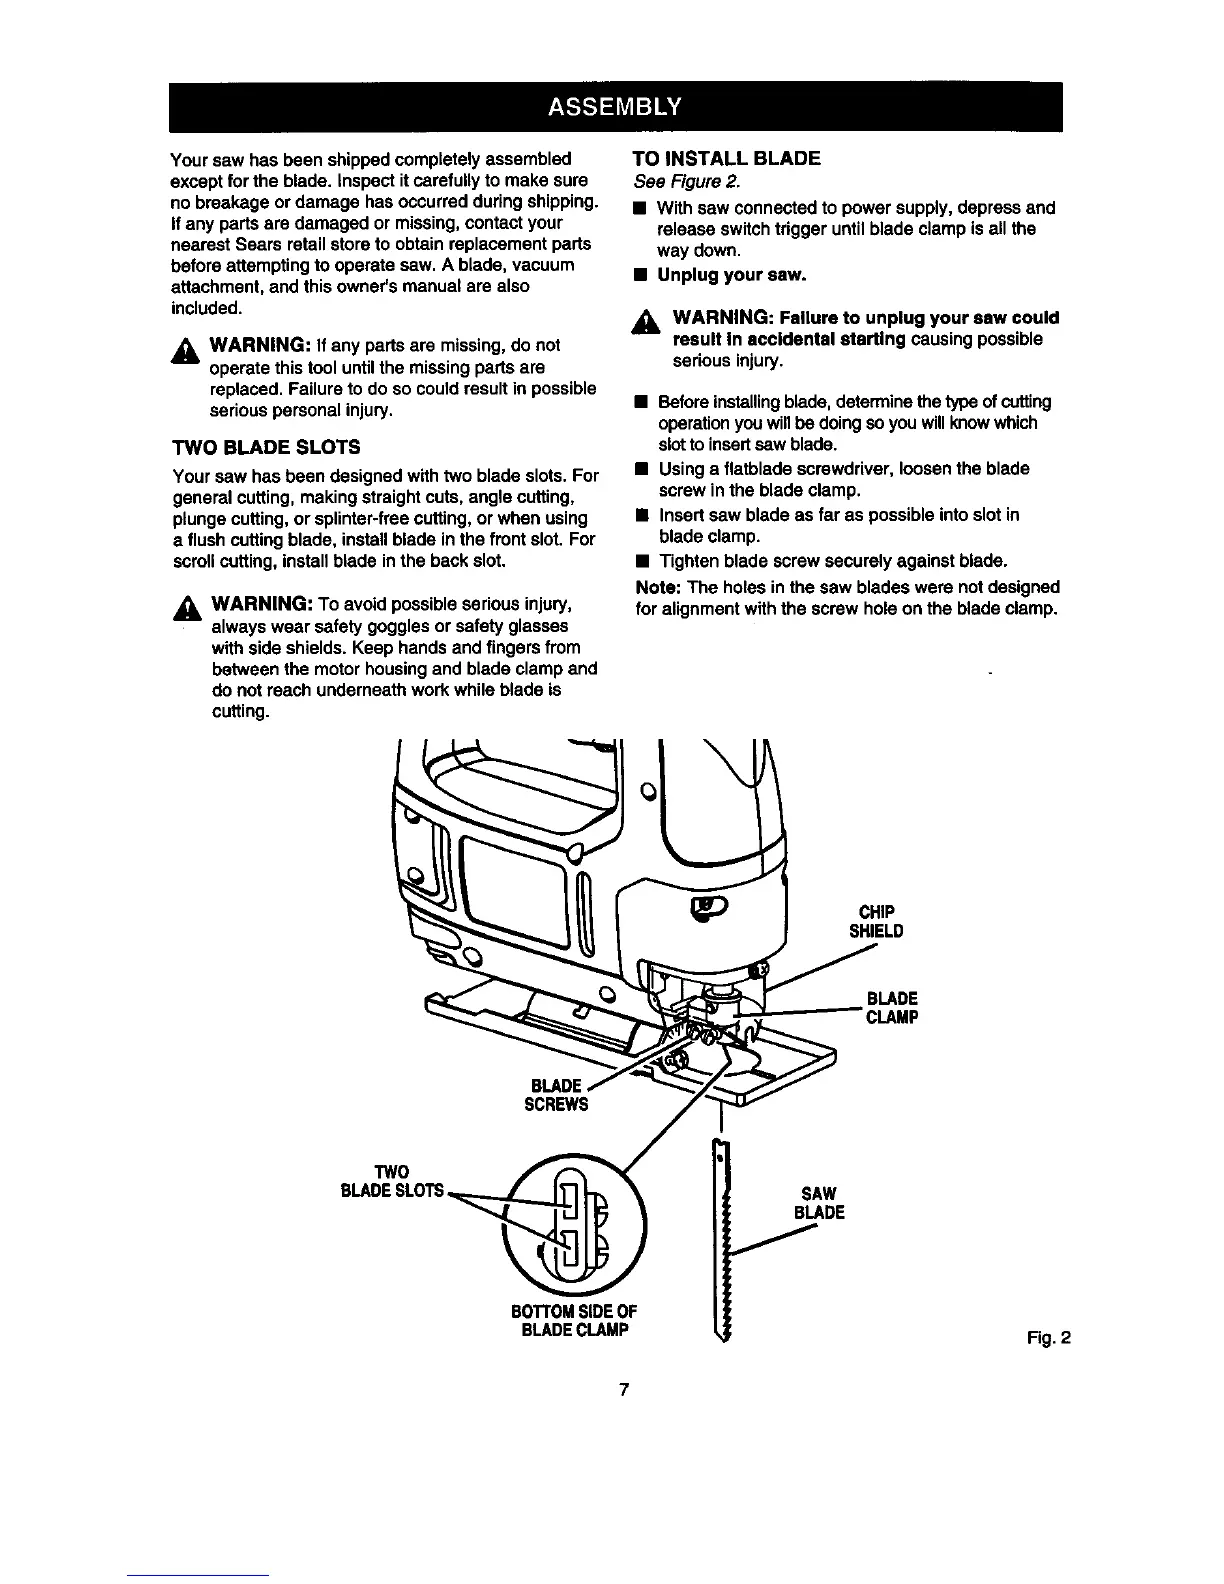
TO INSTALL BLADE
See Figure2.
• With saw connectedto power supply, depress and
release switchtrigger untilbladeclamp is all the
way down.
• Unplug your saw.
_, WARNING: Failure to unplug your saw could
result In eccldental atertlng causing possible
seriousinjury.
• Beforeinstalling blade,determinethetype of cutting
operation youwillbe doingsoyou willknowwhich
slotto insertsaw blade.
• Using a flatbladescrewdriver,loosenthe blade
screwin the blade clamp.
• Insert saw blade as far as possibleinto slot in
blade clamp.
• Tighten blade screw securelyagainst blade.
Note: The holes inthe saw blades were notdesigned
for alignmentwith the screw hole on the bladeclamp.
_) CHIP
SHIELD
BLADE
CLAMP
SCREWS
TWO
BLADESLOTS
BOTrOMSIDEOF
BLADECLAMP
SAW
BLADE
Fig. 2
7
 Loading...