finishing startup, phone will show greeting, current date and time and so forth.
4. If phone has registered to the server, you can place or answer calls.
2.2 Basic Initialization
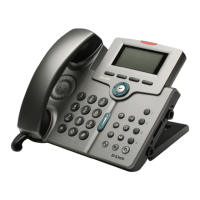
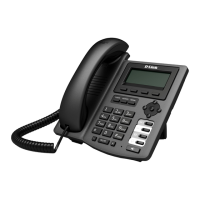
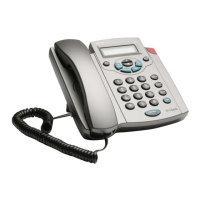
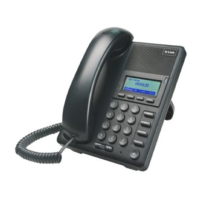
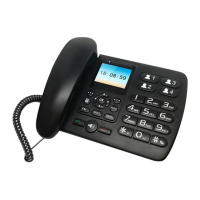
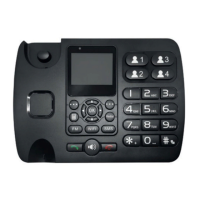
DPH-400S/DPH-400SE is provided with a plenty of functions and parameters
for configuration. User needs some network and VoIP knowledge so that user
could understand the meanings of parameters. In order to make user use the
phone more easily and convenient, there are basic configurations introduced
which is mandatory to ensure phone calls.
2.2.1 Network settings
Make sure that network is connected already before setting network of phone.
DPH-400S/DPH-400SE uses DHCP to get WAN IP configurations, so phone
could access to network as long as there is DHCP server in it. If there is no
DHCP server available, phone has to be changed WAN network setting to Static
IP or PPPoE.
Setting PPPoE mode (for ADSL connection)
1. Get PPPoE account and password first.
2. Press Menu->Settings->Advanced Setting, then enter passwords, and choose
network ->WAN->Net Mode, enter and choose PPPoE through navigation keys
and press the Save key.
3. Press Quit, then choose PPPoE Set, press Enter.
4. The screen will show the current information. Press Del to delete it, then input
your PPPoE user and password and press Save.
5. Press Quit six times to return to the idle screen.
6. Check the status. If the screen shows “Negotiating…” it shows that the phone
is trying to access to the PPPoE Server; if it shows an IP address, then the phone
has already get IP with PPPoE.
Setting Static IP mode (static ADSL/Cable, or no PPPoE / DHCP network)
1. Prepare the network’s parameters first, such as IP Address, Net mask,
Default Gateway and DNS server IP address. If you don’t know this information,
please contact the service provider or technician of network.
2. Press Menu->Settings->Advanced Setting, then enter passwords, and choose
network ->WAN->Net Mode, enter and choose Static through navigation keys
and press the Save key.
3. Press Quit, then choose Static Set, press Enter.
4. The screen will show the current information, and then press Del to delete.
Input your IP address, Mask, Gateway, DNS and press Save to save what you
input.
 Loading...