 Loading...
Do you have a question about the Dell Latitude 7400 and is the answer not in the manual?
| Processor | 8th Generation Intel Core i5/i7 |
|---|---|
| Graphics | Intel UHD Graphics 620 |
| Operating System | Windows 10 Pro |
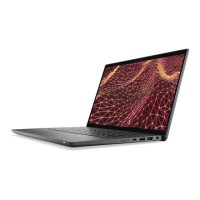
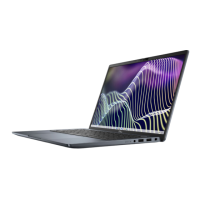
| Display | 14.0-inch FHD (1920 x 1080) |
| RAM | Up to 16GB DDR4 |
| Storage | Up to 1TB PCIe NVMe SSD |
| Weight | 1.36 kg (3.0lbs) |
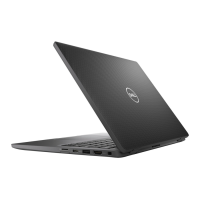
| Ports | HDMI 1.4, microSD card reader |
| Wireless | Bluetooth 5.0 |
| Webcam | 720p HD camera with dual array microphones |