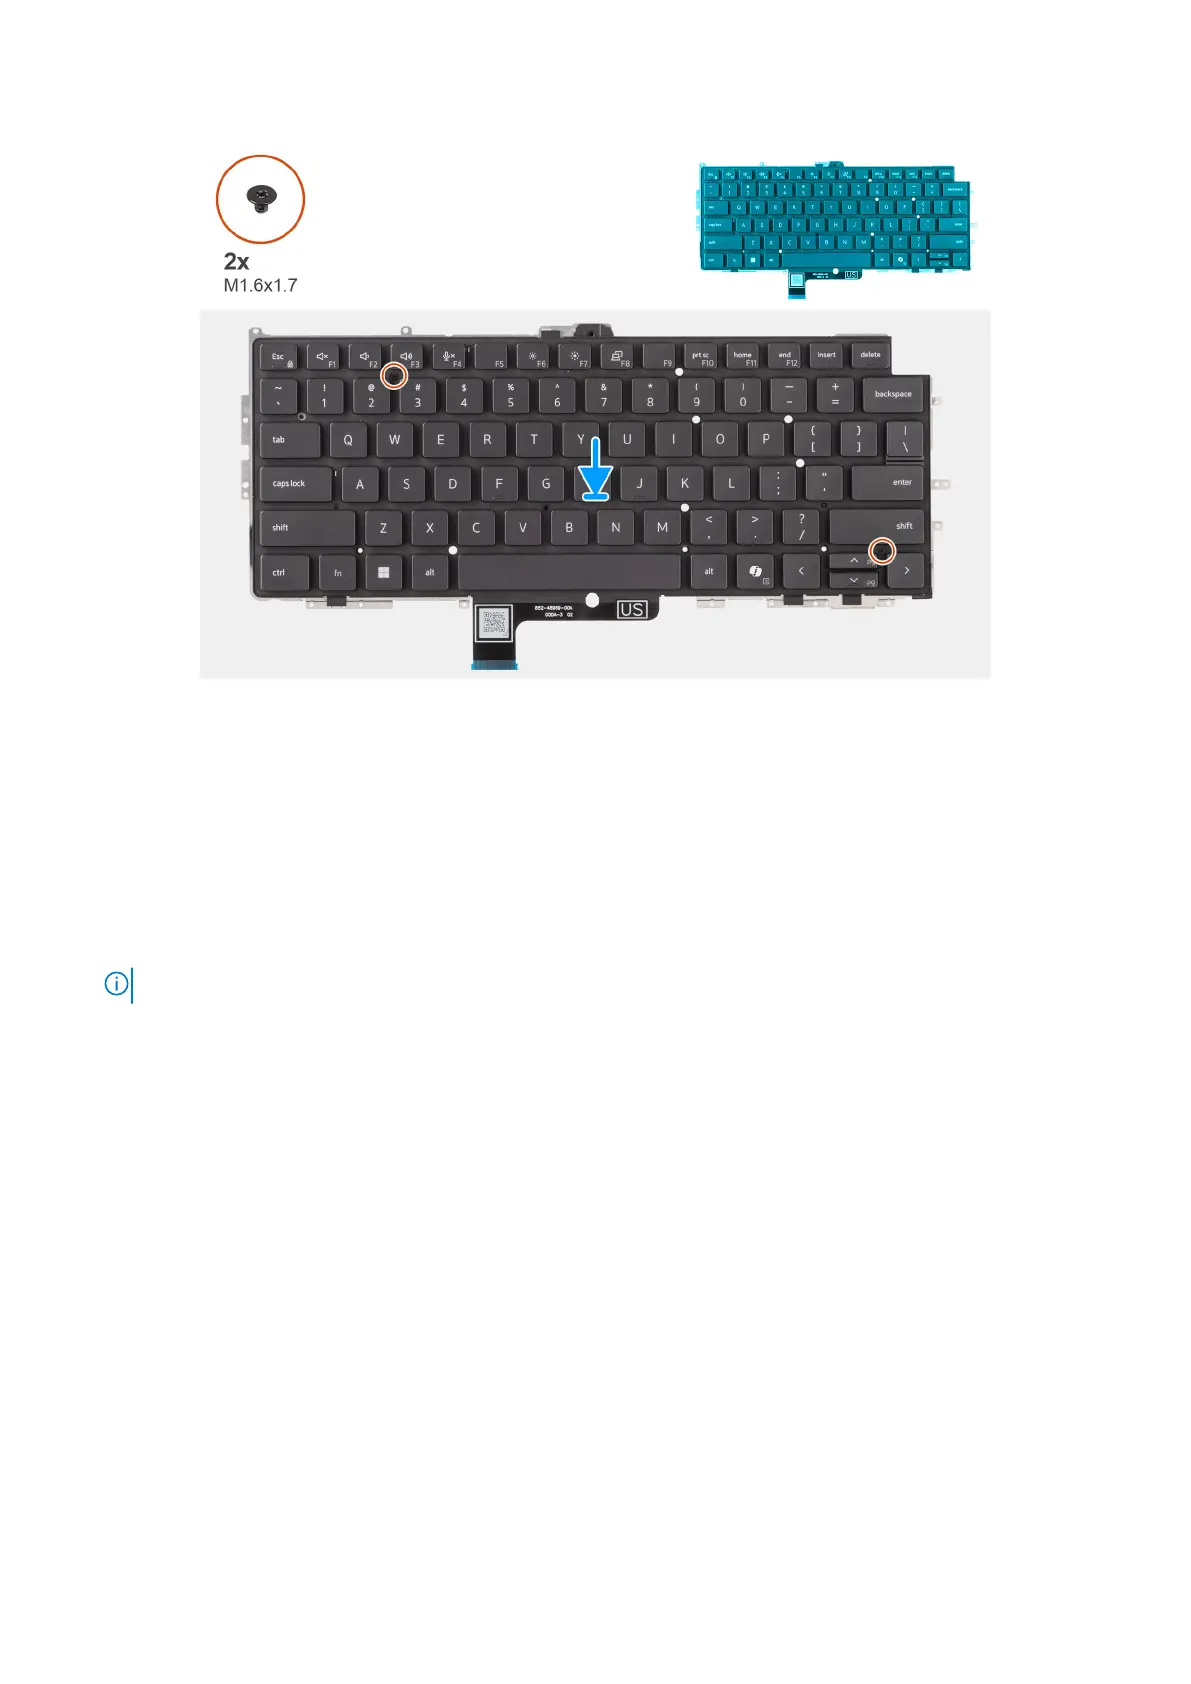
Figure 82. Installing the keyboard
Steps
1. Align the screw holes on the keyboard to the screw holes on the keyboard support plate and place the keyboard on the
keyboard support plate.
2. Replace the two screws (M1.6x1.7) that secure the keyboard to the keyboard support plate.
3. Align and place the keyboard assembly in to its slot in the computer.
4. Replace the nineteen screws (M1.6x1.7) and six screws (M1.6x1.4) securing the keyboard assembly to the computer.
5. Connect the keyboard and keyboard backlight flat cable to the back of the click pad.
6. Adhere the USH daughterboard flexible flat cable to the back of the keyboard.
NOTE: This step applies only to computers shipped with a USH daughterboard installed.
For Latitude 7450, when replacing the keyboard from the keyboard bracket, first re-adhere the bracket's mylar tape from
the bottom side of the keyboard.
110
Removing and installing Field Replaceable Units (FRUs)
 Loading...


