NOTE: You may have to unlatch and lift the optional cable management arm if it interferes with the power-
supply removal. For information about the cable management arm, see the system’s rack documentation.
4. Open the system.
5. Disconnect all the power cables from the power supply to the system board, hard drives, and optical drive.
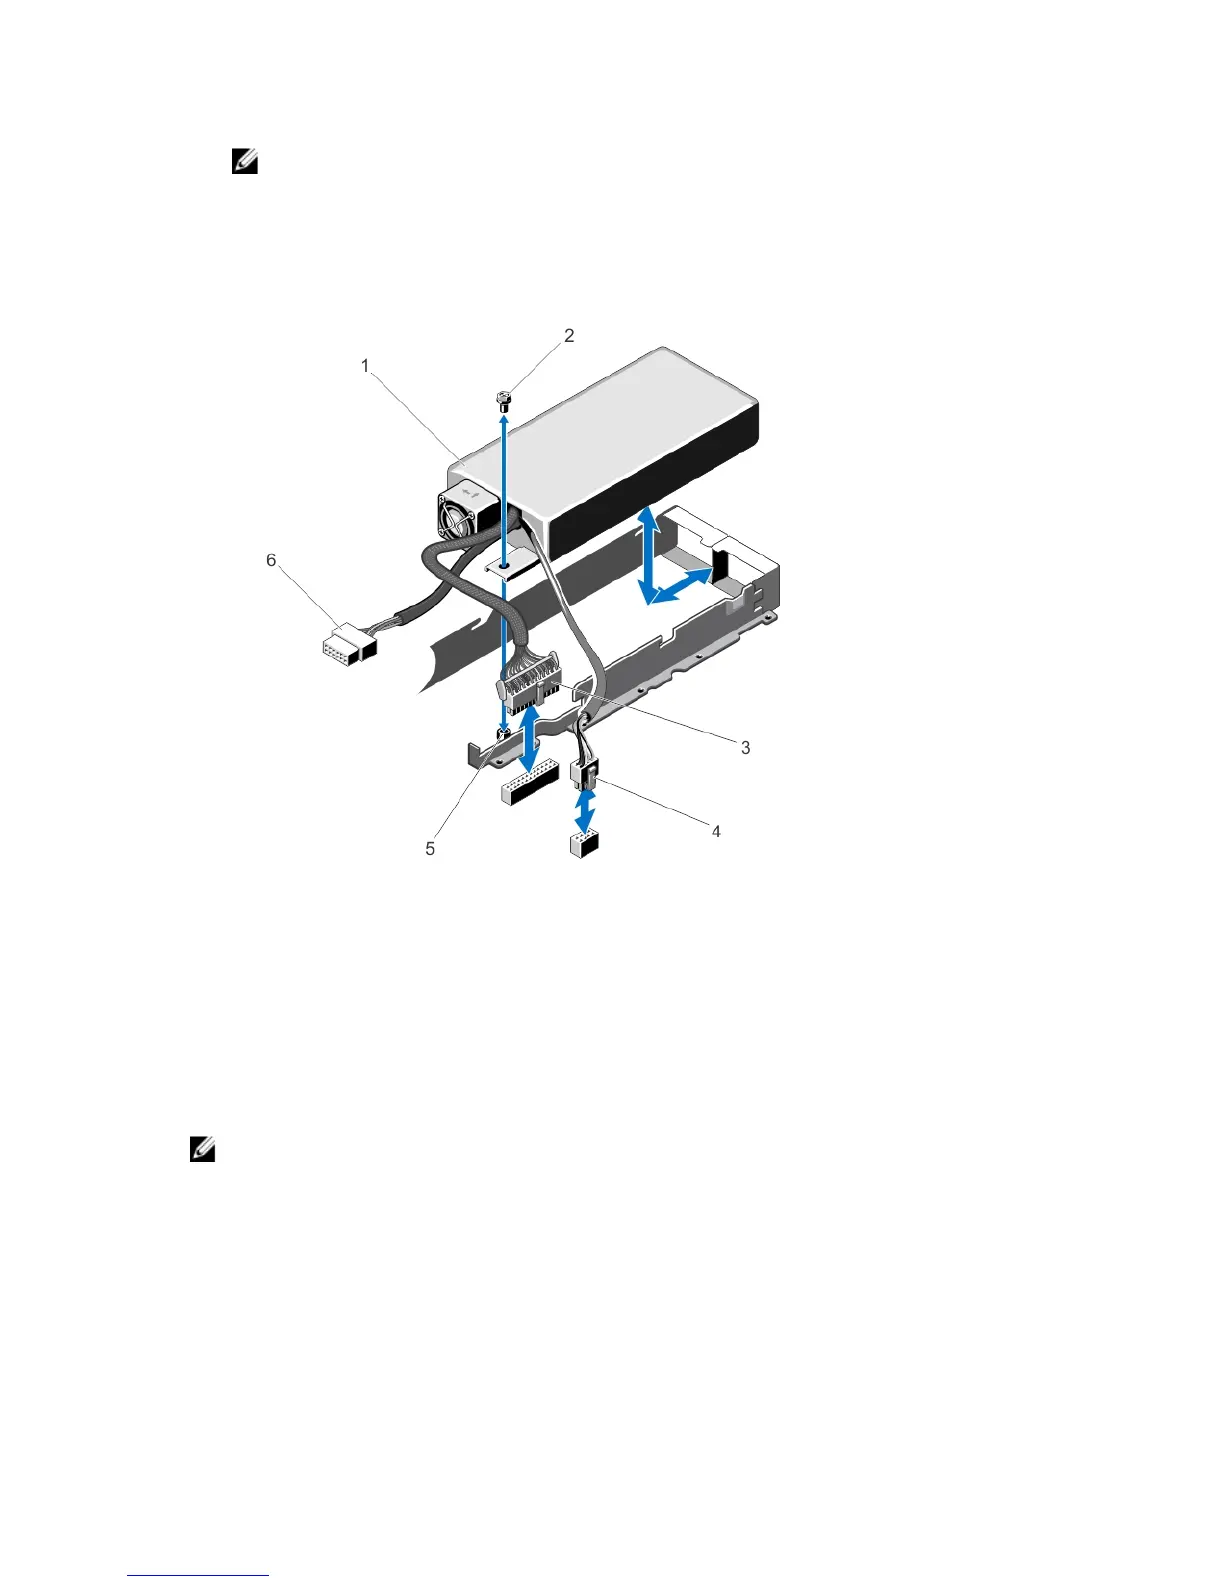
6. Remove the screw securing the power supply to the chassis, slide and lift the power supply out of the chassis.
Figure 41. Removing and Installing a Non-Redundant Power Supply
1. power supply
2. screw
3. 24-pin power cable
4. 8-pin power cable
5. standoff
6. SATA power cable
Installing A Non-Redundant Power Supply
NOTE: A hot-swappable non-redundant power supply must be installed in Slot 1 of the power supply bay.
1. Open the system.
2. Align the screw hole on the power supply with the standoff on the chassis.
3. Tighten the screw to secure the power supply to the chassis.
4. Connect all the power cables to the system board, hard drives, and optical drive.
5. Close the system.
6. Connect the power cable to the power supply and plug the cable into a power outlet.
83
 Loading...