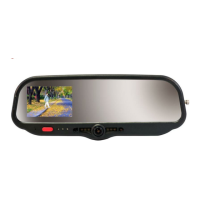
DVM-250/DVM-250Plus Installation Guide 860-00129-00 Rev C
Copyright © 2010-2015 Digital Ally, Inc. 3-10
EXTERNAL MOUNT BACKUP CAMERA
1. Identify a flat surface to attach the mounting bracket.
2. For exterior mounting where the cable must be routed through a panel to
the interior of the vehicle:
a. Position the mounting bracket, locate the ¾” hole in the
bracket, and mark the center on the mounting surface.
b. Place the bracket aside. Prepare the center mark on the
mounting surface using a hole punch, and then drill the hole using a ¾” drill bit.
3. Using the camera hardware provided:
a. For installations with a ¾” cable hole drilled through from the exterior to the interior
of the vehicle, the black mounting grommet and gasket should be used to provide a
weather resistant seal between the vehicle surface and the camera’s mounting
bracket.
b. Install the camera bracket to the vehicle (see pictures below).
c. Attach the camera to the mounting bracket.
Connect the Backup Camera
1. The pigtail from the Backup Camera will connect to the camera cable routed from the DVM. The
connection between the pigtail and camera cable should be made inside the vehicle in a dry,
moisture free location.
2. Route the pigtail from the Backup Camera to the selected area inside the vehicle.
3. Connect the pigtail cable connector to the mating connector of the Camera Cable routed from
the DVM.

 Loading...