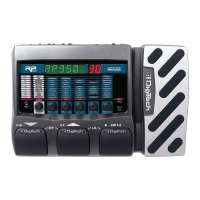
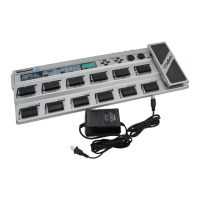
7
4) Value, Store and Edit Keys - The Value <UP> and <DOWN> keys
allow you to scroll through the RP-6’s Programs, or change
Parameter values in Edit mode. The <STORE> key allows you to
store an edited Program in memory for later use. The <EDIT> key
allows you to edit the User and Factory Programs.
5) Parameter Select Keys -The <LEFT> and <RIGHT> Parameter
keys allow you to navigate the horizontal Effect LEDs of the
Parameter matrix. The <UP> and <DOWN> Parameter keys allow
you to navigate the vertical Parameter LEDs of the Parameter
matrix. These keys are only active in Edit mode.
6) Output Level - Controls the overall output level of the RP-6. Also
controls the overall level of the headphones.
7) Presence - Enhances the high frequency content of the overall
sound. This will affect all presets.
8) Continuous Control Pedal - This volume-type pedal allows real-
time control over Parameters in the RP-6.
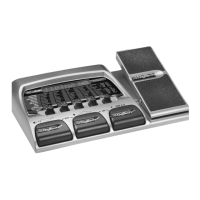
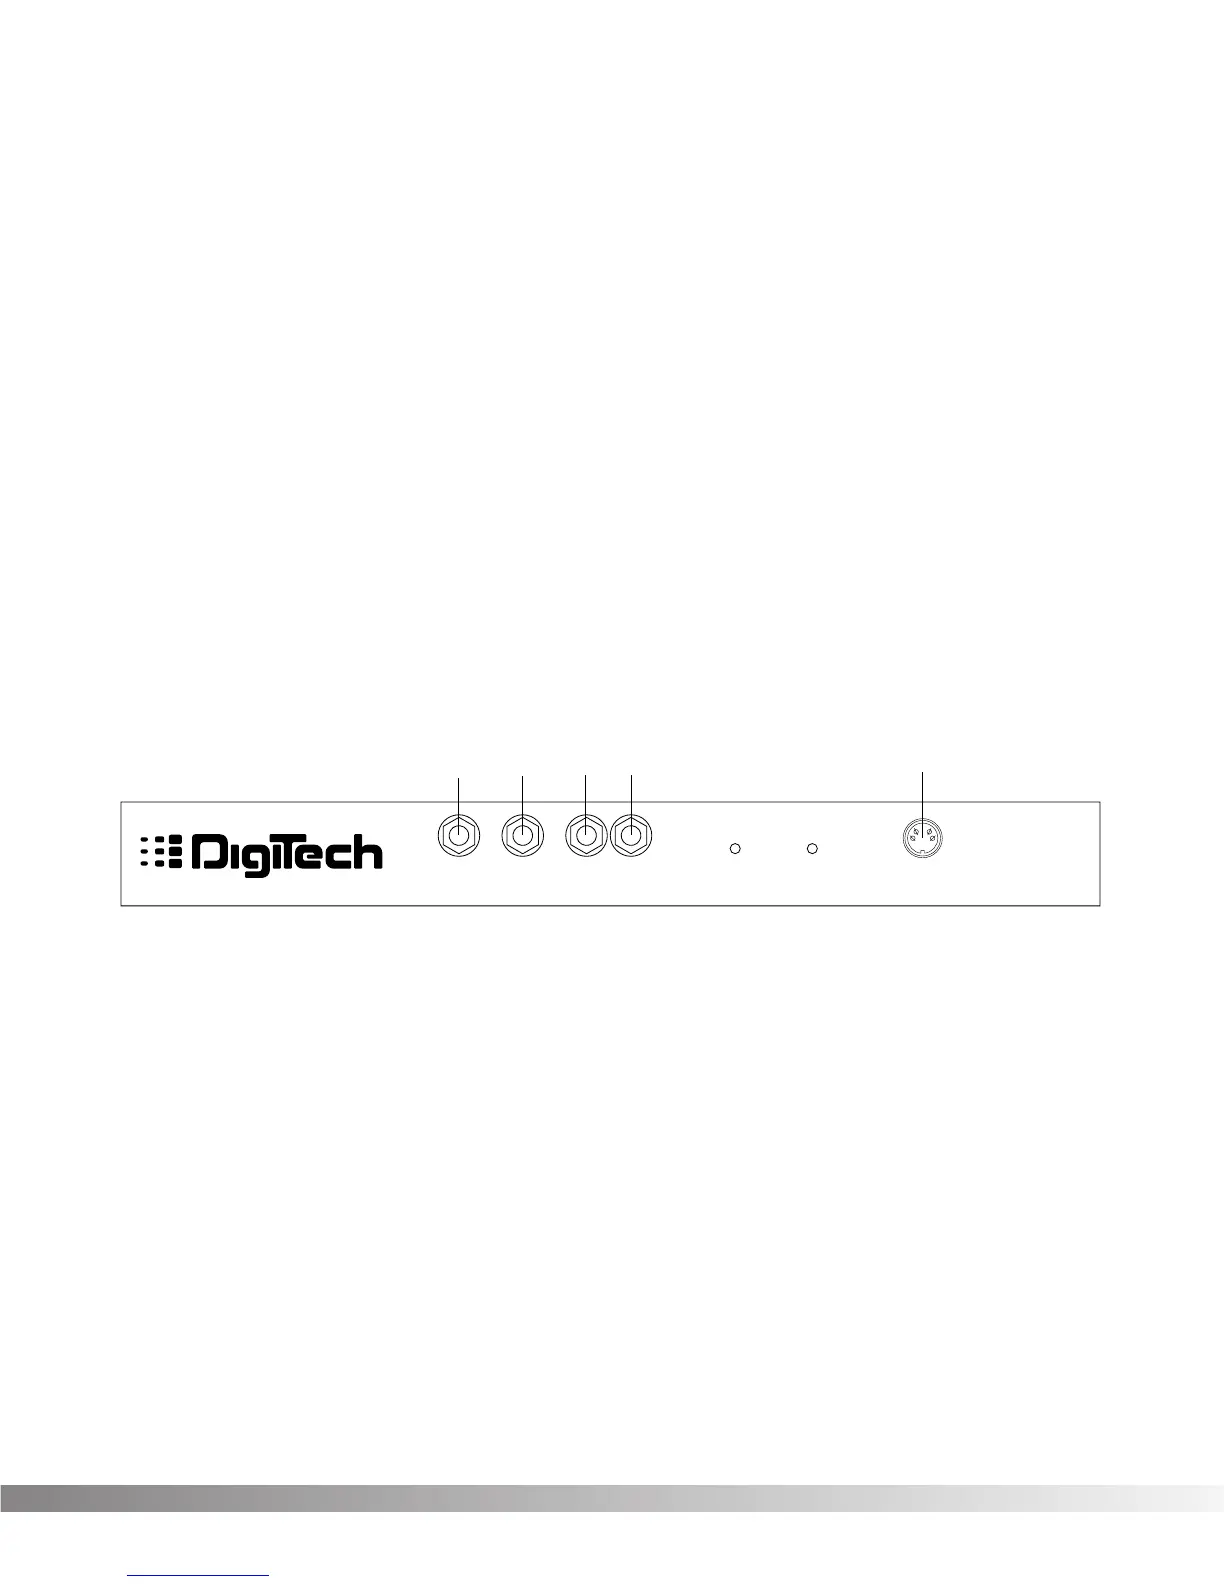
REAR PANEL CONNECTIONS The RP-6 rear panel connectors and functions are as follows:
1) Input - This is the RP-6’s audio input. Plug your guitar in here.
2) Headphone Output - 1/4” stereo plug for headphones. The head-
phone level is controlled by the main output level knob.
3) Left/Mono Main Output - This is the RP-6’s left main audio output.
This output must be used if a mono effect is desired.
4) Right Main Output - This is the RP-6’s right main audio output.
Use both left and right main outputs to take advantage of stereo
effects.
5) AC Line Input - This is the AC adapter receptacle.
 Loading...