8
NOTE:
- Any metal object can attract lightning strikes, including your sensor-array mounting pole. Never install
sensor-array in stormy days.
- If you want to install a sensor-array on a house or building, consult a licensed electrical engineer to ensure
proper grounding. Direct lightning impact on a metal pole can damage or destroy your home.
- Installing the sensor at high location may result in personal injury or death. Perform as many initial
inspections and operations as possible on the ground and in buildings or houses. Only install the sensor-
array on clear, dry days.
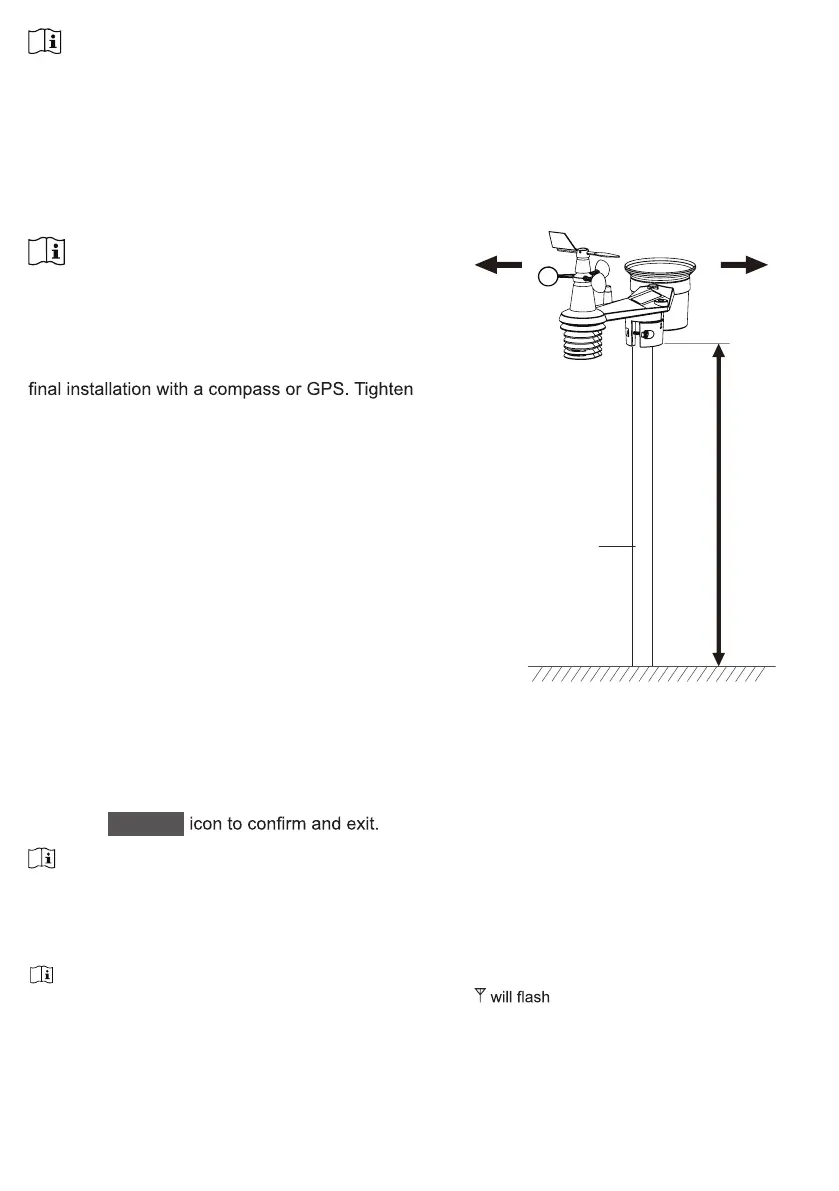
3.1.5 DIRECTION ALIGNMENT
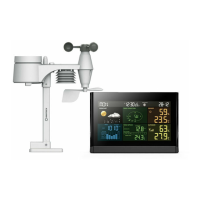
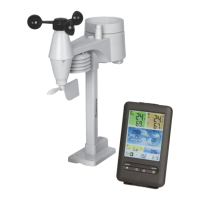
Install the wireless 7-in-1 sensor in an open
location with no obstructions above and around the
sensor for accurate rain and wind measurement.
Locate the North (N) marker on top of the 7-in-1
sensor and align the marker to point North upon
the mounting bracket around a 30 to 40 mm
diameter pole (not included) using two screw and
nuts provided.
Use the bubble level on the 7-in-1 sensor to make
sure the sensor is completely level for proper
measurement of rainfall, UV and light intensity.
Point to
SOUTH
Point to
NORTH
2 meter
off the
ground
mounting pole
not included
3.1.6
POINTING THE WIRELESS 7-IN-1
SENSOR TO SOUTH
3.1.7 PAIRING THE WIRELESS SENSORS WITH THE CONSOLE
The outdoor 7-IN-1 sensor is calibrated to point to North
for the maximum accuracy. However, for the user's
convenience (e.g. users in the Southern hemisphere), it is
possible to use the sensor with the wind vane pointing to South.
1. Install the 7-IN-1 wireless sensor with its wind meter end pointing to South. (Please refer to
section 3.1.4 for mounting details)
2. Select "S' in hemisphere section of the setup UI setup page. (Please refer to section 6.3 for
setup details)
3. Press
Apply
NOTE: Changing the hemisphere setting will automatically switch the direction of the moon phase on the display.
3.2 SYNCHRONIZING ADDITIONAL SENSOR(S) (OPTIONAL)
This console can display the data from additional sensors and upload to ProWeatherLive (PWL)
cloud server for user to view the data in PWL website and App. Please contact your local retailer
for details of difference sensors. Some of these sensors are multi-channel. Before inserting the
batteries, set the channel number if channel slide switch is located at back of sensors (inside
battery compartment). For their operations please refer to the manuals that come with the products.
The console will automatically search and connect to your wireless sensor(s). Once your sensor(s) pair up
successful, the sensor(s) signal strength indication and weather. information will appear on your console display.
NOTE:
Every reading transmission, the symbol of signal transmission ,
at once.
 Loading...