I.B. 17555C
Effective November 1999
Page 28
The alphanumeric display shows the time to trip, and the
numeric display shows the magnitude of the trip current.
The Test Mode can be exited as follows:
1. Press and release the Test Mode On/Off pushbutton.
2. Press and release the Reset pushbutton.
3. Perform no testing activity for approximately 2 1/2
minutes.
3-4 COMMUNICATIONS FUNCTION
The communication function can deliver all the data and
flags that can be viewed locally on the relay to a host
computer equipped with an appropriate software pack-
age. In addition, the host computer can initiate a “Com-
munication Trip” and “Communication Close” control type
command.
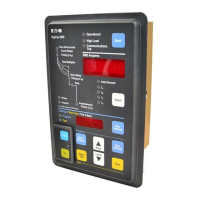
The Digitrip 3000 Protective Relay has a built in INCOM
communication network port that is available on terminals
1 and 2 of TB2 (Figure 3-1). The device Address and the
desired BAUD Rate are programmed using the following
pushbuttons located on the front panel: “Select Tests,”
‘Test,” “Raise” and “Lower’ and “Select Settings.”
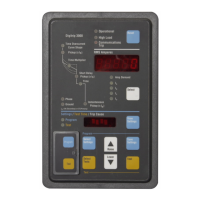
3-4.1 ADDRESS AND BAUD RATE SETTINGS
To enter the mode that permits changing the device
Address and/or BAUD Rate, depress and hold the ‘Test”
Pushbutton and then depress and release the “Select
Tests” Pushbutton. The BAUD Rate and Address respec-
tively will appear in the Settings/Test Time/Trip Cause
Window. The “Test” Pushbutton can now be released.
The last digit on the right flashes. Press and release
“Select Settings” Pushbutton to shift the flashing portion
of the display horizontally from the lowest address digit
on the right to the last display on the left, which is the
BAUD rate. The BAUD rate will flash with an “H” (High
BAUD Rate = 9600) or an “L” (Low BAUD Rate = 1200).
To increase or decrease the flashing digit or flashing
baud rate, press and release the “Raise” or “Lower’ Push-
buttons. When completed, depress the “Save Setpoints”
Pushbutton to save and exit this mode. Table 3.2 outlines
display possibilities and their meanings.
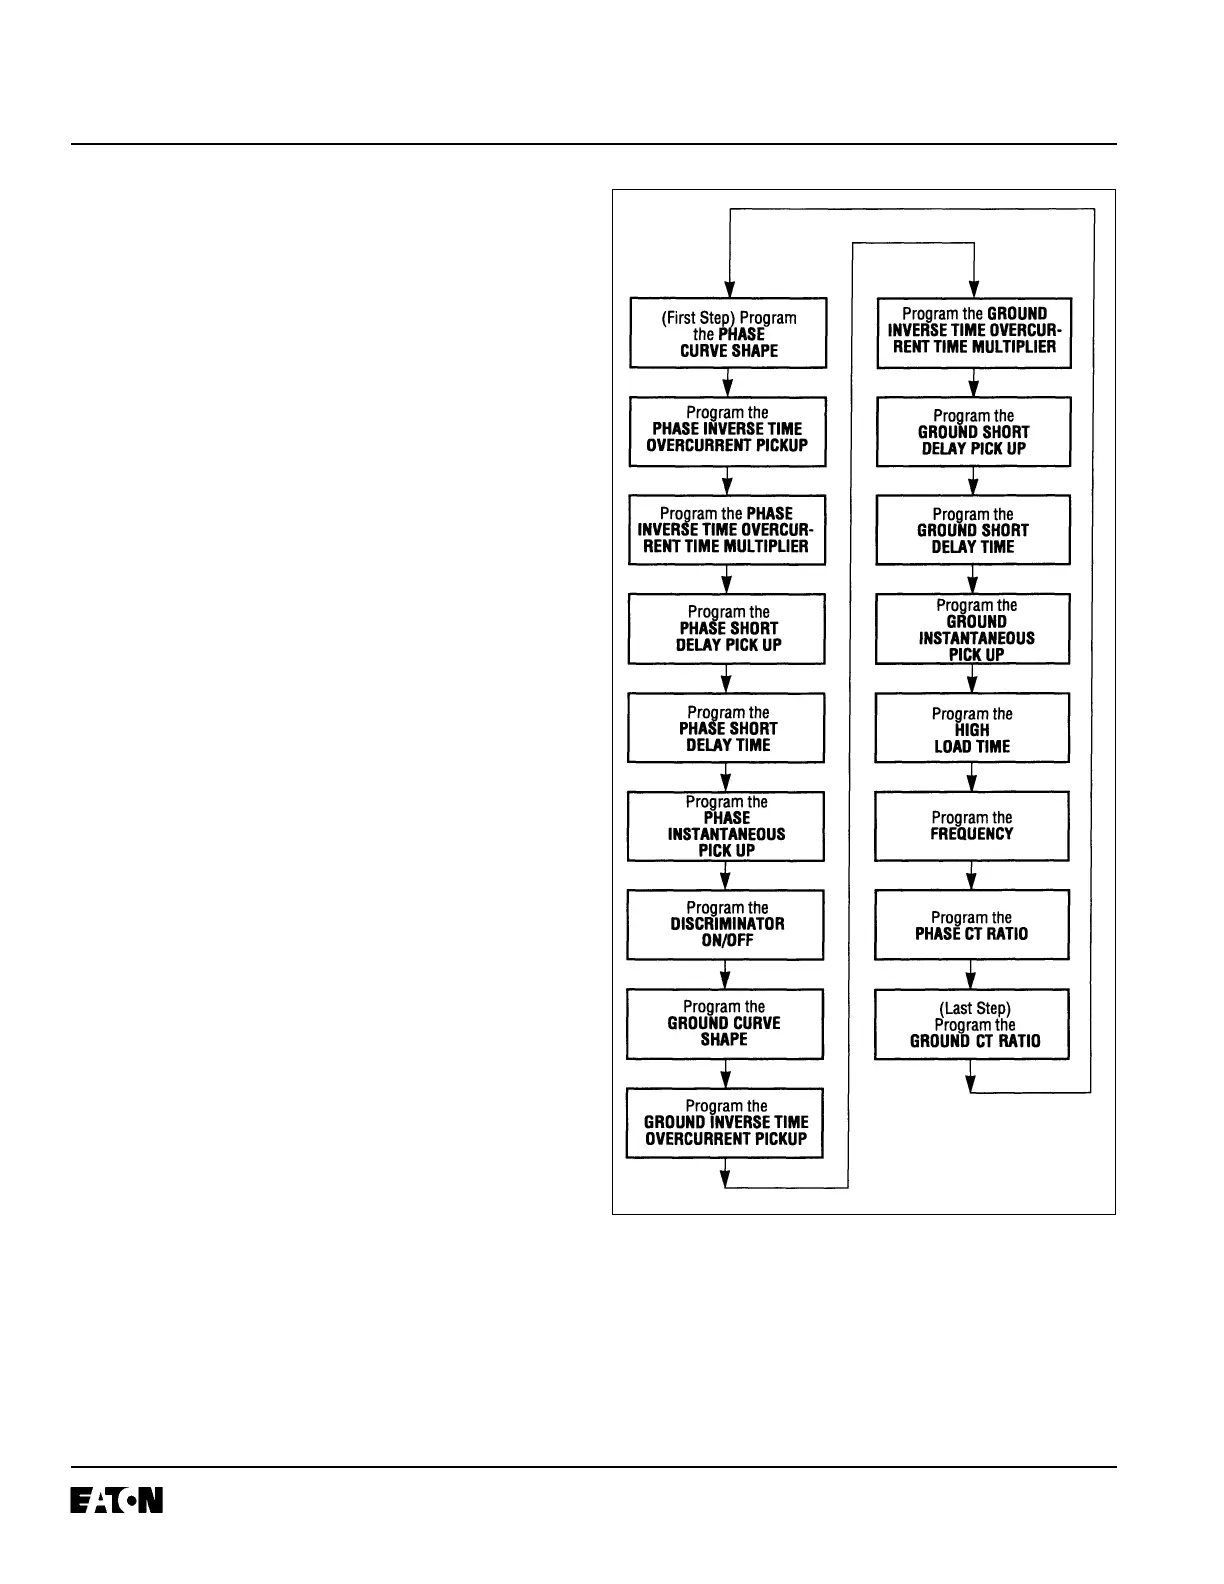
Fig. 3-10 Programming Sequence Preview
 Loading...