23
PROG Resume program buttons
0 Free button (factory operations)
QF Quick water filling start/stop button
SF Slow water filling start/stop button
D1 Temperature display up to 99℃ -
Energy level display over 99℃ (standard mode)/Time display (programming mode only)
D2 Active program display
F.6.1 Switch on and temperature control
• Press button I/O to switch ON: lamp test and tank water
filling will run automatically.
When the tank has been filled the appliance will start
heating, depending on the temperature set by the operator;
The heating is controlled as follows:
– from 50° C up to 99℃ push buttons “INC/DEC“ to
increase/decrease the temperature (each pressing
increase/decrease by 1℃; holding on one of the buttons
“INC/DEC“ will make increasing/decreasing faster);
– over 99℃ push buttons “INC/DEC“ to increase/decrease
the energy level (o=50%; oo=75%; ooo=90%; oooo=
100%);
– visualize real time temperature in the tank for a couple of
seconds: push button “T“.
The appliance will automatically set the temperature/energy
level at the value working when switched OFF (factory
deliveries at 50℃).
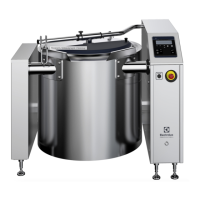
F.6.2 Automatic Lifting programs
This appliance is equipped with 2 or 4 (depending on the
model) lifting motors controlled by a user friendly electronic.
It is possible to program different cooking cycles and store up
to 5 different cooking times, easy to resume for a quick swap
from a recipe to another.
F.6.3 Set a time (programming mode)
1. Press and hold one of the buttons “PROG“ (buttons
PROG are called respectively: p1, p2, p3, p4, p5) until the
relevant name is displayed on D2, the relevant time is
displayed on D1 and the pushed button is backlighted.
2. Push buttons “INC/DEC“ to increase/decrease the time
(with steeps of 5 seconds) from 15 seconds up to 20
minutes of cooking time.
3. Swap to another time program just pushing on another of
the buttons “PROG“ and store new time (active button is
always backlighted).
4. Push and hold the backlighted button “PROG“ until
escaping from the programming mode.
F.6.4 Assign programs to lifter
1. Push one of the buttons “PROG“ to resume one of the pre-
set time;
The button will be backlighted.
2. Push the button “SL“ to assign the time of the backlighted
program to the left side lifter;
3. Push the button “SR“ to assign the time of the backlighted
program to the right side lifter;
4. Push the backlighted button “PROG“ for escaping from the
assignment mode.
F.6.5 Start/stop a cooking cycle
1. Push one of the buttons “SL/SR“: the lifter will go down
and count down will start in hidden mode;
last 10 seconds of the program will be displayed on “D2“.
2. Stop the cooking cycle at need by pushing on the button of
the relevant lifter.
F.6.6 Manual water filling
1. Start/Stop quick water filling at need by pushing button
“QF“.
2. Start/Stop slow water filling at need by pushing button
“SF“.
F.6.7 SWITCH OFF
Push button “I/O“ to switch OFF the appliance.
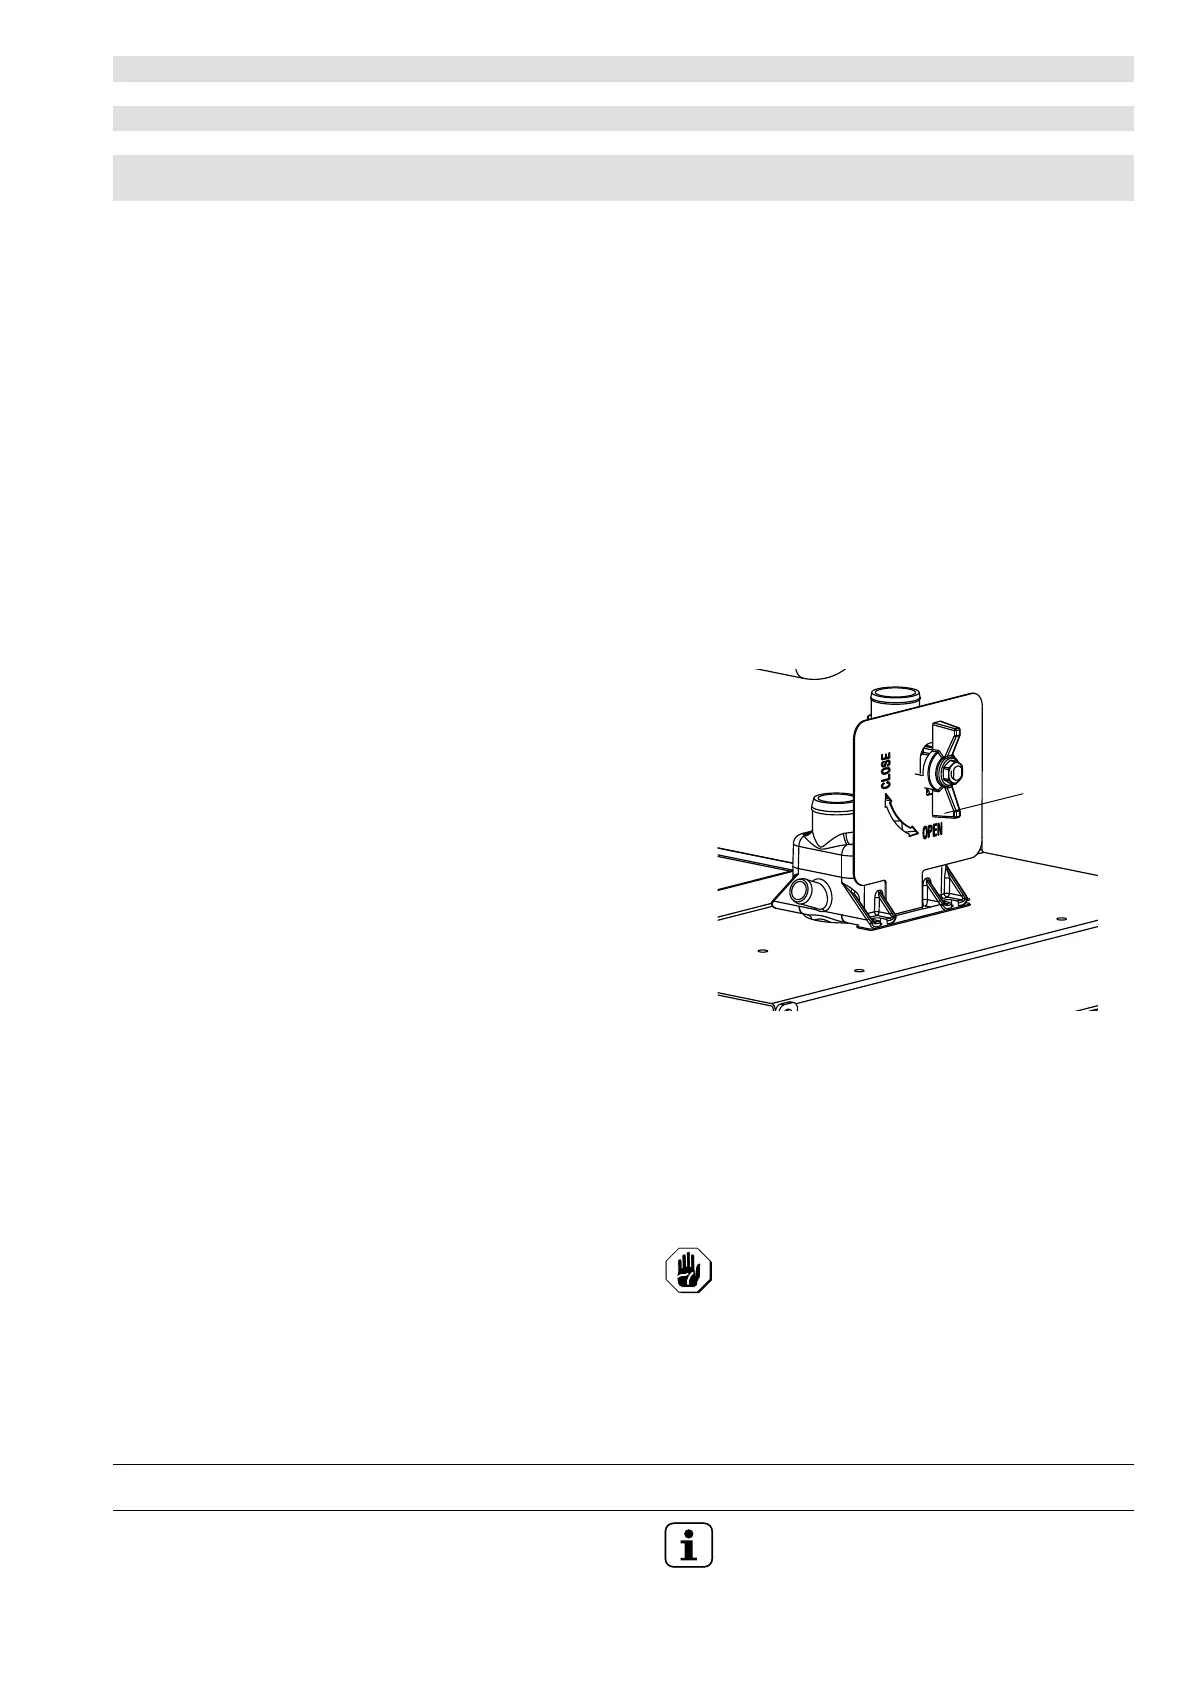
F.7 Water drain
• At the end of the cooking always empty the tank for avoiding
corrosive deposits.
• Always wait the water cools down till 60 ℃ before emptying
the tank.
• Empty the tank by operating on the knob “S“ of the draining
valve.
F.8 At the end of work
• Make sure the power is switched off.
• Drain the water from the tank (see previous paragraph F.7
Water drain).
• Wash any residuals of food from the tank and baskets (see
paragraph G.4 Tank cleaning (daily)).
• Turn off the main switch and the water valve upstream the
appliance.
CAUTION
It is advisable to carry out this operation
after the appliance has cooled (the inertia
of heating, even if deactivated, can
damage the tank if without water).
If this is not possible, fill the tank with cold
water at the same time as emptying the
cooking water.
G MACHINE CLEANING AND MAINTENANCE
G.1 Informations for maintenance
Routine maintenance operations can be carried out by non-
specialised personnel, carefully following the instructions
given below.
NOTE!
The manufacturer declines any liability for opera-
tions carried out on the machine without following
these instructions.
 Loading...