Instruction Manual
D103175X012
GX Valve and Actuator
July 2017
16
Table 9. Stem Extension Torque Requirements
VALVE SIZE TORQUE
DN NPS N•m Lbf•ft
15, 20, 25, 40, 50 1/2, 3/4, 1, 1‐1/2, 2 40 30
80, 100 3, 4 120 89
Table 10. Bellows Nut Torque Requirements
VALVE SIZE TORQUE
DN NPS N•m Lbf•ft
15, 20, 25, 40, 50 1/2, 3/4, 1, 1‐1/2, 2 350 260
80, 100 3, 4 650 480
25. Tighten the packing follower (key 29) to the torque specified in table 7.
Alternately, the packing follower can be tightened by the following method:
a. Tighten the packing follower until the Belleville springs are compressed 100% (or completely flat), as detected by
a rapid increase in nut torque.
b. For DN15 through DN100 (NPS 1/2 through 4), loosen the packing follower 60_ of rotation.
For DN150 (NPS 6), loosen the packing follower 90_ of rotation.
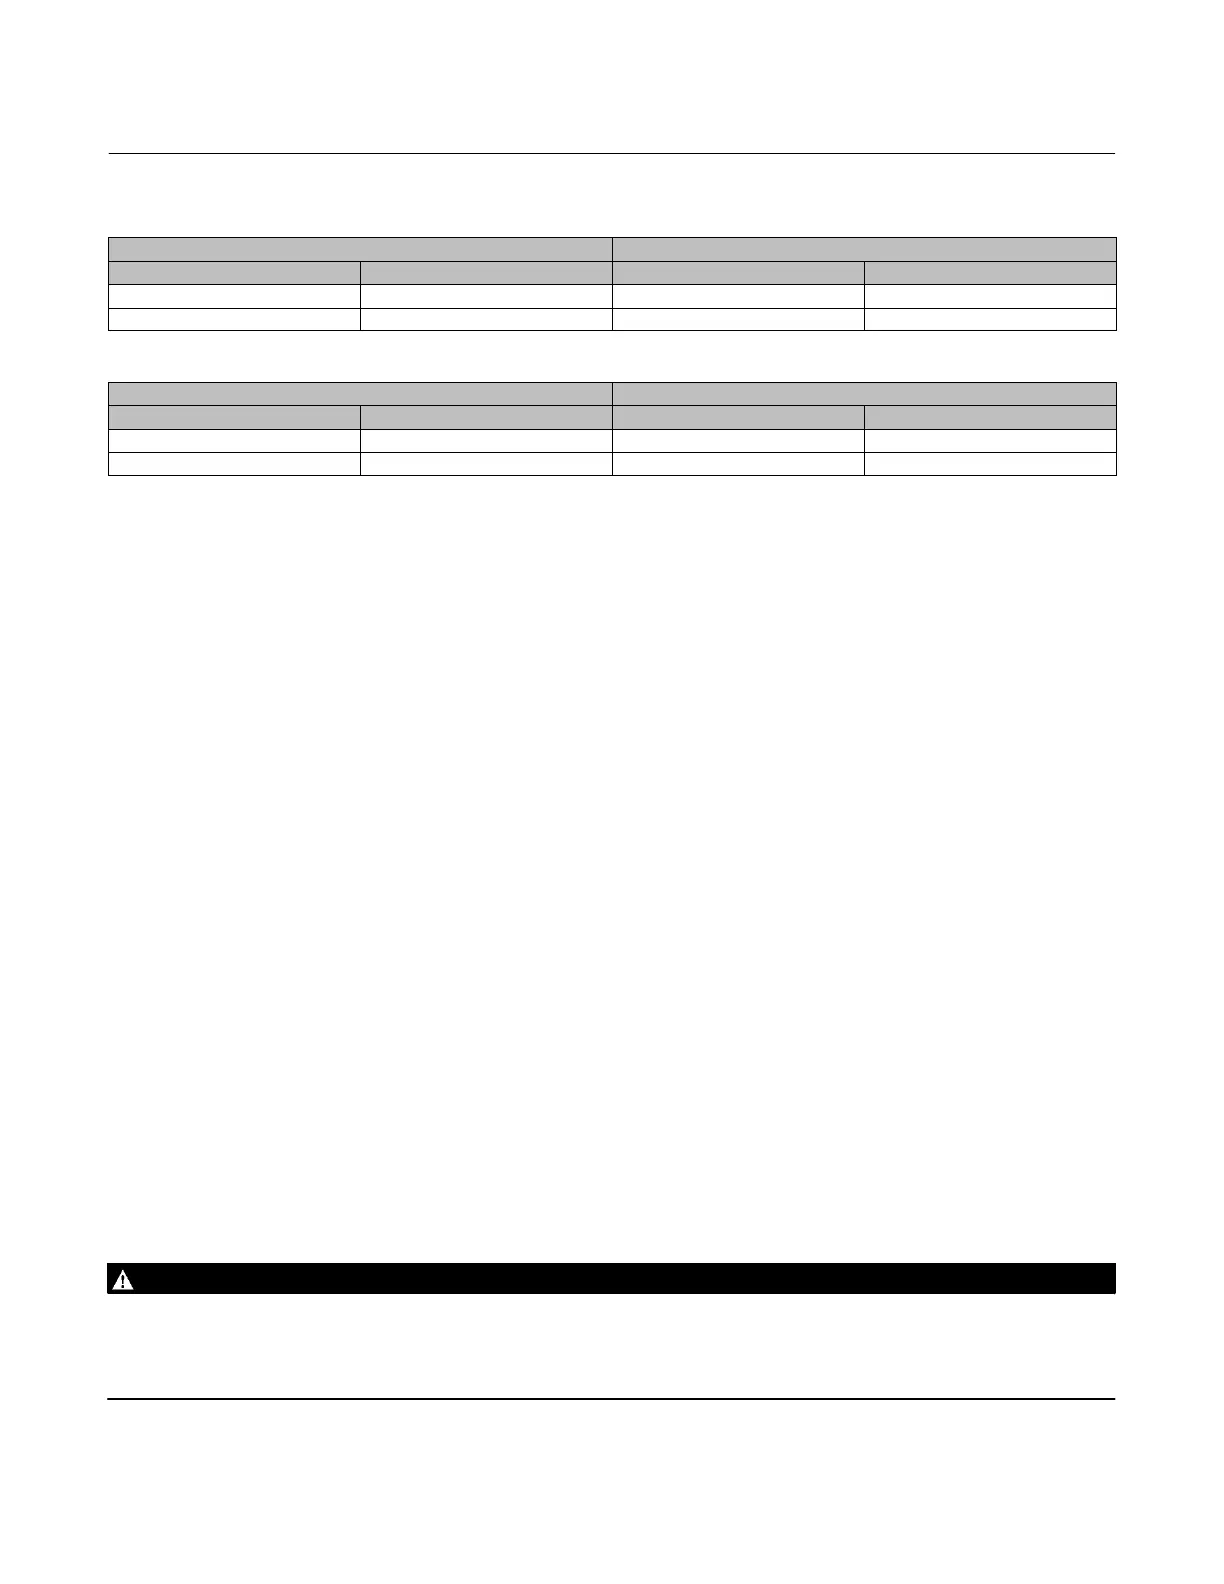
26. For air‐to‐open, release the actuator pressure.
27. For air‐to‐open, ensure the vent (key 21) is installed into the upper diaphragm casing (see figure 18 or 19).
For air‐to‐close, ensure the vent (key 21) is installed into the actuator yoke air supply connection (see figure 20 or
21).
Replacing Packing (Electric Actuators)
This section provides instruction on replacing packing in standard bonnets, extension bonnets, and bellows extension
bonnets.
Isolate the control valve from the line pressure, release pressure from both sides of the valve body and drain the
process media from both sides of the valve. Use lock‐out procedures to ensure that the above measures stay in effect
while you work on the equipment.
1. Stroke the actuator so the valve plug/stem (key 3) is at mid travel.
2. Remove the stem connector nut half (key 23), stem connector bolt half (key 24), and travel indicator (key 26).
3. Use precaution to ensure the actuator is locked in position and cannot stroke.
4. Mark the position of the locknut (key 28) on the stem for reassembly.
5. Push the valve plug/stem (key 3) down until it contacts the seat.
6. Loosen the locknut (key 28) and thread the stem adjustor nut (key 27) down until it clears the top of the valve plug
stem (key 3).
WARNING
To avoid personal injury or property damage by uncontrolled movement of the actuator yoke (key 8), loosen the body/yoke
nuts (figures 18, 19, 20, and 21, key 7) or bonnet/yoke nuts (figures 22 and 23, key 46) by following the instructions in the
following step 7. below. Do not remove a stuck actuator yoke by pulling on it with equipment that can stretch or store
energy in any other manner. The sudden release of stored energy can cause uncontrolled movement of the actuator yoke.