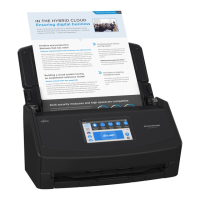
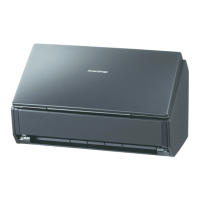
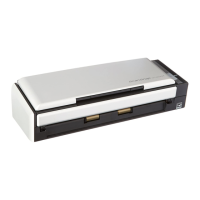
Turning the ScanSnap On
1. Turn on the computer.
HINT
If you connect the ScanSnap and a mobile device via a wireless LAN and then scan a document,
you do not have to turn on the computer.
a The computer starts up and the ScanSnap Manager icon
appears in the notification
area located at the far right of the taskbar.
HINT
l If the ScanSnap Manager icon is not displayed in the notification area, start ScanSnap
Manager. Start ScanSnap Manager in the following procedure.
- Windows 10
Select [Start] menu → [All apps] → [ScanSnap Manager] → [ScanSnap Manager].
- Windows 8.1
Click
on the lower left side of the Start screen, and select [ScanSnap Manager] under
[ScanSnap Manager] on the All apps screen.
- Windows 8
Right-click the Start screen, and select [All apps] on the app bar → [ScanSnap Manager]
under [ScanSnap Manager].
- Windows 7/Windows Vista
Select [Start] menu → [All Programs] → [ScanSnap Manager] → [ScanSnap Manager].
l If ScanSnap Manager does not automatically start when you log on to your computer, change
the setting in the following procedure:
1. Right-click the ScanSnap Manager icon
in the notification area and select
[Preferences] from the "Right-Click Menu" (page 45).
a The [ScanSnap Manager - Preferences] window appears.
2. In the [Auto Startup] list, select the [Start up ScanSnap Manager when you log on]
checkbox.
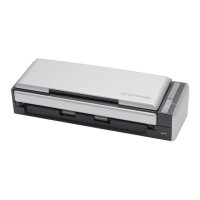
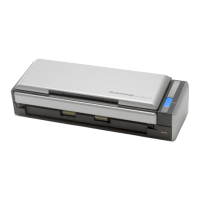
2. Open the feed guide of the ScanSnap to turn the power on.
Turning the ScanSnap On or Off
49
 Loading...