1-14
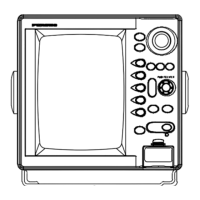
Antenna unit chassis, upper chassis separated
7. Set the corrosion-proof rubber mat (supplied) to the support platform.
8. Cut the rubber bushings in the fixing holes and put four bolts from the inside of the lower chas-
sis. Fasten the lower chassis to the support platform with the spring washers, flat washers and
nuts (local supply). Apply the silicone sealant to the flat washers, nuts and visible parts of
bolts.
9. Assemble the RF unit, cover and chassis.
10.Set four caps (supplied) into the outside fixing holes.
11.Prepare the ground point on the platform. Use an M6x25 bolt, nut and flat washer (supplied).
The ground point must be within 300 mm from the ground terminal on the antenna unit.
12.Run the ground wire (RW-4747, 340 mm, supplied) between the ground terminal and the
ground point.
13.Apply the silicone sealant to the ground terminal and ground point. See the illustration on
page 1-13 for instructions.
RFunit
Hex head bolt
M10 x 20, 4 pcs.
Hex head bolt
M8 x 25
2 pcs.
Spring Washer
M10, 4 pcs.
Board cover
Pan head screw
M3 x 8, 2 pcs.
Upper chassis
Square bushing
Lower chassis
Pan head screw
M3 x 8, 2 pcs.

 Loading...