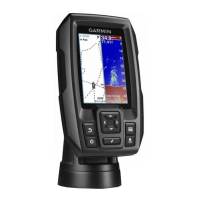
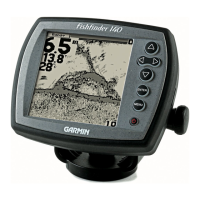
12 Fishnder 90/140 Owner’s Manual
Installing Your Fishnder
Installing the Wiring Harness
The Fishnder comes with a wiring harness that connects
the Fishnder to power and the transducer with one
easy-to-remove connection. If it is necessary to extend the
power wires, use 22 AWG wire. DO NOT cut the transducer
cable, because this voids your warranty. If your boat has an
electrical system, you might be able to wire the Fishnder
directly to an unused holder on your current fuse block. If
you are using the boat’s fuse block, remove the in-line fuse
holder supplied with the Fishnder. You can also wire the
Fishnder directly to the battery.
CAUTION: The Fishnder input voltage is 10–18 volts
DC. Do not exceed this voltage, because this can damage
the Fishnder and void the warranty.
To install the wiring harness:
1. Determine the polarity of the power source using a test
light or volt meter.
2. Install the red (+) wire on the positive fuse holder or
battery terminal.
3. Install the black (-) wire on the negative fuse holder or
battery terminal.
4. Install a 2 Amp fuse in the fuse holder (fuse block only).
5. Align the notches on the cable plug and on the back of
the Fishnder. Insert the cable into the connector and
turn the lock ring counter-clockwise until it stops.
190-00582-10_0A.indd 12 12/2/2011 3:08:58 PM
 Loading...