www.gemu-group.com20 / 76GEMÜ 1436 cPos
11 Assembly
4. Mount the black housing of the rotary travel sensor 4 in
parallel to the mounting bracket 6 in a longitudinal direc-
tion.
5. Mount the external rotary travel sensor 7 with the adapter
4 on the mounting bracket 6.
6. Note the direction of the scale 8.
ð View from below of the travel sensor 7 with mounting
bracket 6.
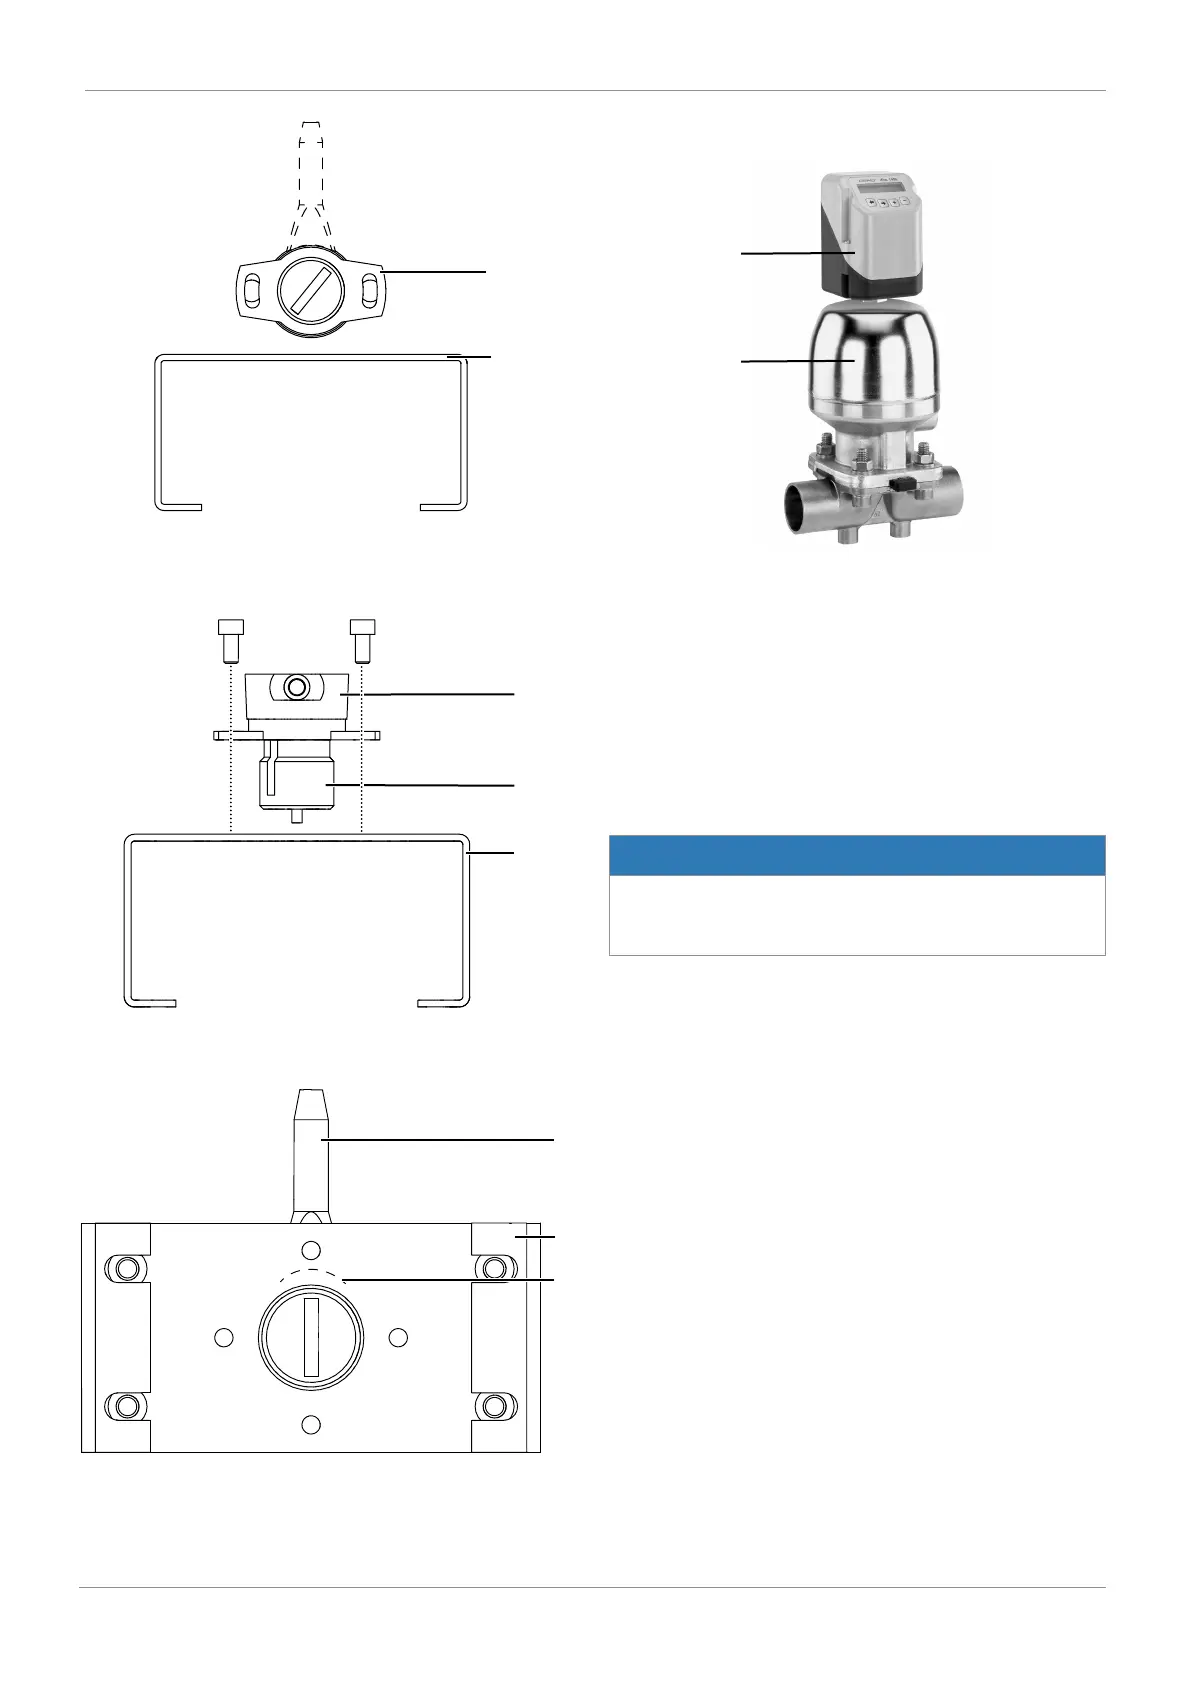
11.6 Direct mounting on linear actuators
1. Mount (see “Linear travel sensor mounting kit assembly
for remote mounting“, page18)the travel sensor mounting
kit.
2. Move the actuator 3 to the open position.
3. Guide the product 1 as far as it will go into the actuator
opening or the adapter, and screw it in in a clockwise dir-
ection against the initial spring tension, and tighten it us-
ing a suitable WAF27 open-ended spanner.
4. Connect the product's pneumatic supply and connect the
product to the process valve.
NOTICE
Damage to internal stop
▶ Do not turn the internal stop when assembling the
product.
If correctly mounted to the corresponding valve, the product
can be turned 320°.

 Loading...