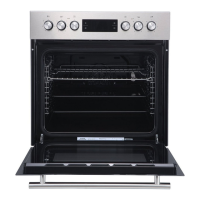
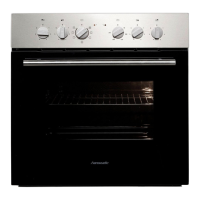
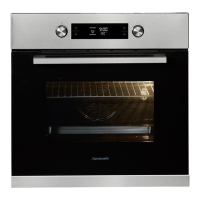
Installation of hob
Page EN-31
Transport
NOTICE
Risk of damage!
■ If a trolley is used to move the oven,
the appliance must be lifted as shown
on the packaging.
Your oven comes in sturdy packaging and is
so heavy that it should not be carried by one
person alone.
Installation
The oven has been designed to be built
into a kitchen unit. If you have the requi-
site skills, you can fit it yourself.
However, the electrical connection must be
carried out by an authorised professional
Installation requirements
• The hob may only be installed with one
side next to higher kitchen furniture, ap-
pliances or walls.
• The oven should not be installed directly
beside refrigerators or freezers. Heat loss
unnecessarily increases their energy con-
sumption.
• Keep the oven at least one centimetre
away from the wall. The oven pow-
er connection must therefore be a
flush-mounted box or must be located
outside the installation space.
• The hob and oven are connected by the
permanently installed wiring harness;
they must therefore be installed in direct
alignment to each other.
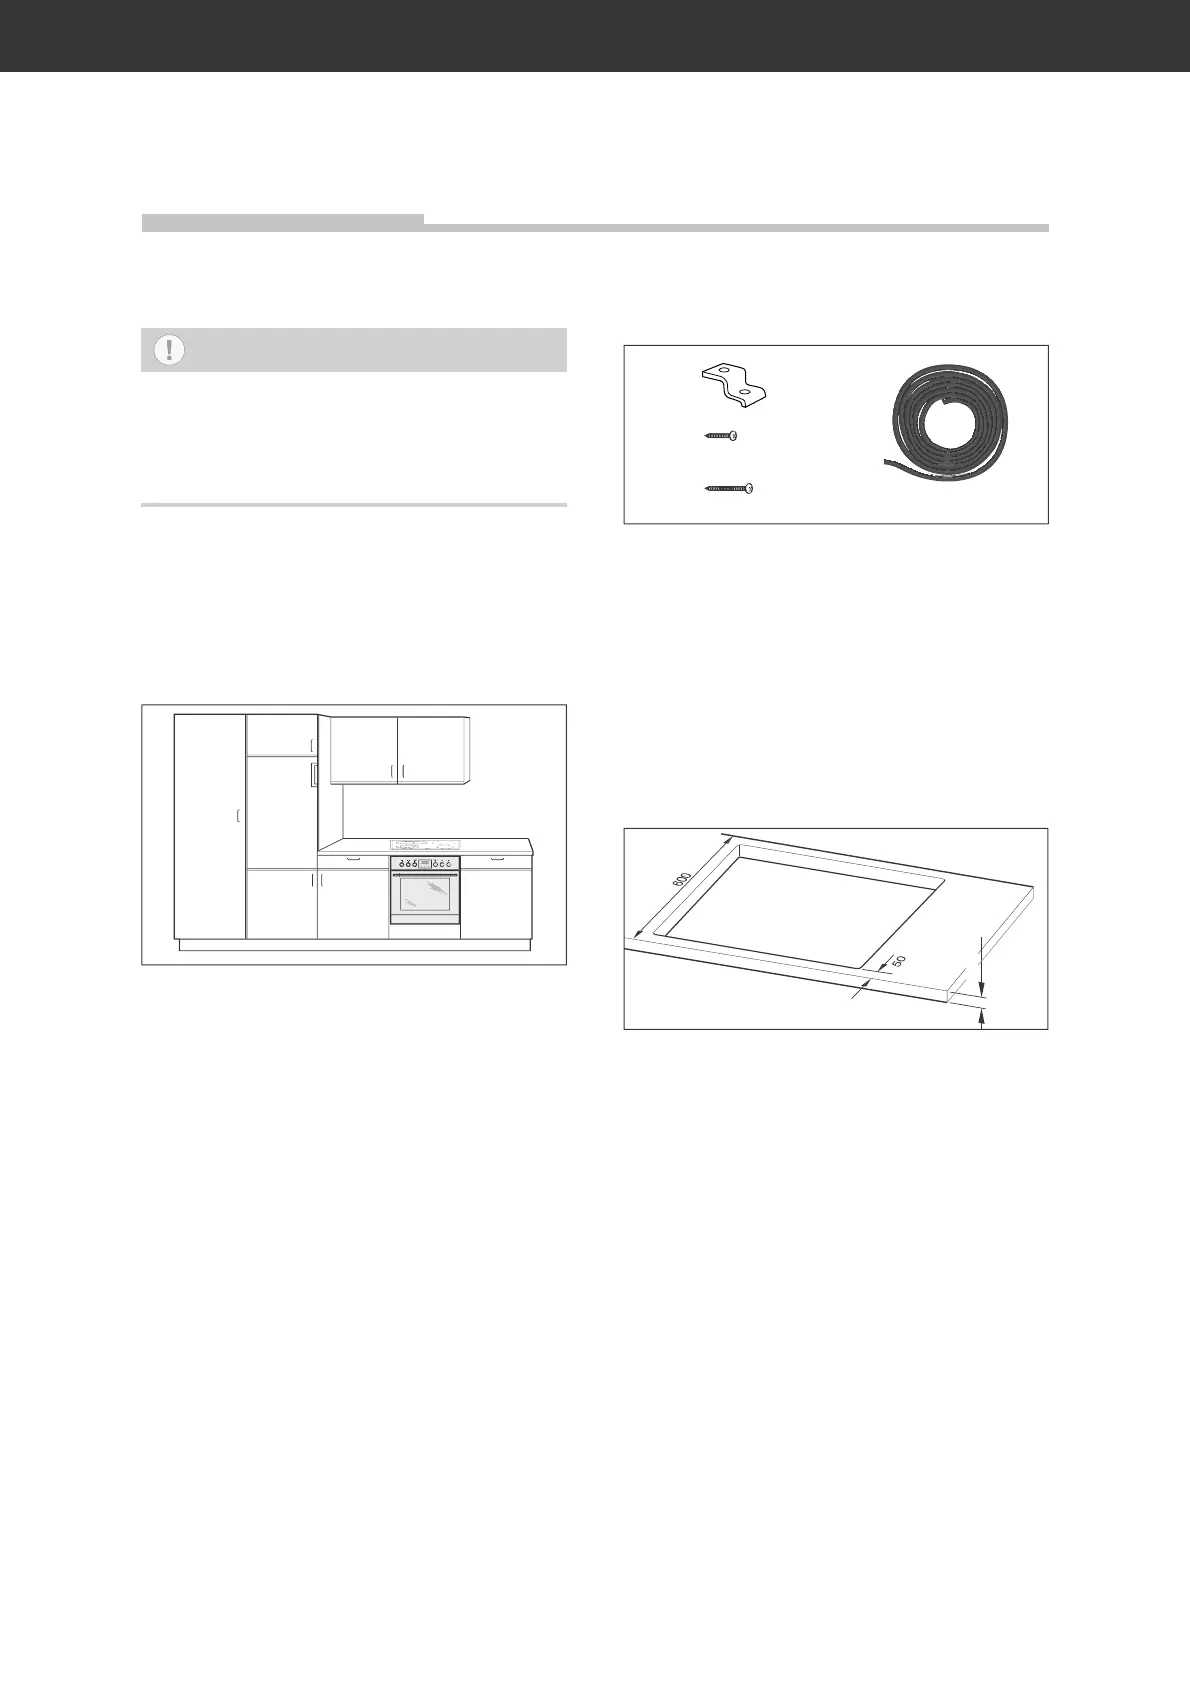
Required materials
(6)
(7)
(8)
(9)
(6) 4× Clamp for attaching the glass
ceramic hob to a worktop
(7) 4× Screw for attaching bracket
(8) 2× Screw for attaching oven
(9) 1× Sealing tape for the hob
Preparing wood
– 4
The following conditions must be fulfilled:
– The worktop must be at least 38–48 mm
thick and at least 600 mm deep. It must
also be horizontal and level, and it must be
sealed on the wall side against overflowing
liquids.
– The hob must be surrounded by at least
50 mm of worktop on all sides.
– Veneers, plastic coverings and adhesives
which are used must be resistant to heat
(100°C).
Installation of hob
 Loading...