26
Dry Seasoned Wood Only!
TL2.6 Woodburning Stove
Save These Instructions3-90-08570
For low burn, slide the air control to the left. For medium
burns, use notches 1 to 2. Maximum heat is attained with
the air control all the way to the right. Do not burn the stove
continuously at the maximum setting. If maximum heat is
required day after day, the stove is too small for the area
you are trying to heat.
If your wood is not seasoned long enough or is high in
moisture content, you may need to adjust the primary air
slightly higher to sustain a low burn rate with the cleanest
possible exhaust.
F. Before Your First Fire
• Be sure the appliance is installed properly and that
all safety requirements have been met. Pay particular
attention to the clearances to combustibles, oor
protection and the venting instructions.
• Test your smoke detector(s) and CO detector(s) to the
specications of the manufacturer.
• Double check that the ash pan and internal rebox are
empty.
• Be sure to read this entire manual.
G. Building and Maintaining a Fire
Begin with the bypass damper open, and the air control lever
at the maximum setting, all the way to the right. Be sure the
ash pan door is closed and latched.
Start with a bed of crumpled paper and kindling sized about
nger width; place several 1" - 2" (25mm - 50mm) split pieces
of dry wood on top of the kindling, followed by a few 2" - 3" (50
mm - 80 mm) split pieces. Lay the wood in a crossed pattern to
allow maximum air ow. Ignite the paper and close the loading
door(s). Allow this start-up re to burn for a few minutes,
keeping the bypass damper open. Add about ve more pieces
of wood in the 2 to 3 inch (50 - 80mm) size range, making
sure that the fuel bed is all the way across the rebox and
staggered to allow airow. Close the door and allow this
loading to burn a few minutes.
Add increasingly larger pieces of wood to the re until you
have a thick bed of hot embers, approximately 2 to 3 inches
deep at the back of the grate and at least an inch deep at the
front. You must have this charcoal bed established before
you close the bypass damper.
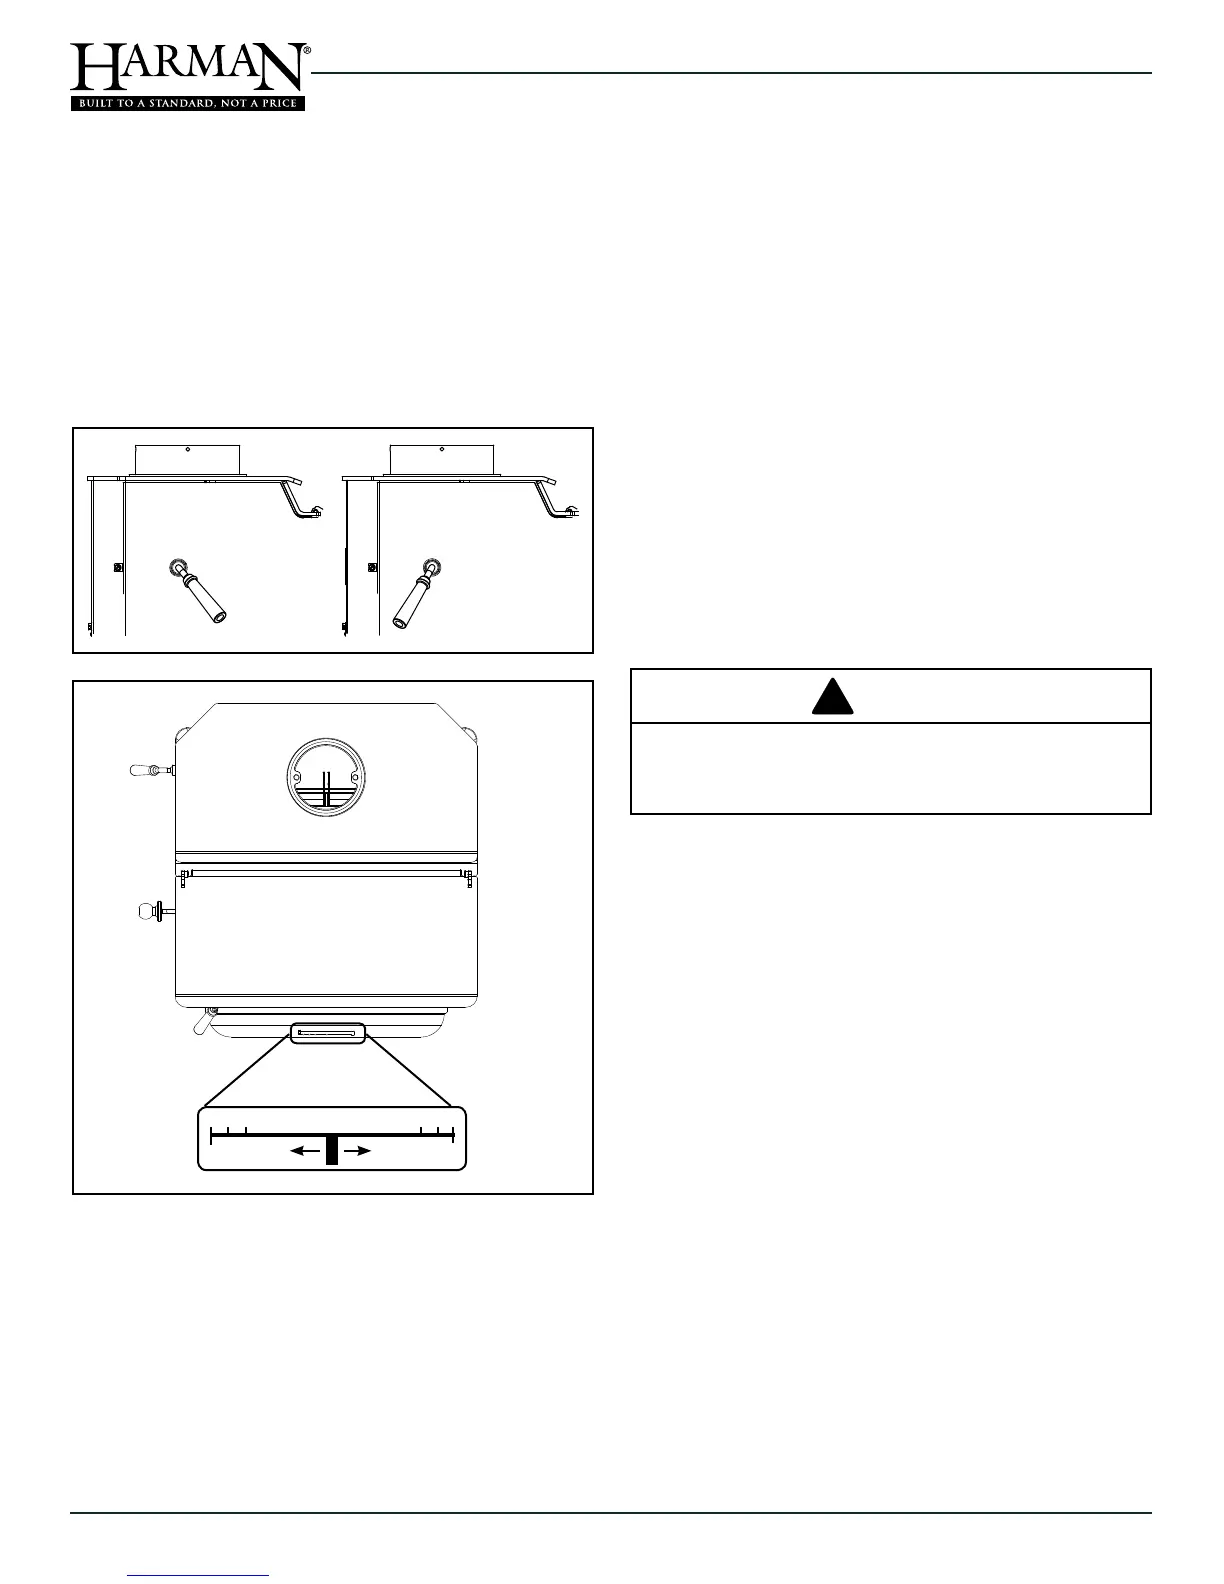
E. User Controls
Two important controls - the damper bypass handle and the
air control lever regulate the operation and output of the stove.
To open the top or front loading door, you must open the
damper bypass, or smoke will come in the room. In this
mode of operation the combustion gases go directly from
the main combustion chamber to the ue collar and exit into
the chimney.
loading. Open the bypass damper by turning the handle
clockwise while facing handle.
The air control lever is located on the ash lip, below the load
door. Sliding this lever allows you to vary the amount of air
to the re, creating a range of heat outputs. The lowest heat
output setting is to the left, and the highest is to the right.
The notches are provided as a reference for your comfortable
heat settings. Do not, under any circumstances, alter the
conguration or operation of the air control lever.
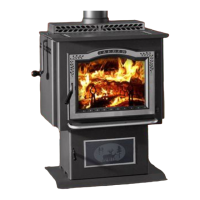
Bypass Damper
Closed
Bypass Damper
Open
Minimum
Primary Air
Maximum
Primary Air
DO NOT OVERLOAD THE APPLIANCE. IF YOU
CAN NOT CLOSE THE LID OR DOOR, YOU HAVE
OVERLOADED.
CAUTION
 Loading...