DS-2TD2xxx-xx/xx Thermal and Optical Bi-Spectrum Network Bullet Camera Quick Start Guide
QSG DS-2TD2xxx-xx/xx 071720NA 20
Tilting Position [-45° to 45°]
Figure 23, Tilt Adjustment
Loosen the screws slightly until you can adjust the camera. DO NOT remove the screws from
the bracket.
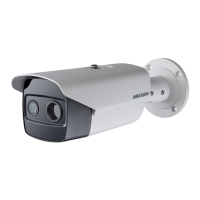
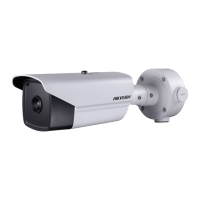
Install Type II and Type IV Camera
Type II and Type IV cameras are installed in the same way. Here is an example of installation for a Type II
camera.
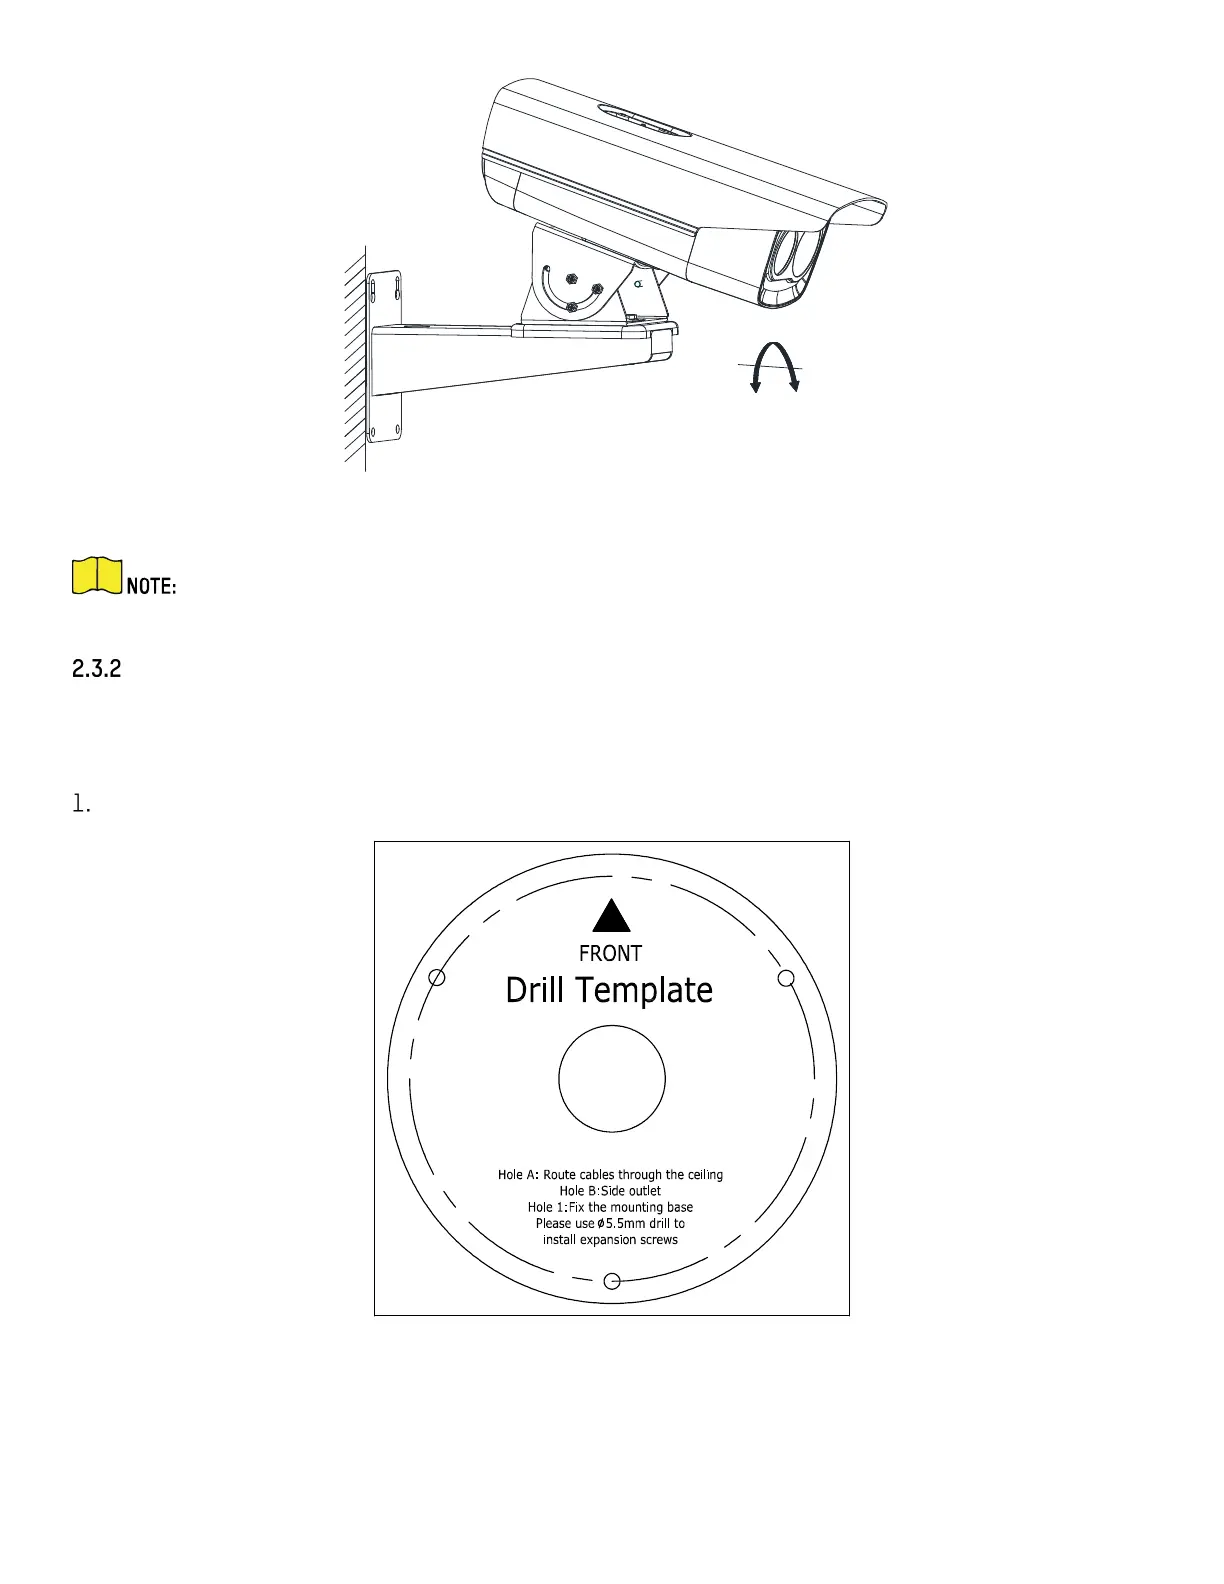
Select a location, and attach the drill template onto the wall/ceiling, as shown below.
Figure 24, Drill Template
2. (Optional) For concrete walls, drill four Ø5 installation holes according to the template (recommended
depth: 25 mm) and insert the expansion screws. Otherwise, skip the step.
3. Drill a cable hole in the center.
 Loading...