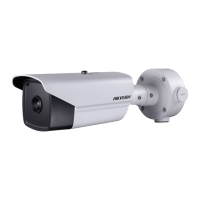
DS-2TD2xxx-xx/xx Thermal and Optical Bi-Spectrum Network Bullet Camera Quick Start Guide
QSG DS-2TD2xxx-xx/xx 071720NA 27
Set the Network Camera over the LAN
You shall acknowledge that the use of the product with Internet access might be under
network security risks. For avoidance of any network attacks and information leakage,
please strengthen your own protection. If the product does not work properly, please
contact with your dealer or the nearest service center.
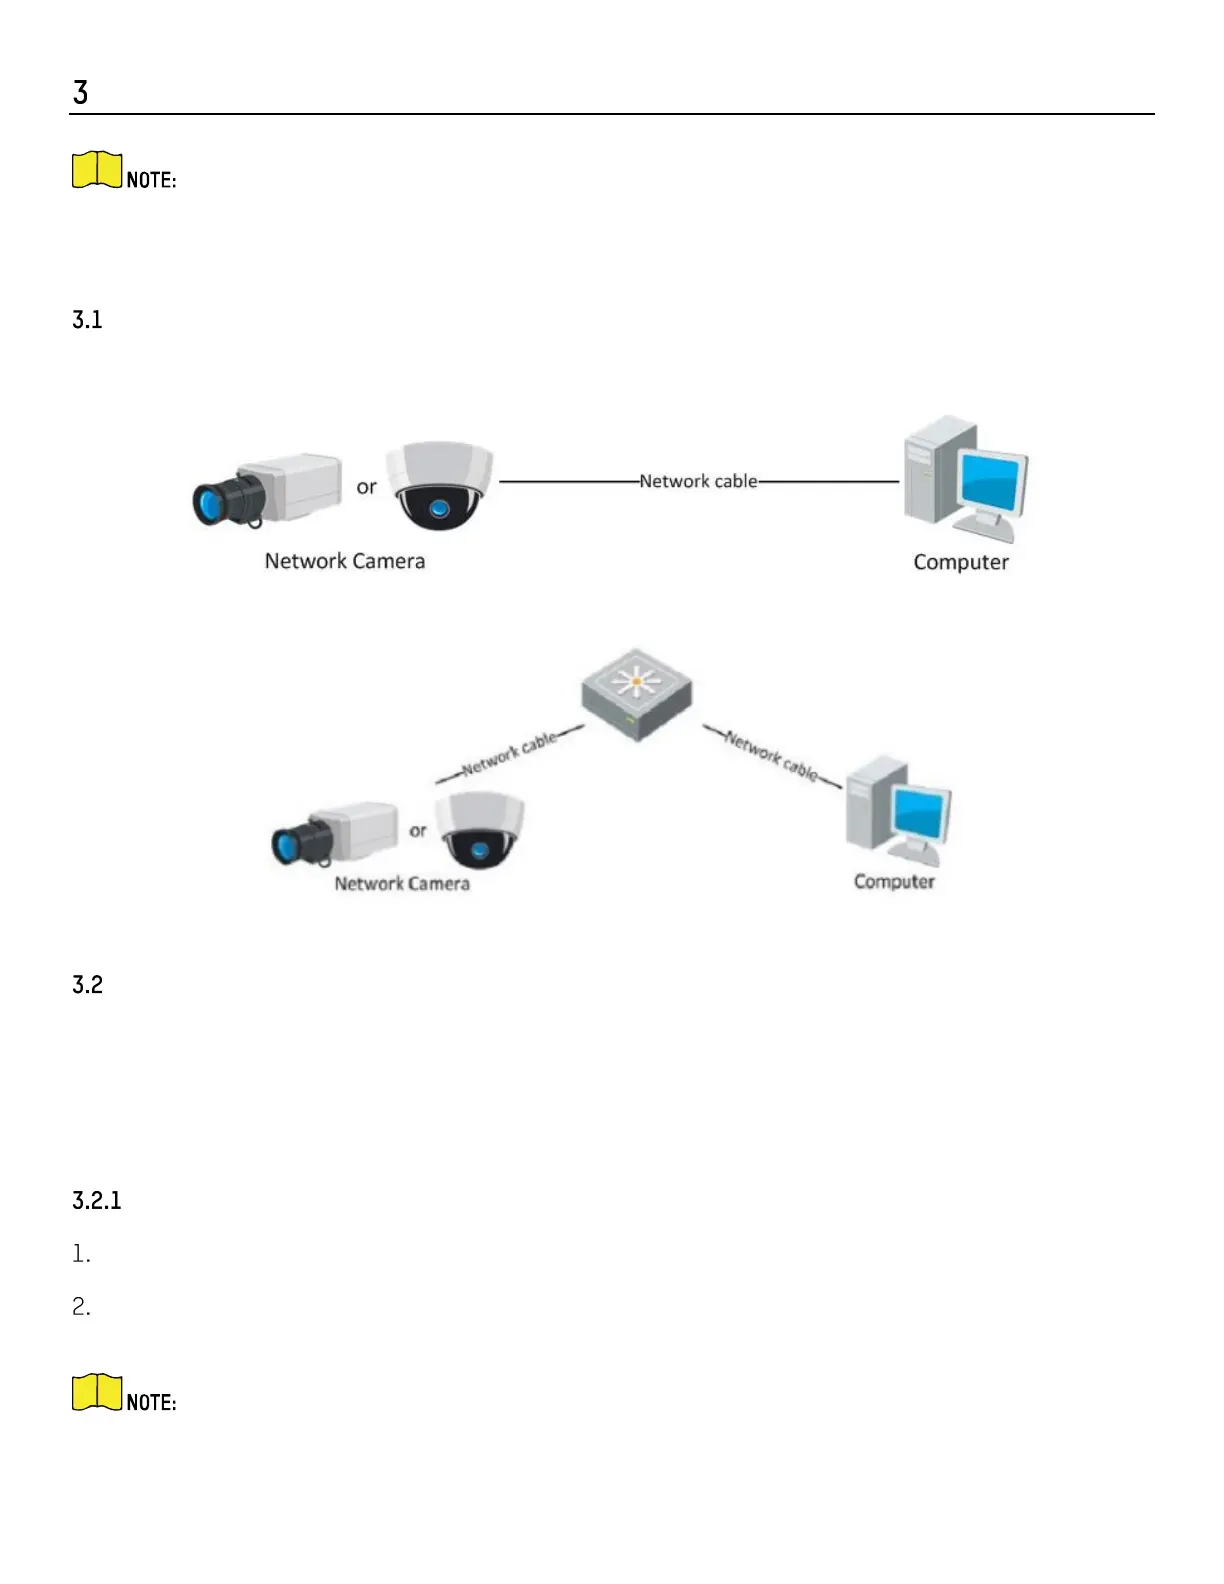
Wiring
Please connect the camera to the network according to the following figures.
Figure 38, Connect Directly
Figure 39, Connect via a Switch or a Router
Activate the Camera
You must activate the camera first by setting a strong password for it before you can use the camera.
Activation via Web Browser, Activation via SADP, and Activation via Client Software are all supported. We
will take activation via SADP software and Activation via a Web Browser as examples to introduce camera
activation. Refer to the network camera user manual for activation via client software.
Activate via Web Browser
Power on the camera, and connect the camera to the network.
Input the IP address into the Web browser’s address bar, and click Enter to enter the activation
interface.
The camera’s default IP address is 192.168.1.64.
For cameras that enable DHCP by default, activate the camera via SADP software and search
for the IP address.
 Loading...