DS-2TD2xxx-xx/xx Thermal and Optical Bi-Spectrum Network Bullet Camera Quick Start Guide
QSG DS-2TD2xxx-xx/xx 071720NA 24
Sealing Ring
Screw
Figure 31, Install Junction Box Base
Route the cables through the cable hole.
Insert the latches into the latch holes to fix the bracket and camera with the junction box.
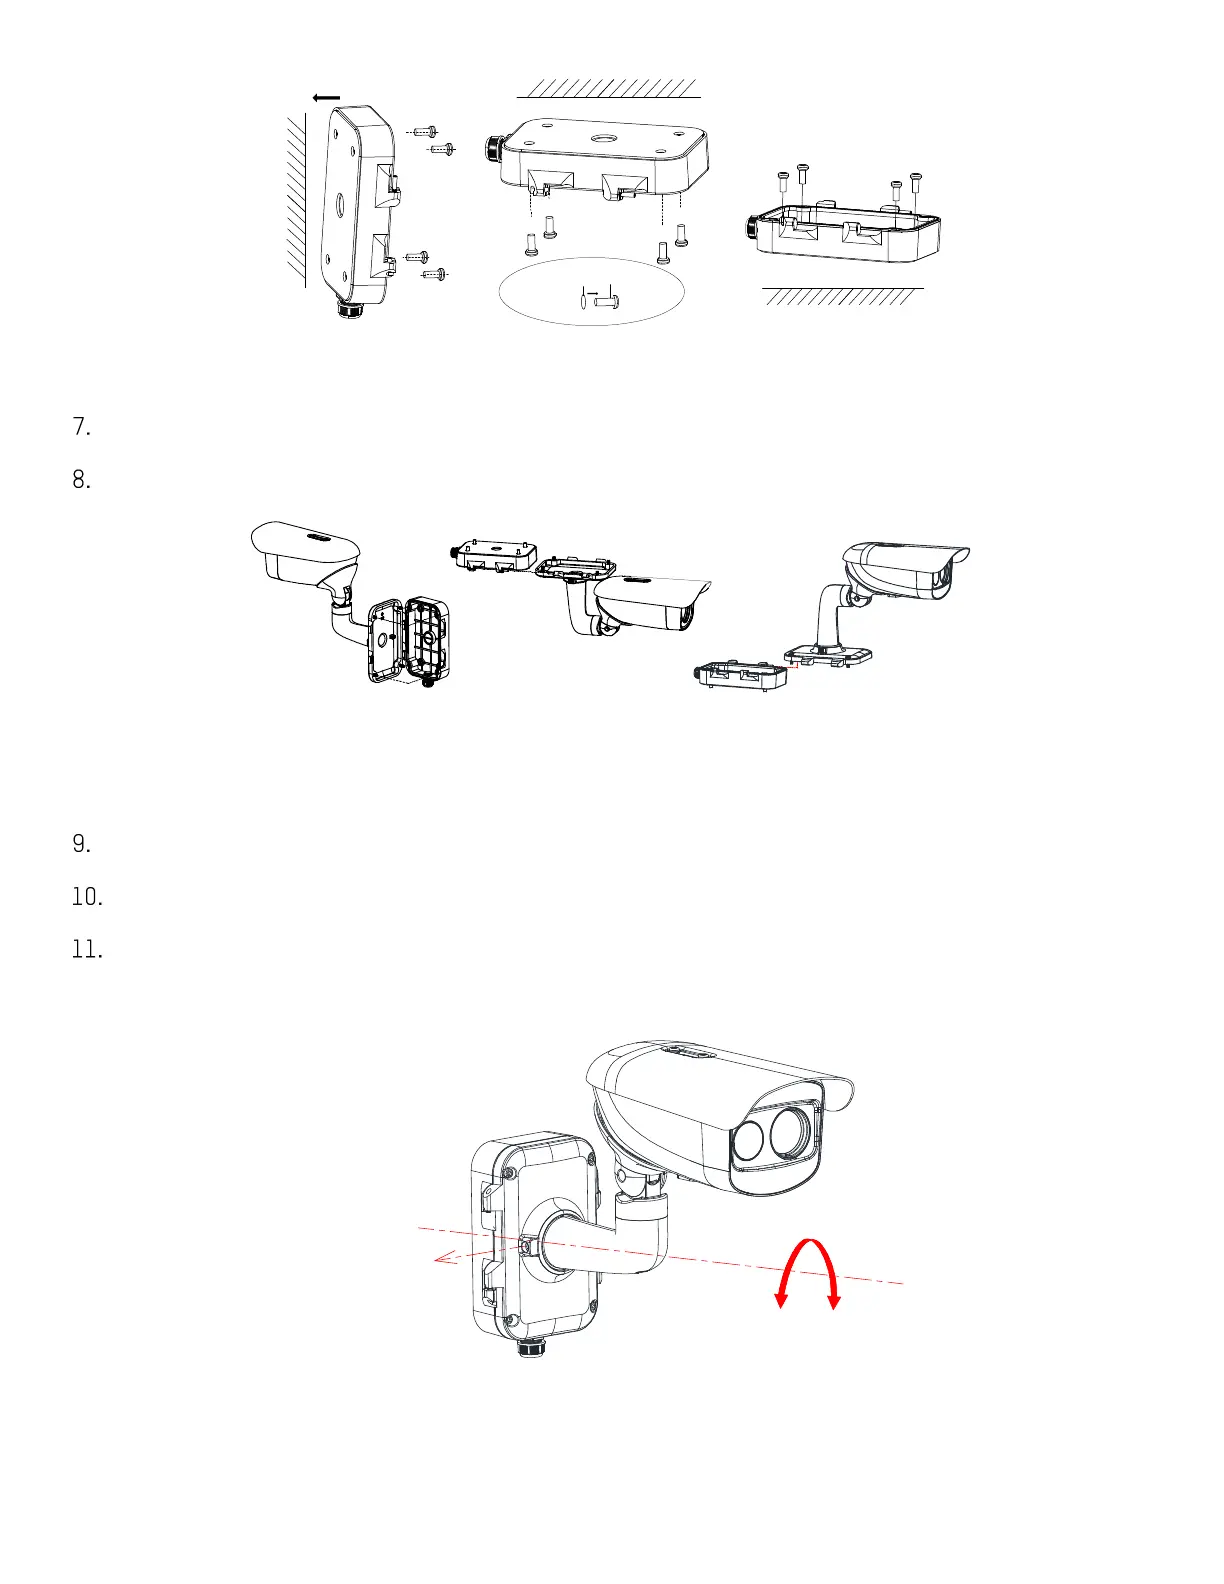
Wall Mounting Ceiling Mounting Stand Mounting
Figure 32, Install Junction Box Cover
Fix the delivered screws to secure the junction box.
Connect the corresponding cables to power on the camera and get the live view.
Adjust the camera according to the figure below.
1) Loosen the rotation adjusting screw to rotate the camera [-180° to 180°]. Tighten the screw.
Rotation
Adjusting Screw
Rotation Range
[-180° to +180°]
Figure 33, R-Axis Adjustment
2) Loosen the tilt adjusting screw to adjust tilting position [-90° to 55°]. Tighten the screw.
 Loading...