Network Video Recorder User Manual
182
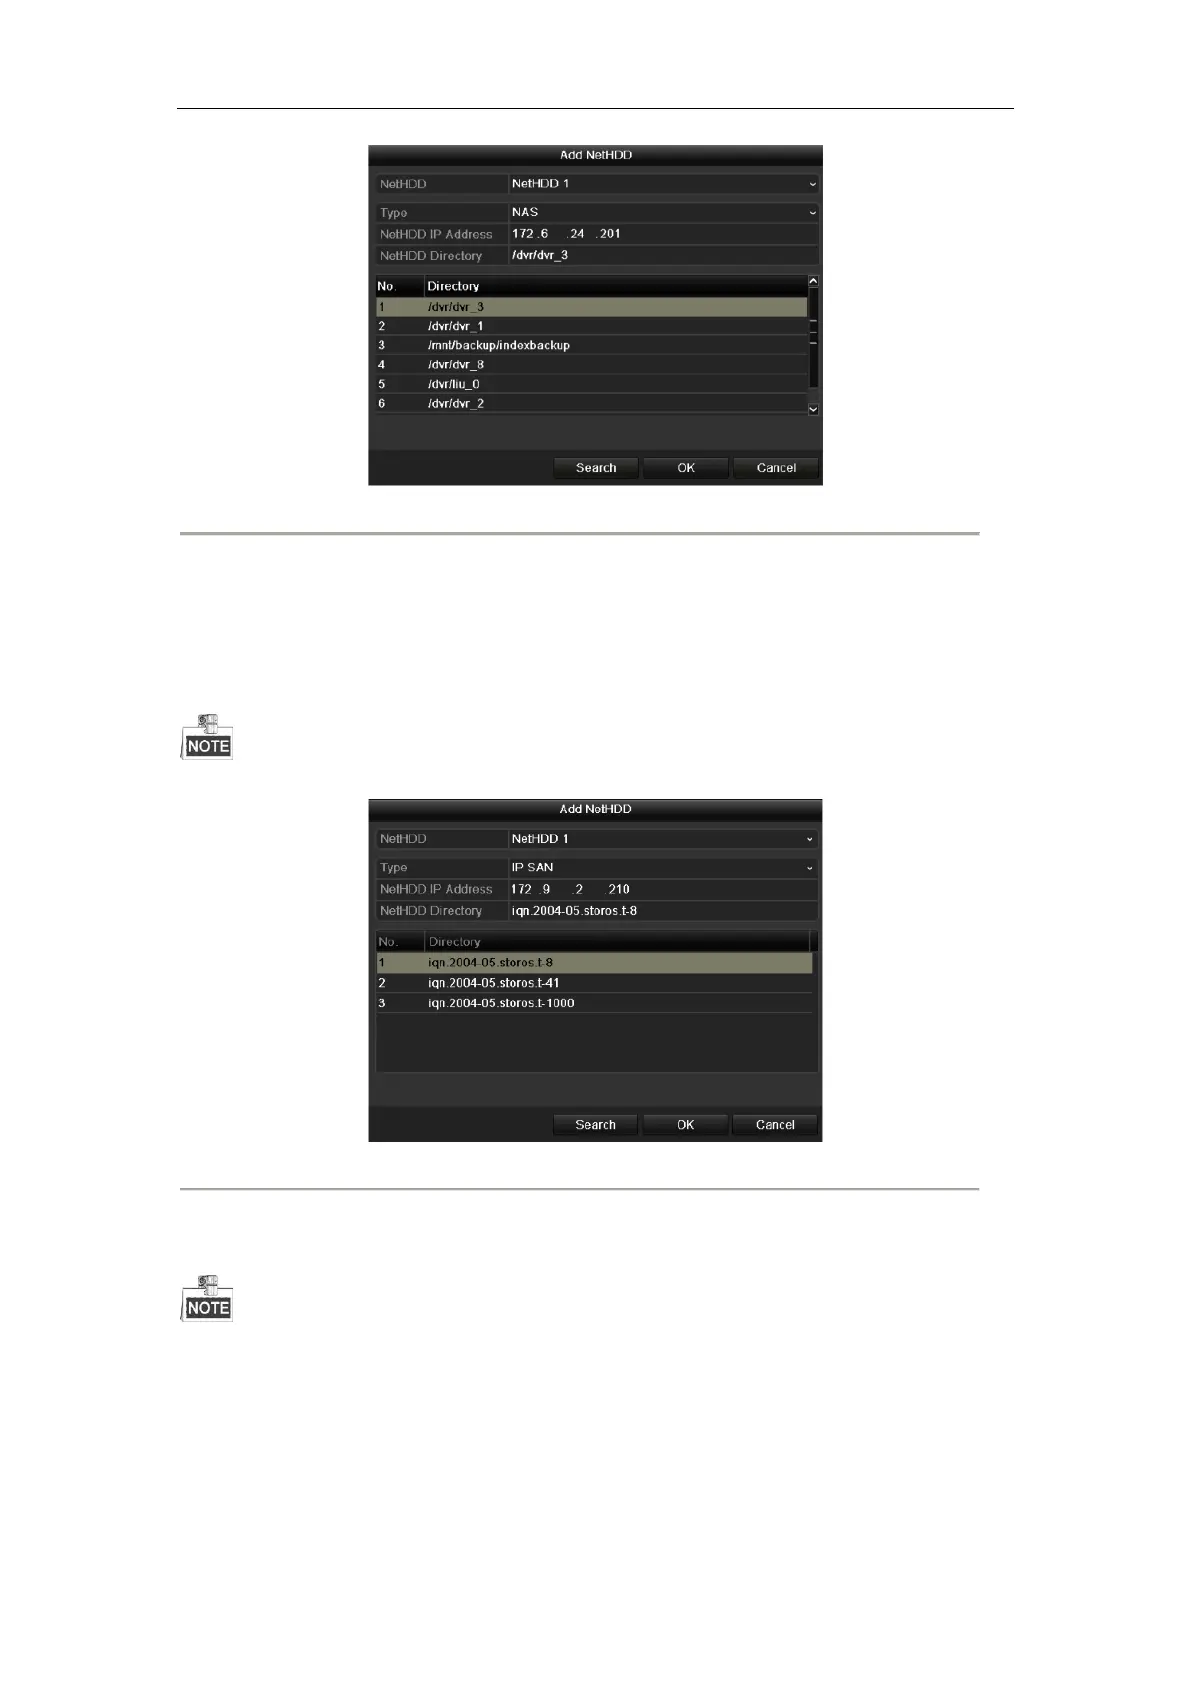
Figure 13. 8 Add NAS Disk
• Add IP SAN:
1) Enter the NetHDD IP address in the text field.
2) Click the Search button to search the available IP SAN disks.
3) Select the IP SAN disk from the list shown below.
4) Click the OK button to add the selected IP SAN disk.
Up to 1 IP SAN disk can be added.
Figure 13. 9 Add IP SAN Disk
6. After having successfully added the NAS or IP SAN disk, return to the HDD Information menu. The added
NetHDD will be displayed in the list.
If the added NetHDD is uninitialized, please select it and click the Init button for initialization.
13.3 Managing eSATA
Purpose:
When there is an external eSATA device connected to NVR, you can configure eSATA for the use of
 Loading...