EasyManuals Logo
Home>HIKVISION>Security Camera>E Series

HIKVISION E Series Quick Guide

HIKVISION E Series
40 pages
To Next Page IconTo Next Page
To Previous Page IconTo Previous Page
Page #11 background imageLoading...
Page #11 background image
E Series Network Speed Dome·Quick Guide
10
Protective Sticker
Protective Foam
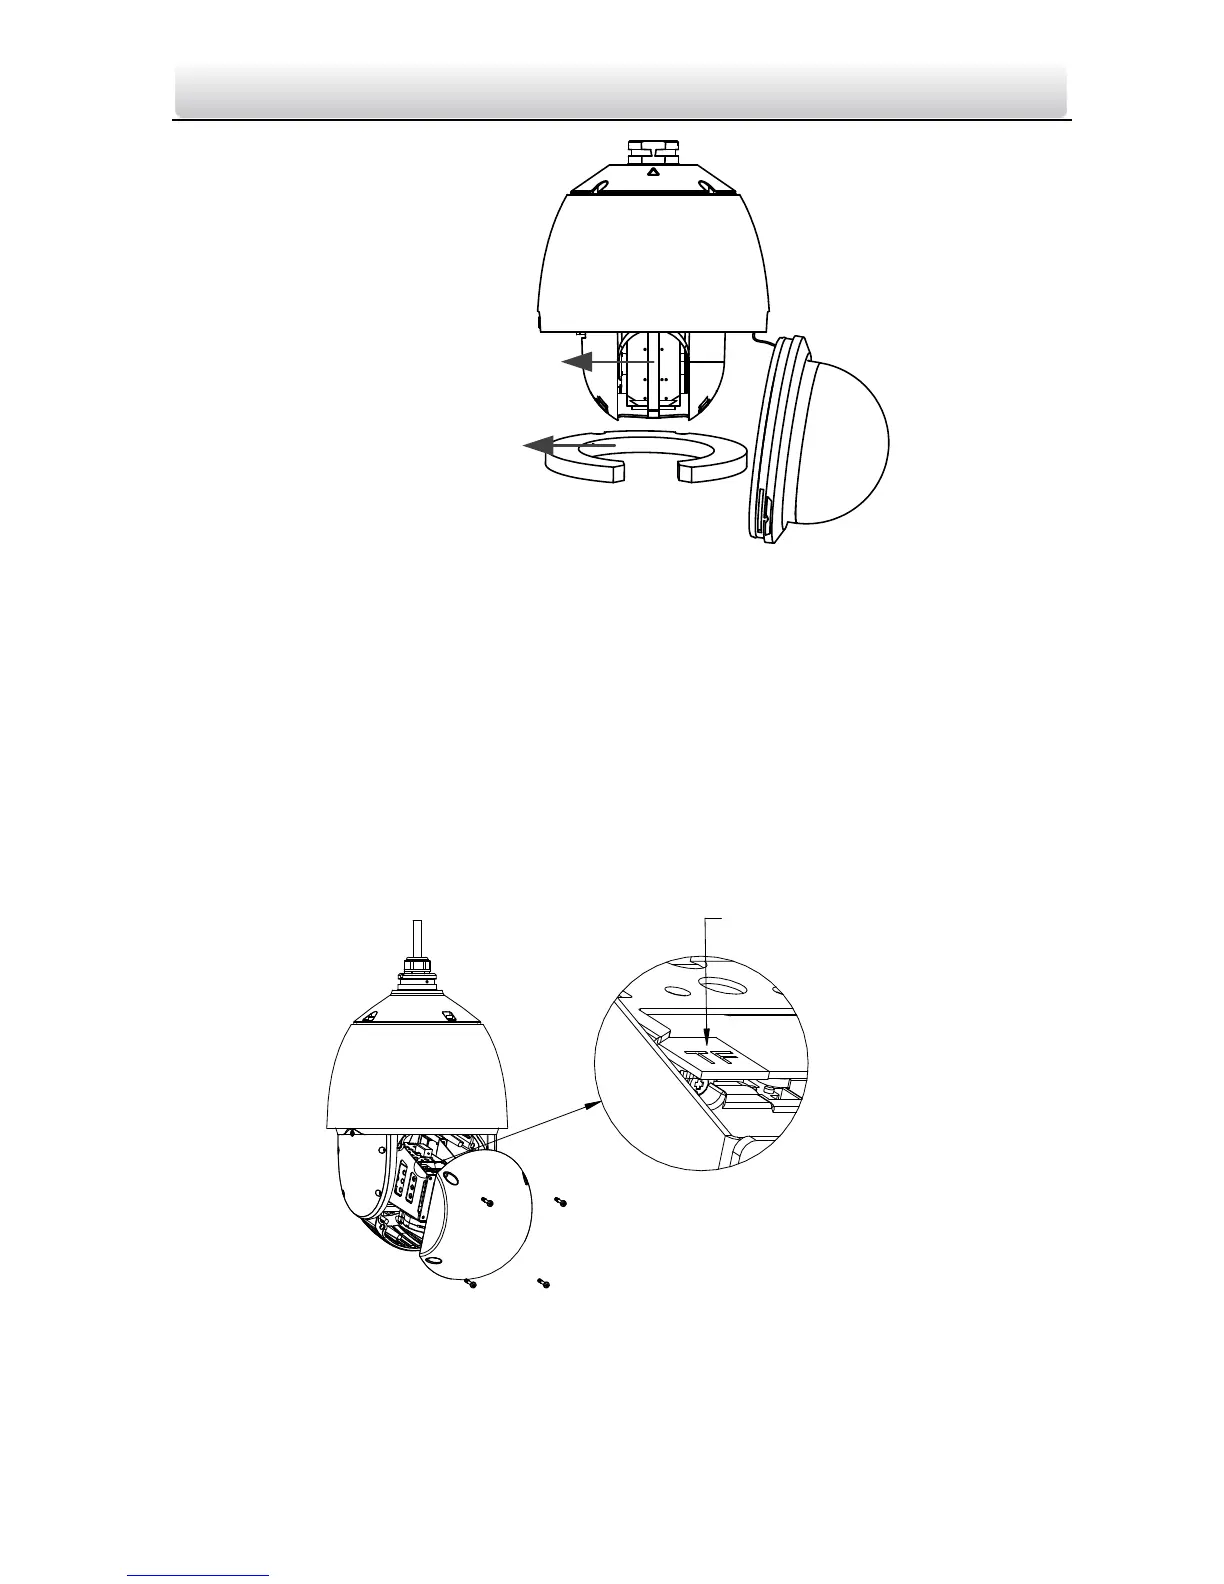
Figure 1-7 Remove the Protective Accessory
IR network speed dome: The micro SD card slot is inside the rear cover. Outdoor mini IR
network speed dome is taken as an example here. Refer to the following steps to install the
micro SD card.
Steps:
1. Loosen 4 screws in the rear cover. Remove the rear cover.
2. Insert the SD card to the slot in the correct direction. Be sure that the SD card is clicked into
place.
3. Attach the rear cover back to the speed dome. Secure the rear cover with 4 screws.
Micro SD Card Slot
Figure 1-8 Micro SD Card Slot

Other manuals for HIKVISION E Series

Questions and Answers:

Question and Answer IconNeed help?

Do you have a question about the HIKVISION E Series and is the answer not in the manual?

HIKVISION E Series Specifications

General IconGeneral
BrandHIKVISION
ModelE Series
CategorySecurity Camera
LanguageEnglish

Related product manuals