4
/
8
CHECKING PROCEDURES
CAUTION:
- In the case that multiple indoor units are controlled simultaneously, set the refrigerant cycle
number and the address of Indoor units as indicated below.
Address of Indoor Units:
Main unit 1
st
unit 2
nd
unit 3
rd
unit 8
th
unit 9
th
unit 10
th
unit 11
th
unit
4
th
unit 5
th
unit 6
th
unit 7
th
unit 12
th
unit 13
th
unit 14
th
unit 15
th
unit
4.
CHECKING PROCEDURES
1. Turn ON the power supply for all the indoor
units.
2. Set the “TEST RUN” mode by pressing the
“MODE” and “CHECK” switch simultaneously
for more than 3 seconds.
Ô
ATTENTION:
In case of the control by using two
Remote controllers (Main & Sub), the test
running shall be operated by the main
controller.
NOTE:
- The completion of the automatic address
setting requires 3 to 5 minutes after
turning ON the power supply.
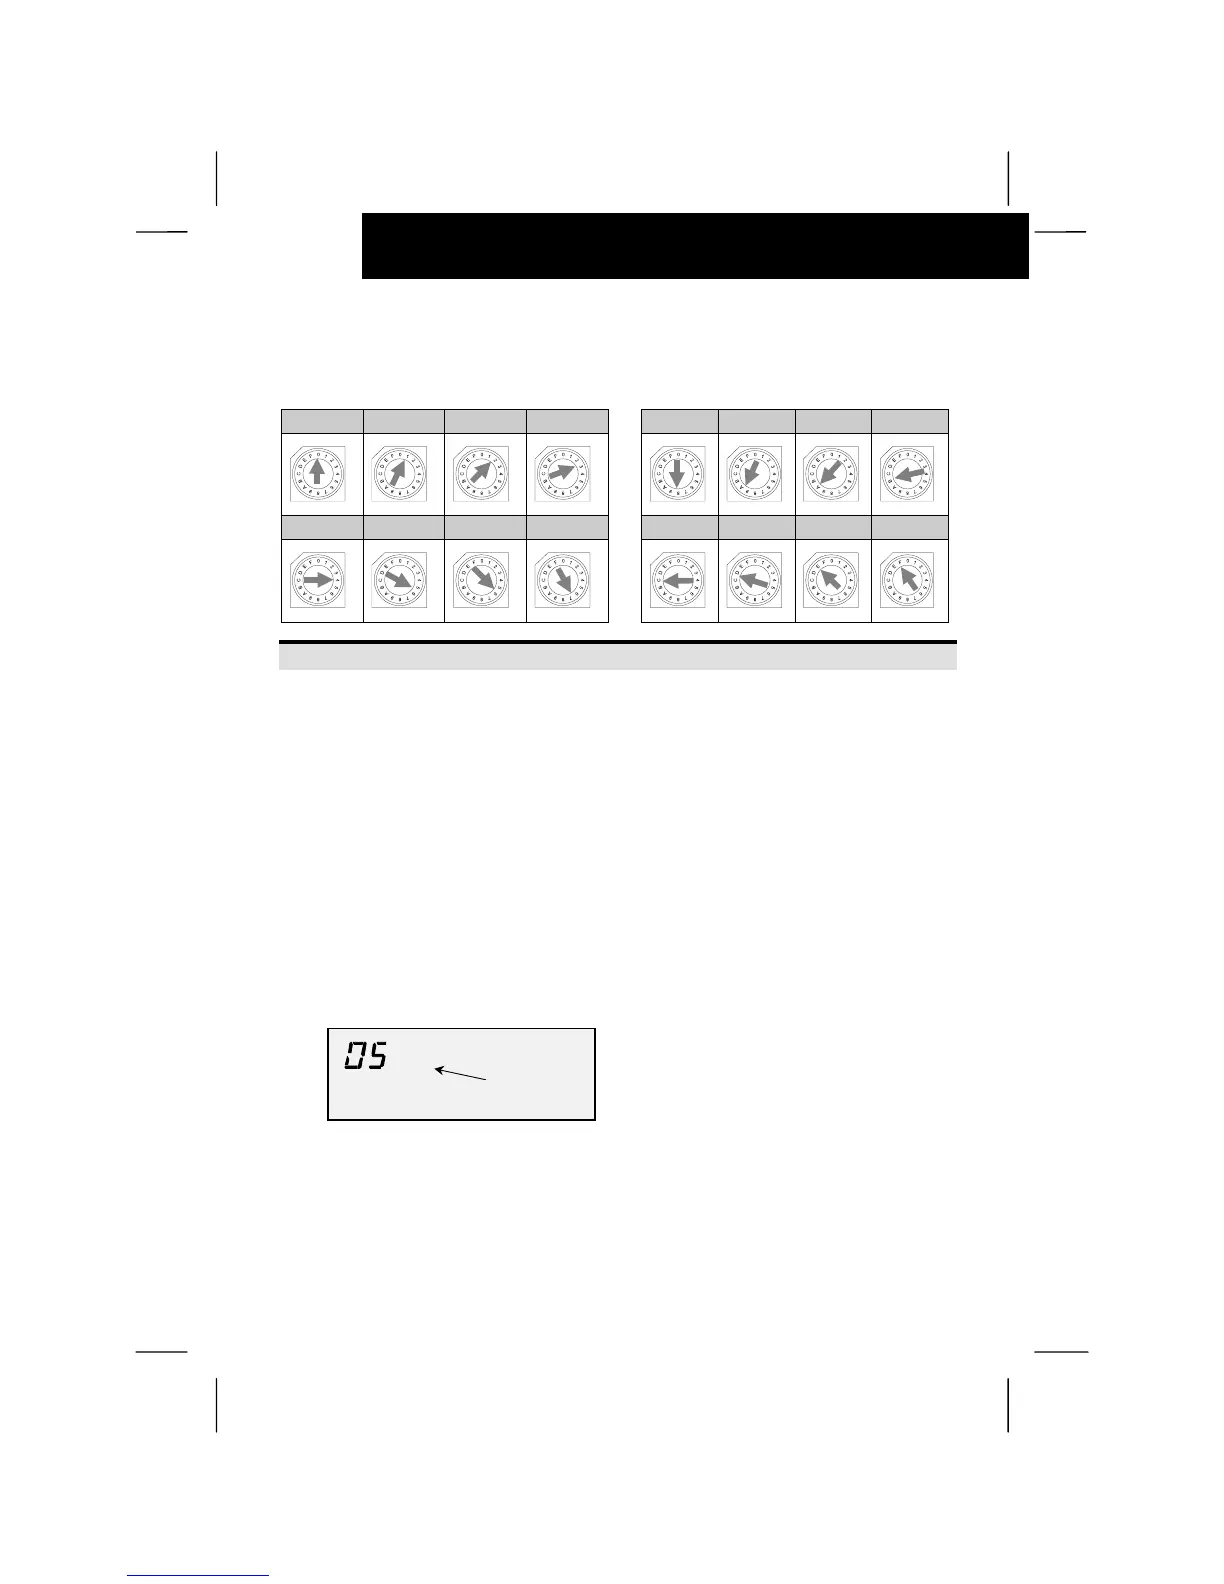
- The total number of the connected units is
indicated on the liquid crystal display.
- In case that the indicated number is not
correct, some abnormalities exist,
incorrect wiring, the electric noise, etc.
- Turn OFF the power supply and correct
the wiring after checking the following
points; (Do not repeat turning ON and
OFF within 10 seconds.)
- Power Supply for Indoor Unit is Not
Turned ON or Incorrect Wiring.
- Incorrect Connection of Connecting Cable
between Indoor Units or Incorrect
Connection of Controller Cable
- Incorrect Setting of Rotary Switch (The
setting is overlapped.) on the Indoor Units
PCB
- Check to ensure that the “Test Run”
mode is not set.
3. Canceling “Test Run” Mode
- When the unit is not operating, press the
RESET switch.
- When the unit is operating, press the
RUN/STOP switch.
CAUTION:
The setting of the indoor unit number can
not be performed by the controller.
In case of setting the unit number, refer to
the item “Address of Indoor Unit” of Item 2
“Electrical Wiring for multiple units” and
perform the setting.
Example when
5 indoor Units
are connected.
unit
 Loading...