HYDRAULIC BRAKE
MASTER CYLINDER
DISASSEMBLY
Drain brake fluid
from
the hydraulic system (page 14-3).
CAUTION
* Avoid spilling fluid on
painted,
plastic, or rubber parts. Placea
rag over these parts whenever the system is serviced.
Remove the
rear
view mirror.
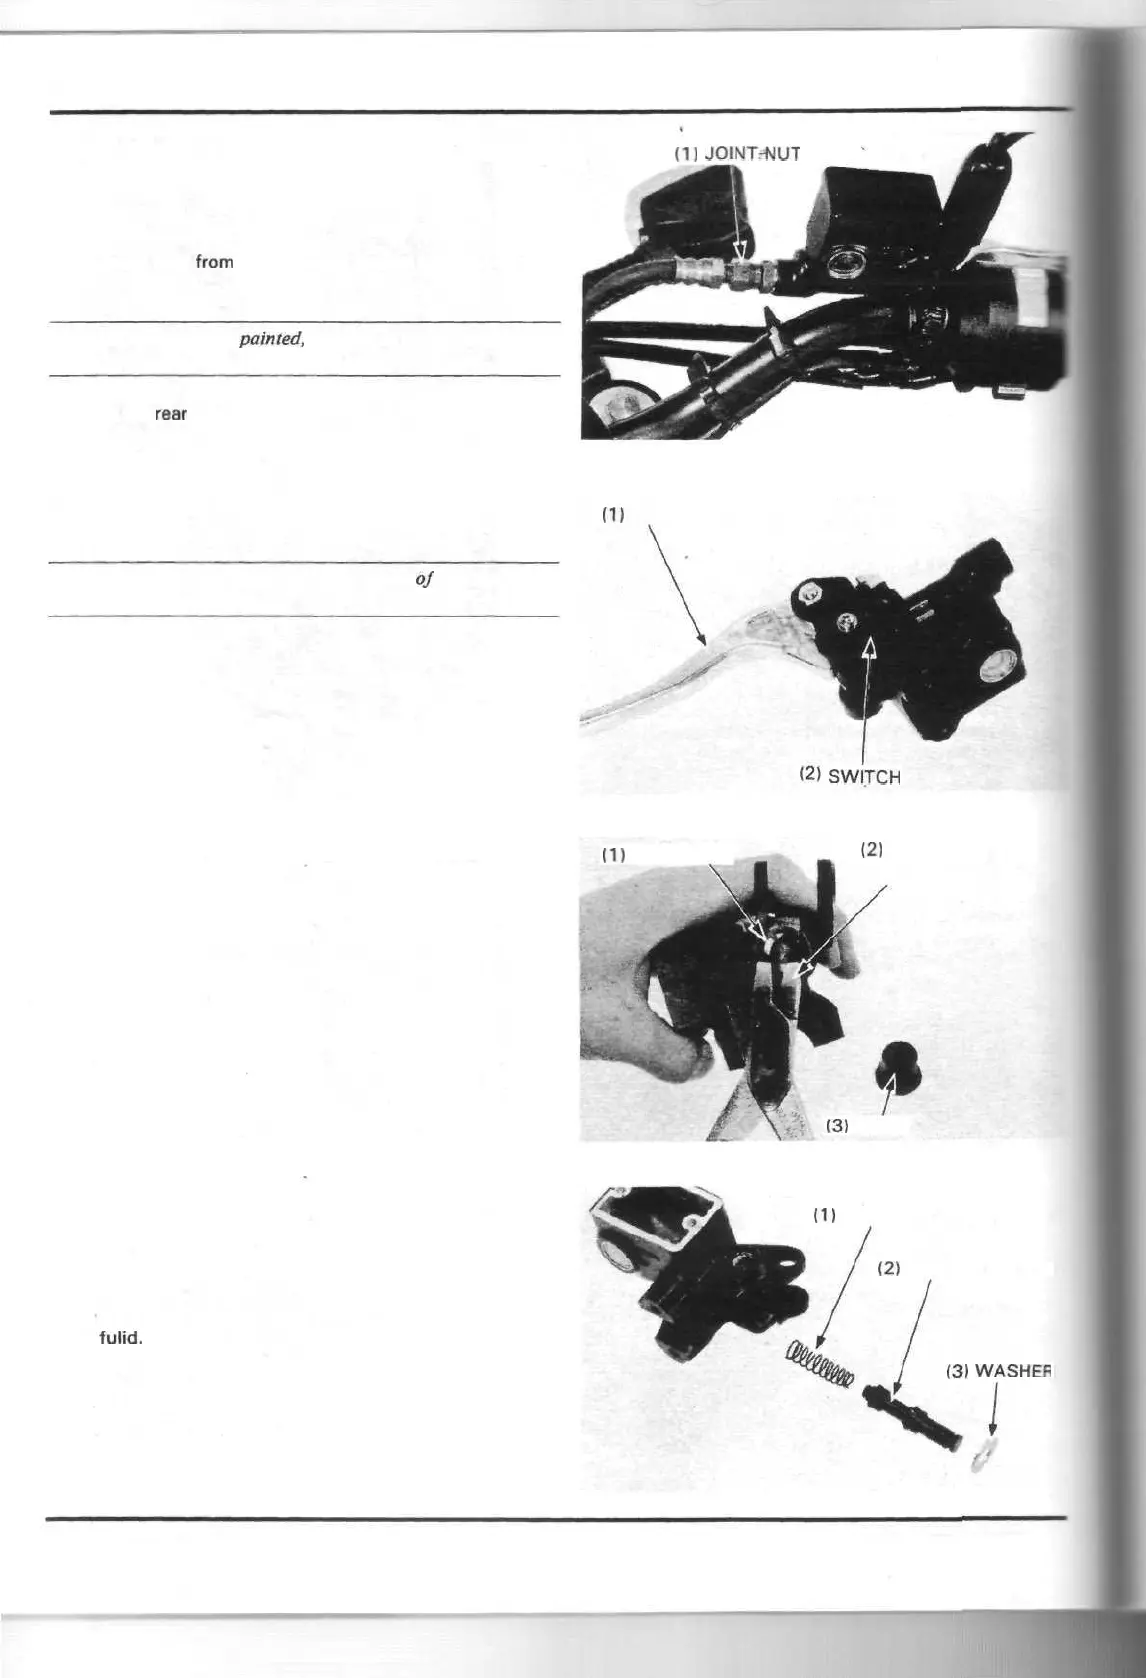
Loosen the brake hose joint nut and disconnect the brake hose
from the joint.
Disconnect the front brake light switch wires.
Remove the master cylinder.
CAUTION
• When removing the brake hose cover the end
of
the hose to pre-
vent contamination.
Remove the brake lever by removing the pivot nut and bolt.
Remove the brake light switch by removing the screw.
(1]
JOINTrNUT
ID
LEVER
SWITCH
Remove the piston boot.
Remove the snap ring from the master cylinder.
TOOL:
Snap ring pliers 07914-3230001 or
equivalent commercially
available in U.S.A.
(1)
SNAP RING
(2)
SNAP RING
PLIERS
(3)
BOOT
Remove the following:
— washer
— master piston
— spring
Clean the master cylinder, reservoir and master piston in clean
brake
fulid.
(1)
SPRING
(2)
MASTER PISTON
(3)
WASHER
14-6

 Loading...