31
9.5 Activating the LED
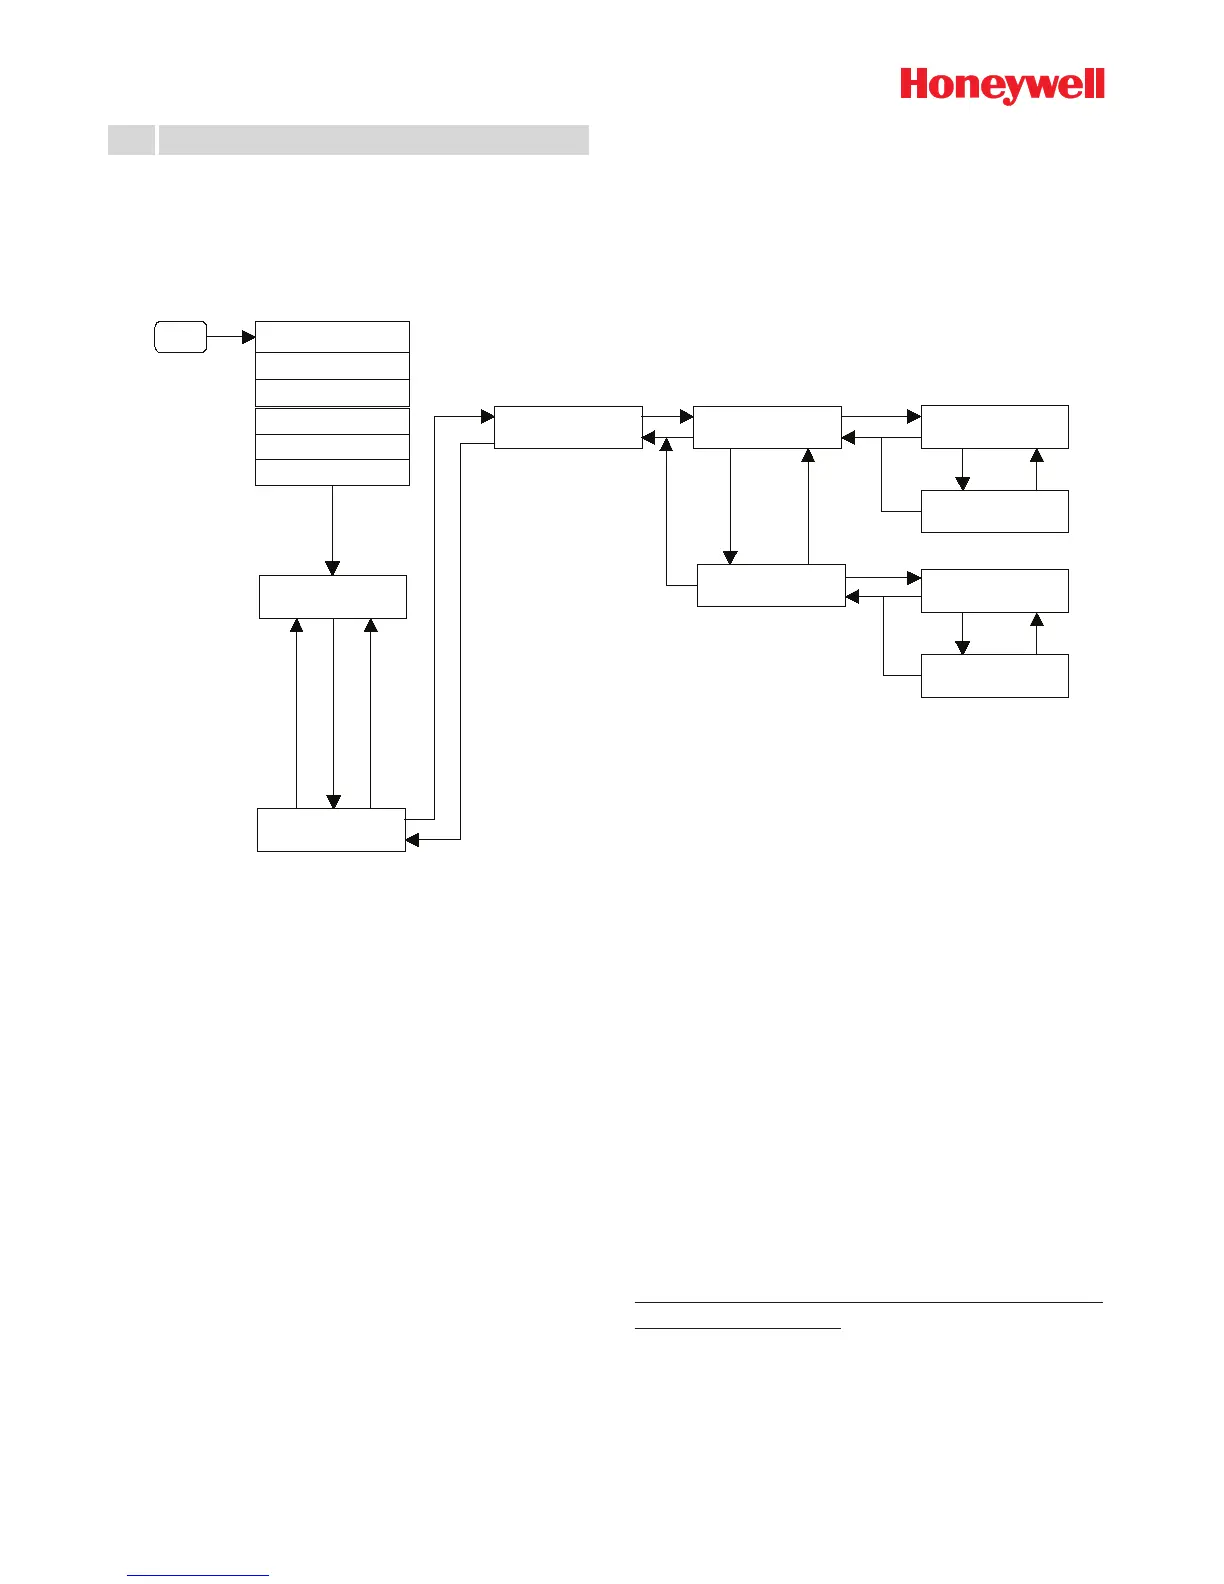
Refer to Figure 9-5.
The LED can be activated on 2 modes:
• one is temporary, it is automatically erased when the unit is switched off, in order to save the battery life;
• the other is permanent, it will stay even is the unit is switched off.
9.5.1 Temporary setting of the LED
• Switch on the equipment,
• Wait until the temperature is displayed,
• Press on “+” to enter the settings menu,
• Press on “enter”; “LED menu” is displayed,
• Press on “enter”; “LED” is displayed,
• Press on “enter”, then select by pressing “+” the mode:
“LED yes” or “LED no”.
• Press “-” two times to come back in measurement
mode.
It is always possible to change the status of the LED
during gauging, by using the same menu again. If not
done before, switching off the unit will automatically light
off the LED.
9.5.2 Permanent setting of the LED
• Switch on the equipment,
• Wait until the temperature is displayed,
• Press on “+” to enter the settings menu,
• Press on “enter”; “LED menu” is displayed,
• Press on “enter”; “LED “ is displayed,
• Press on “+”, “LED Set.” is displayed,
• Press on “enter”,
• “Enable” or “disable” the LED by pressing on “+” one or
more times,
• Press “-” two times to come back in measurement mode.
The new setting is stored in the permanent memory.
Remember that the LED needs an extra power and reduces
the battery life accordingly.

 Loading...