– 34 –
USER FUNCTIONS
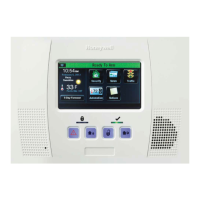
User Access
Ready To Arm
5200-100-037-V0
Master ****
Guest ****
Edit Add New Delete
Duress ****
4. Select the “Add New” key. The system displays the User
screen.
Note: **** Following a User name indicates that a valid 4-digit User
Code has been assigned to the User.
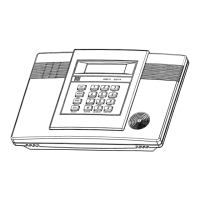
Ready To Arm
5200-100-038-V0
Name
User 3
Save
User Code Z-wave Lock Control
No
03
5. Select the “Name” key, the system displays a keyboard.
Note: The Z-wave Lock Control option is only displayed if Z-Wave has
been enabled.
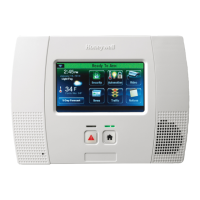
Ready To Arm
5200-100-039-V0
A
Q
User3
Z
S
W
L
OP
M
K
I
N
J
U
V
G
T
B
H
Y
C
F
R
X
D
E
Clear
Done
123!@#
abc...
6. If desired you can enter a User Name. Select the “Clear” key
and then enter up to 10 characters of text.
Note: Select the “ABC…” key to switch the keyboard between
upper/lower case or the “123!@#” key to switch to numbers.
7. Once you are finished, select “Done”. The system displays
the Keypad screen.
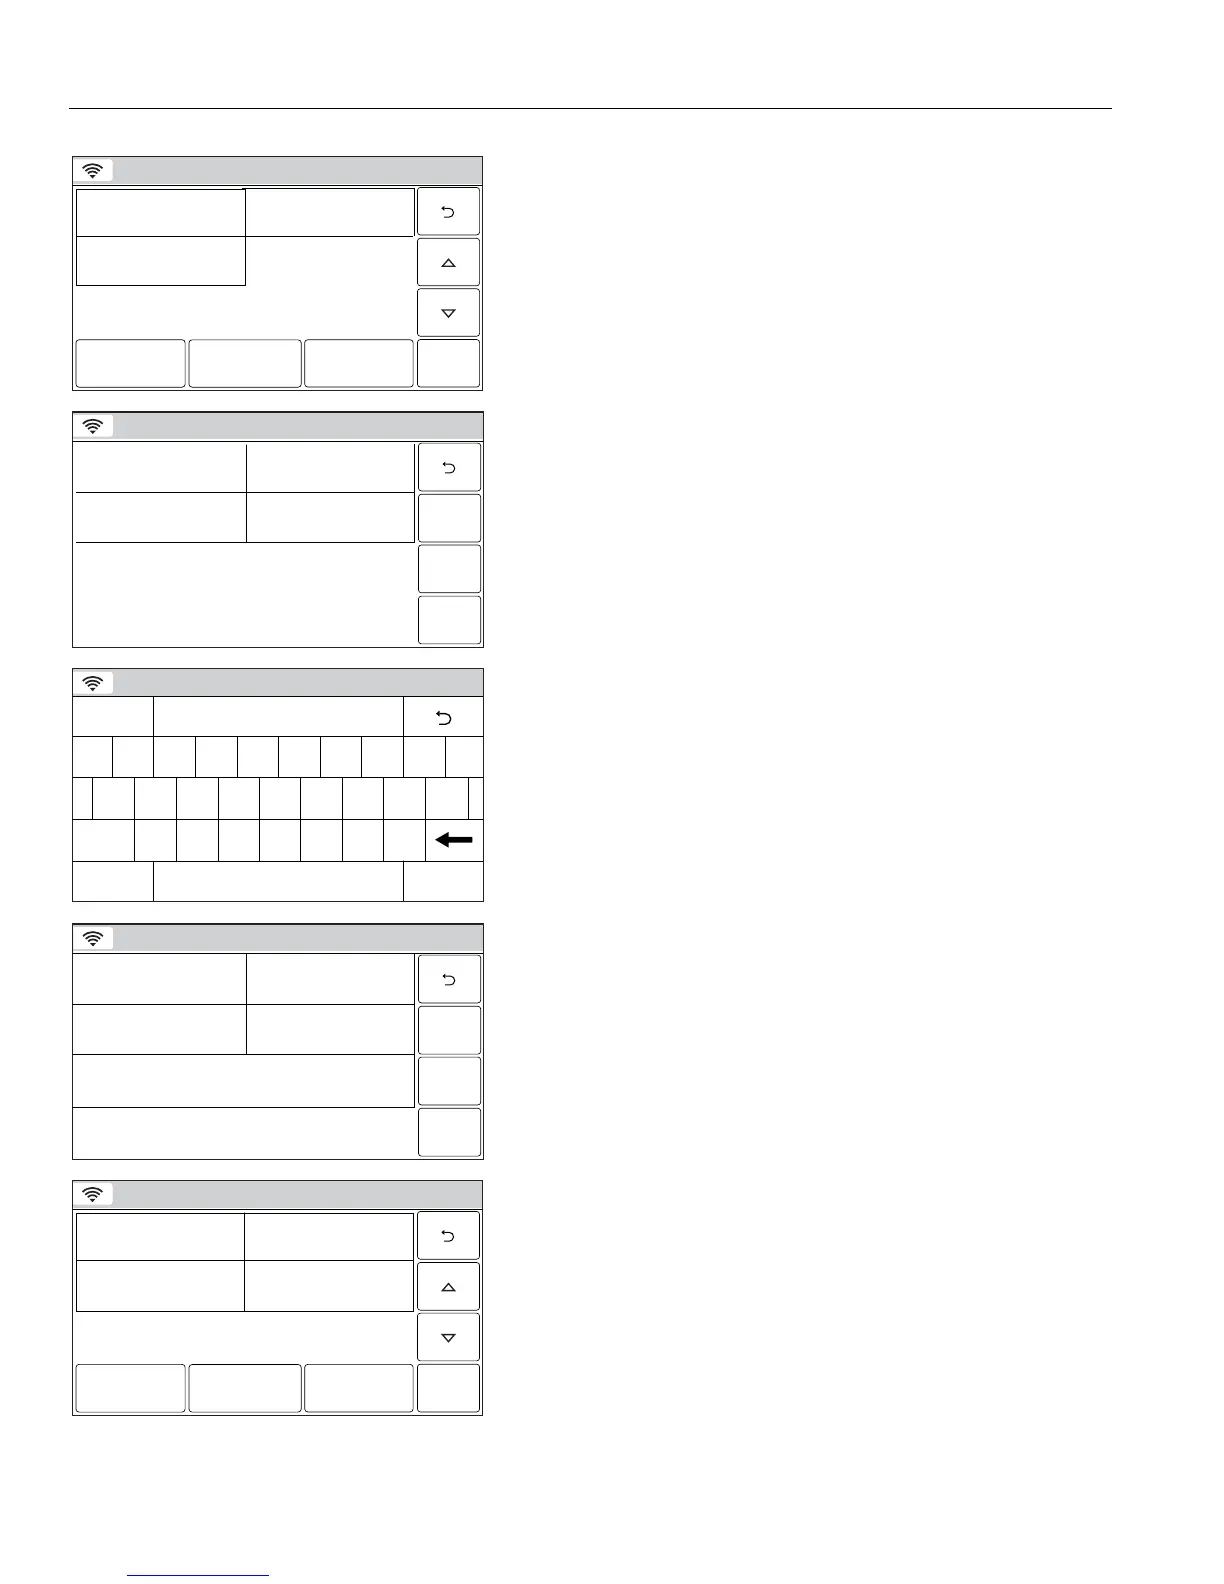
Ready To Arm
5200-100-040-V0
Name
Thomas
Save
User Code
****
Z-wave Lock Control
Yes
03
Z-wave Unlocking Door
Disarm
Ready To Arm
5200-100-041-V0
Master ****
Thomas ****
Guest ****
Edit Add New Delete
Duress ****
8. Enter the 4-digit code for the new User followed by “Done”.
The system returns to the Users Programming screen and
the new User is displayed and along with
****.
9. If a Z-Wave door lock is installed, select the “Z-wave Lock
Control” key to enable the User. The system toggles
between “No” and “Yes”. When “Yes” is selected, the User
Code will be synchronized with all enrolled Z-wave door
locks allowing the same User Code to be used at the door
locks.
Note: The number of User Codes supported by each door lock varies
between manufacturers. To ensure compatibility, set the length
of the Master User Code on the door lock to be greater than four
digits.
10. If “Yes” is selected the system displays the “Z-wave
Unlocking Door” key.
11. Select the “Z-wave Unlocking Door” key. The system toggles
between “Disabled” and “Disarm”. When “Yes” is selected,
entering a valid User Code with Z-wave Lock Control
enabled at the door lock will disarm the system.
12. Once the User programming is complete select “Save”. The
system returns to the Users screen and the new User is
shown.
Note: **** Following a User name indicates that a valid 4-digit User
Code has been assigned to the User.
 Loading...