7. Using the hole in the AP Bracket as a guide, drill or cut a hole in the ceiling tile at the desired
position large enough to pass through the Ethernet connector. Alternatively, you can run a
cable outside of the ceiling tile and through the cable channel.
8. Slide the ceiling tile to the side. Feed the Ethernet cable down from above and through the
hole in the tile and through the hole in the AP Bracket. Pull through an extra 60 cm (2 feet) of
cable.
Attaching the AP to the mounting bracket
1. Connect the Ethernet cable to the AP Ethernet port.
2. Hold the bottom side of the AP against the AP Bracket, aligning the AP tab slots with the AP
retention tabs on the AP Bracket. Pull back any Ethernet cable slack at the same time.
3. While firmly holding the AP against the AP Bracket, slide the AP toward the AP Bracket lock
tab so that the AP snaps onto the bracket. DO NOT let go of the AP until you confirm that it
is firmly in place.
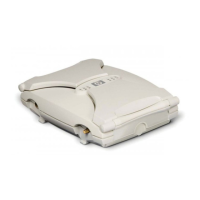
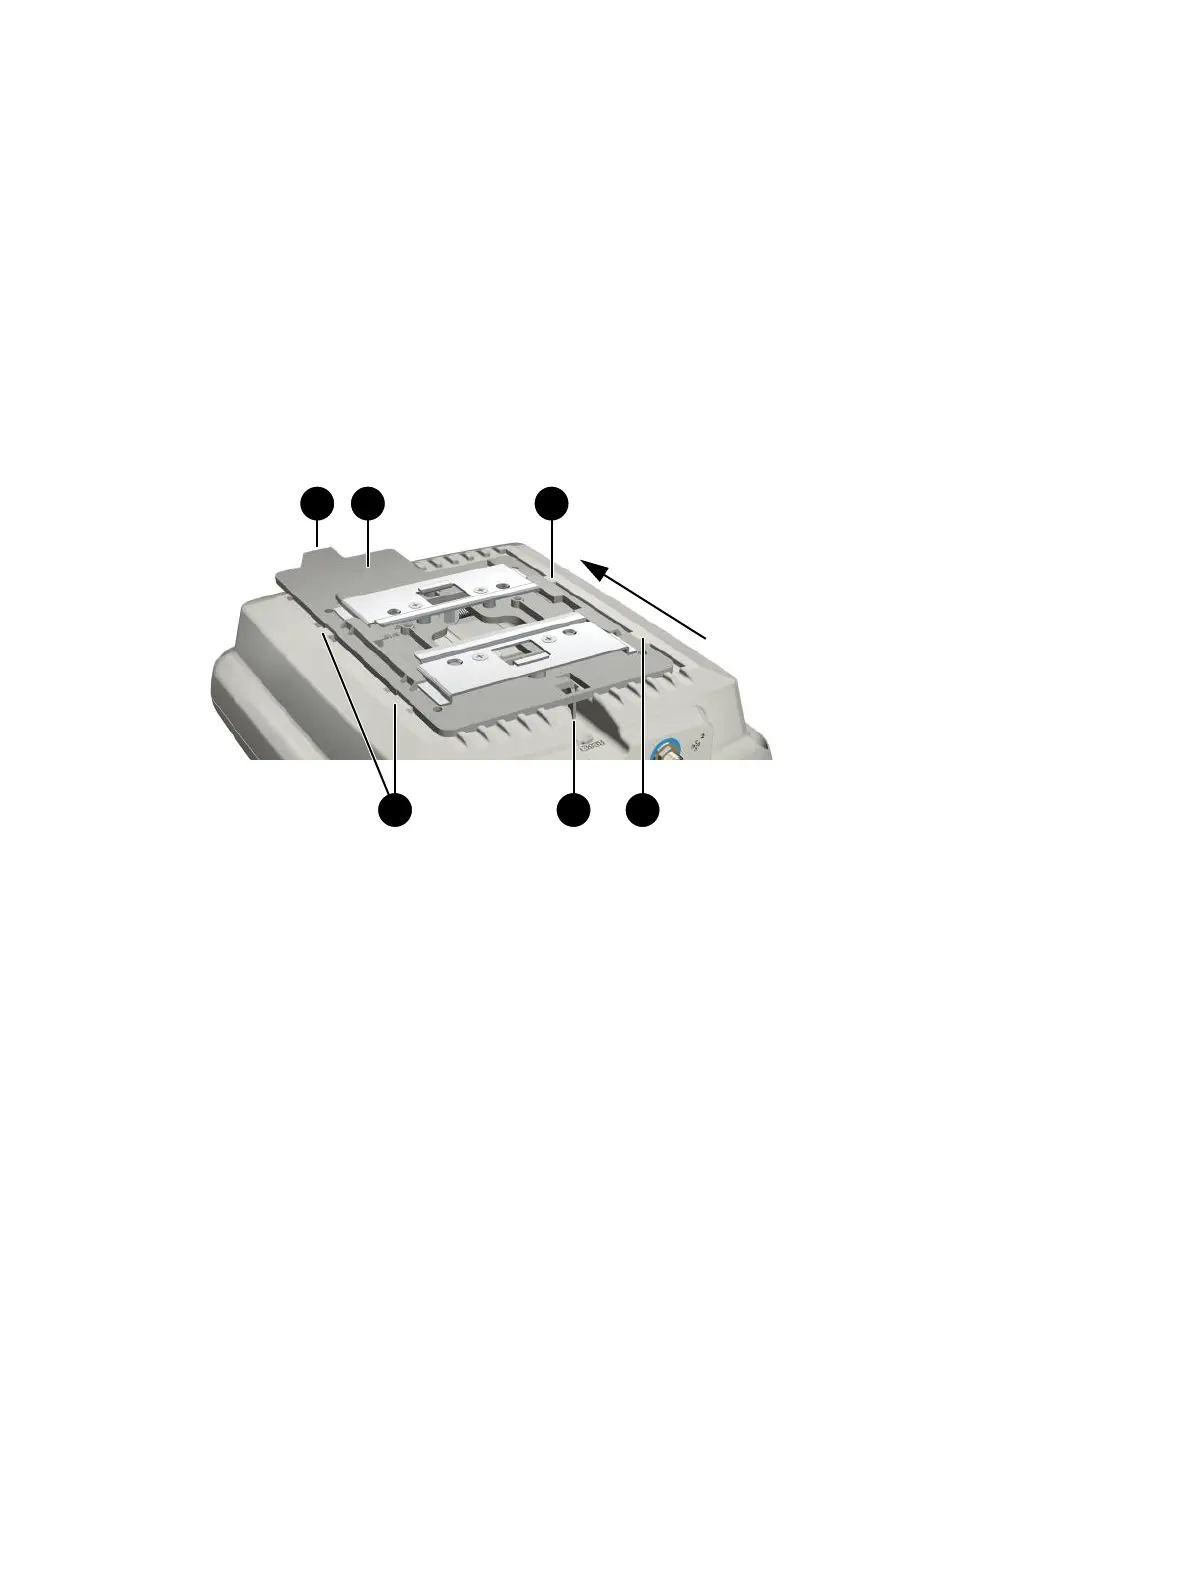
AP attached to bracket
3: AP tab slots snapped onto AP Bracket retention tabs1: AP Bracket lock tab
4: AP Bracket latch2: AP Bracket
Securing the AP
It is strongly recommended that as soon as the AP is installed, you perform the following.
1. Install at least the retention screw that anchors the AP Bracket to the AP.
12 Installation
 Loading...