Lift the LCD Assy straight up about 1 inch. The Icon Assy will lift up with the display. Move the Icon Assy out of the way. The cable from the
Icon Assy to the PCA PT-ICON does not need to be removed if only the LCD Assy is being removed. Otherwise, slide the connector sleeve up to
remove the Icon Assy cable.
If only the Icon Assy is to be removed, the LCD Assy may be lowered back into position.
To remove the LCD Assy, remove the two cables attaching the LCD Assy to the PCA PT-ICON . Lastly, remove the two screws attaching the
grounding straps to the PCA PT-ICON. The LCD Assy can now be removed the rest of the way.
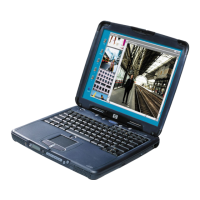
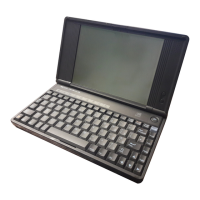
Notice that the display cabling assembly on the OmniBook 5500 is different than on the OmniBook 5000. The LCD Assy is not transferable
between the two models.
To reinstall the LCD Assy or Icon Assy, just reverse the above procedure. When reinstalling the LCD Assy, make sure that the two posts on
either side of the Assy line up parallel with their slots in the top case. If they are not parallel, the post will get caught inside the top case
before the display is seated completely. If this happens, remove the display and line the posts up properly.
20
 Loading...


