9.
Remove the power switch cable from the clips located in the optical drive bay on the inside of the
chassis.
To install the power switch/LED assembly, reverse the removal procedures.
System Fan
1.
Prepare the computer for disassembly (
Preparation for Disassembly on page 42).
2.
Remove the access panel (
Access Panel on page 43).
3.
Lay the computer on its side with the rear facing toward you.
4.
Disconnect the cable from the red/brown system board connector.
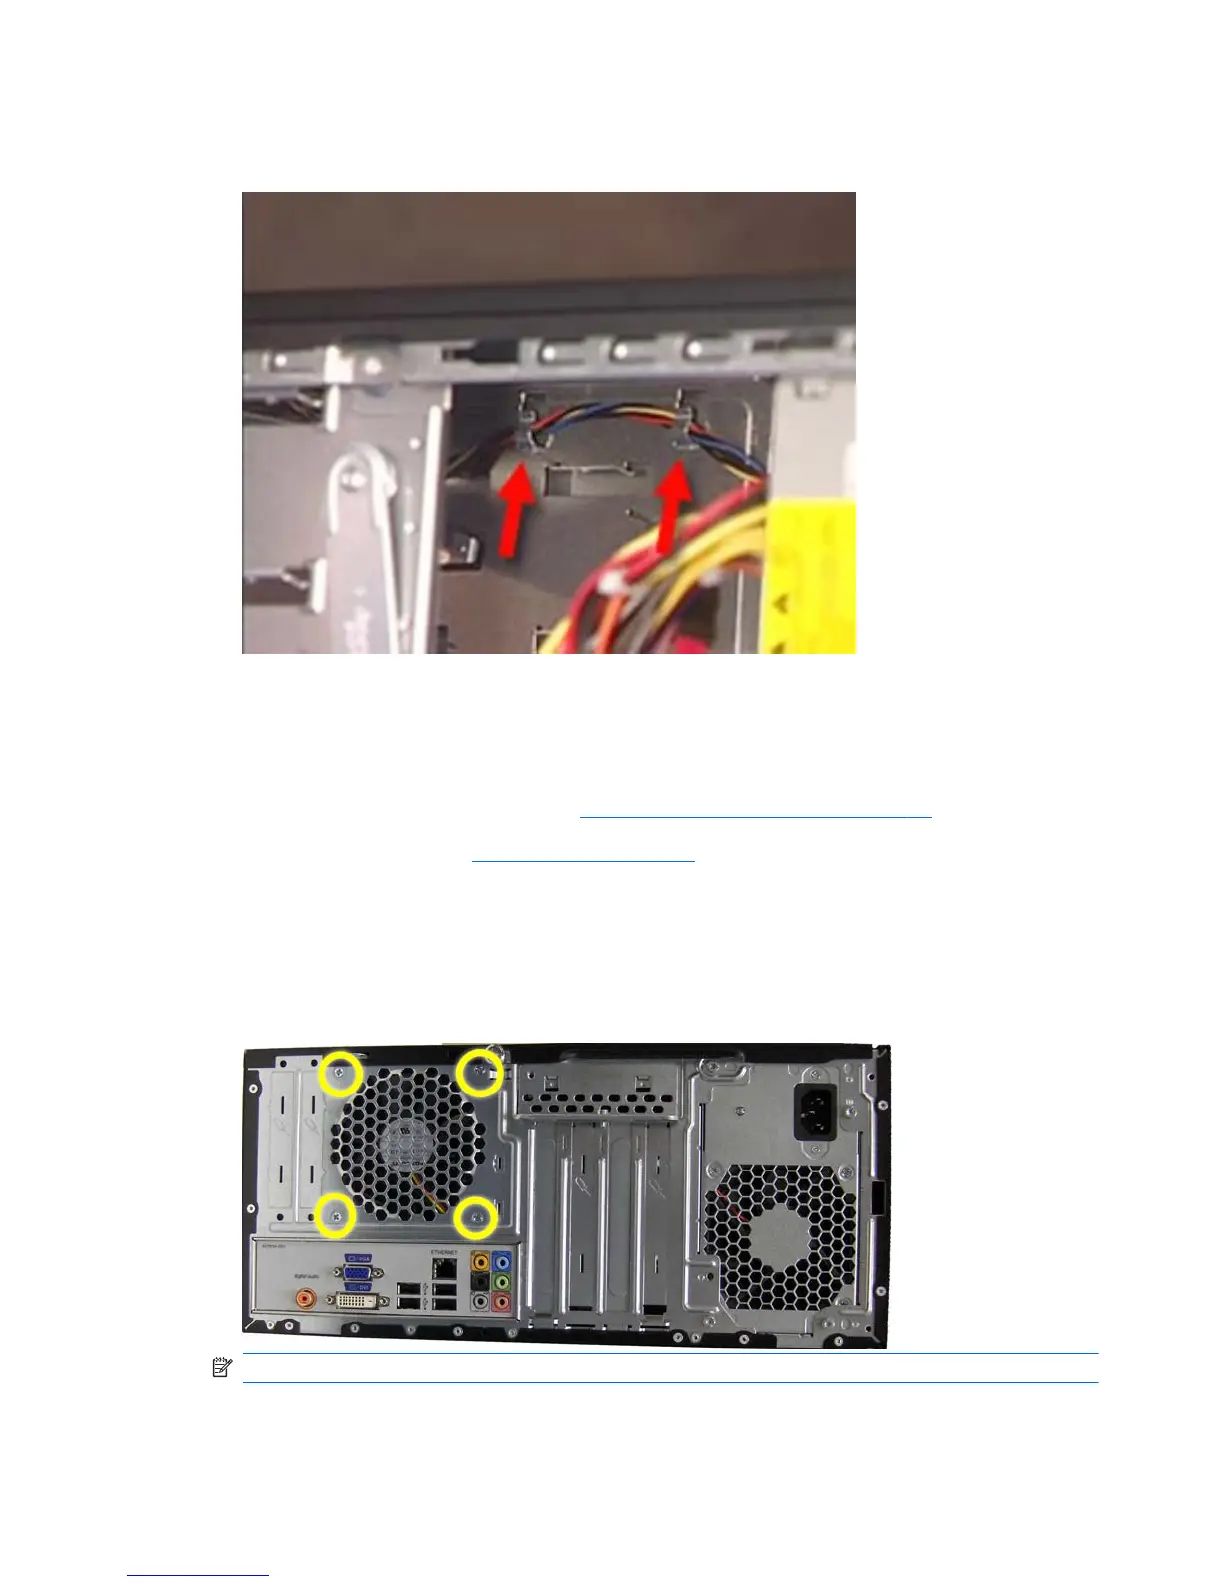
5.
Remove the four Phillips screws that secure the fan to the chassis, rotate the top of the fan forward,
and then remove the fan from the chassis.
NOTE: Rear I/O panel appearance may vary.
To install the fan, reverse the removal procedures.
74 Chapter 5 Removal and Replacement Procedures Minitower (MT) Chassis
 Loading...