2-7
Installing the Switch
Installation Procedure
Under-Table Mounting
You can mount the switch under a wood table.
Caution The switch should be mounted only to a table surface that is at least 3/4-inch
(19.1 mm) thick.
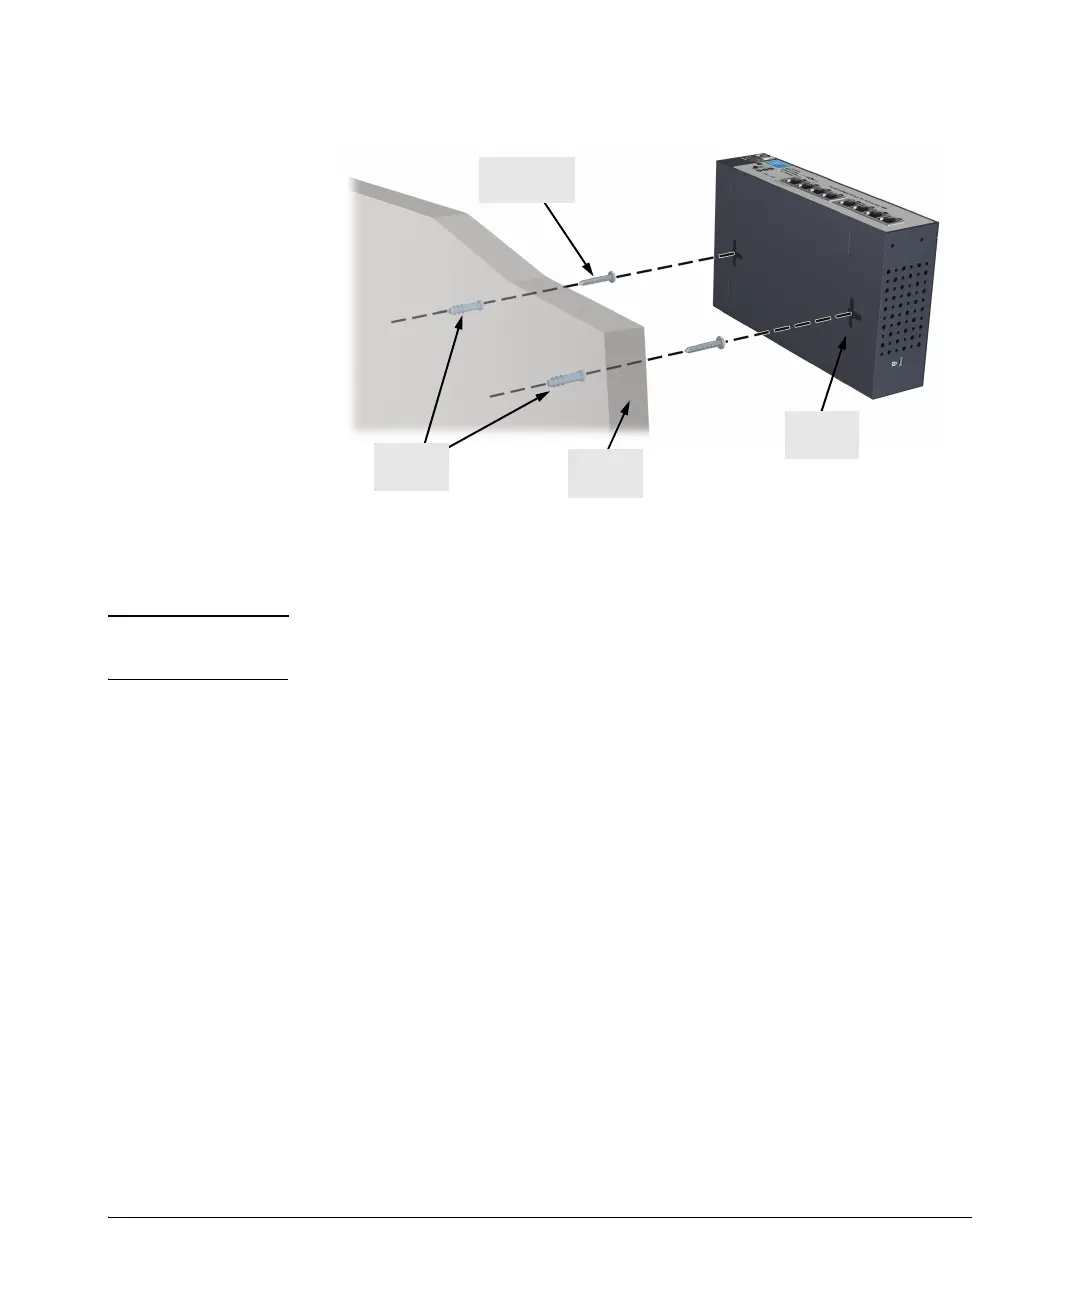
1. Position the mounting template (included in the Quick Setup Guide) on
the table, and mark the position for the mounting screws. The mounting
screws must be 5.5 in. (140 mm) apart.
2. Screw the two 20-mm M4 tap screws into the table, leaving about 3 mm
(0.12 in.) clearance from the table. For tables made of hard woods, first
drill pilot holes for the screws.
3. Position the switch over the mounting screws, and then slide the switch
sideways to secure it to the table.
4. Screw a third 20-mm M4 tap screw into the table against one side of the
switch to secure it in place.
20-mm M4
tap screws
Mounting
slots
Concrete
wall
Wall
plugs
 Loading...