2 Drive Installation
Tools Required
A 3/16” (5mm) flat-blade screwdriver or T-15 Torx driver may be required to install a drive in the
3U rack-mount enclosure.
CAUTION: To avoid damaging the equipment due to electrostatic discharge, be sure to review
and practice the procedures in Electrostatic discharge before handling the drives.
Drive Tray Removal and Installation
The drive tray holds either one full height drive or, up to two 1/2 height drives. To remove and
install a drive into the drive tray:
1. If on, power down the storage enclosure and disconnect the power cord and data cables.
2. Remove the enclosure from the rack.
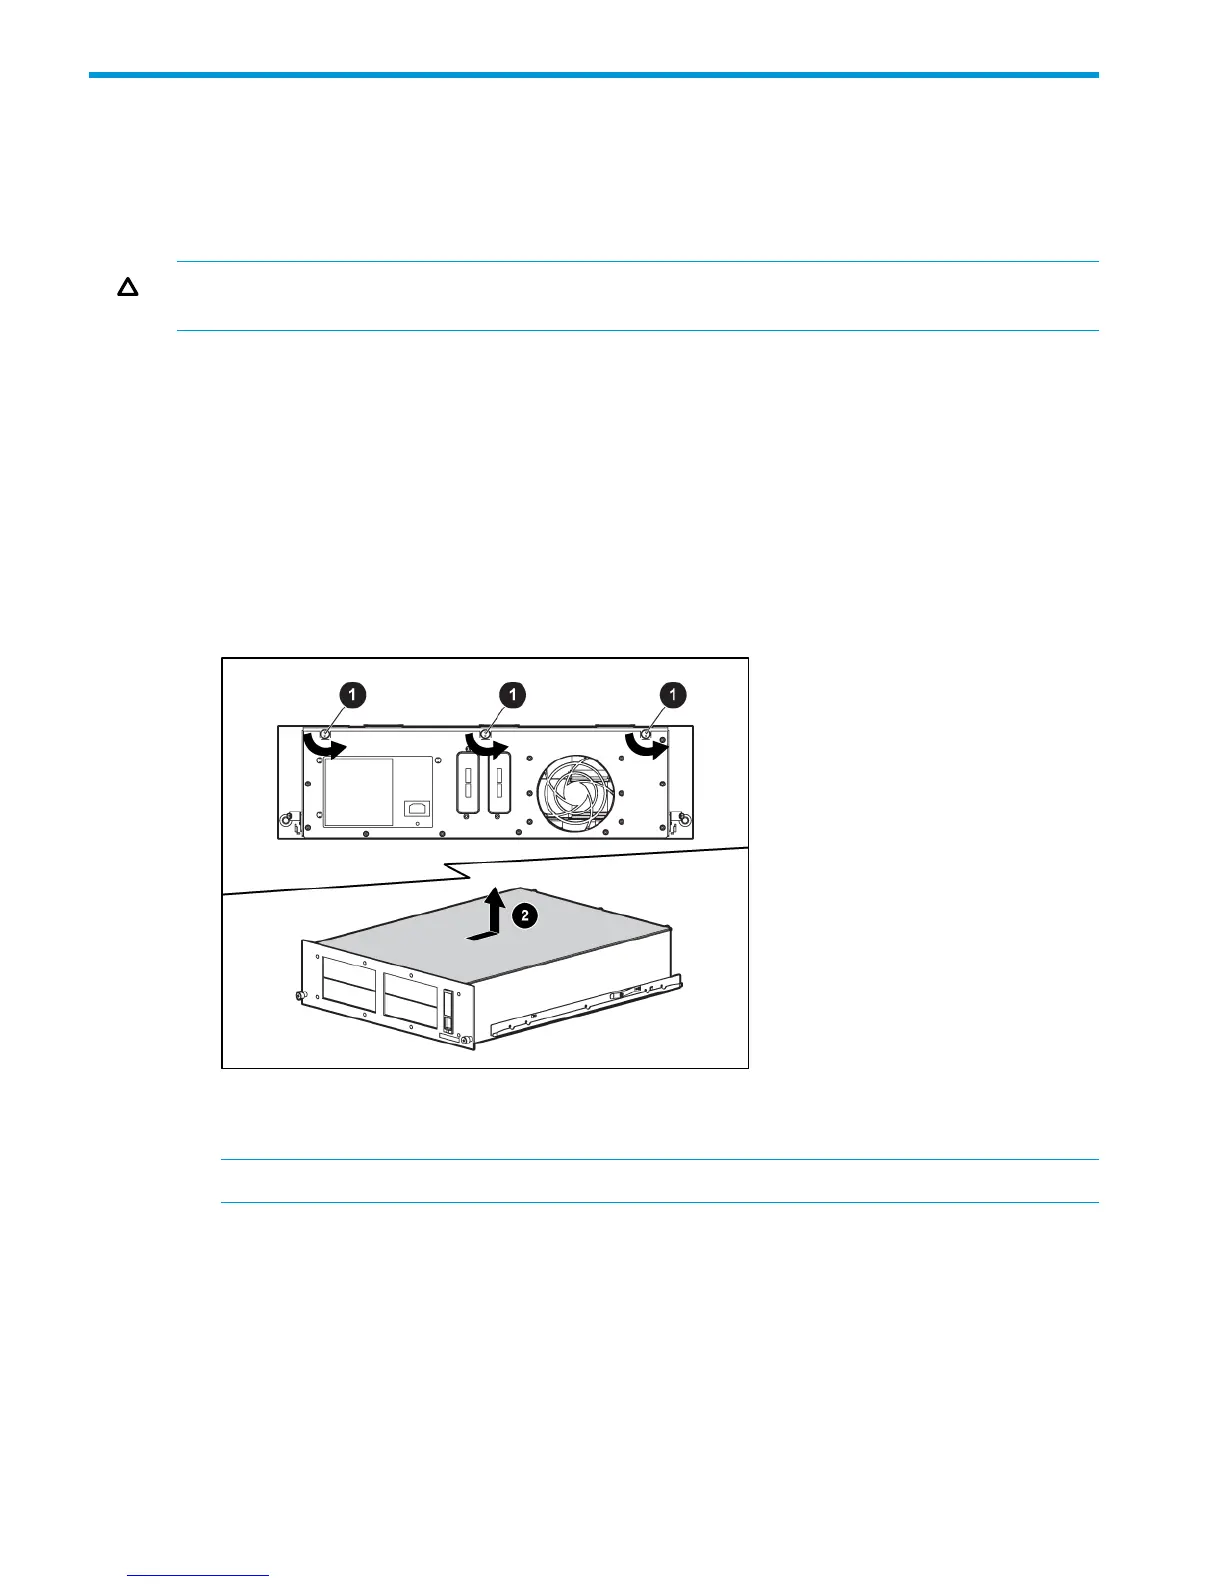
3. Remove the top access panel from the enclosure.
1. Loosen the three thumbscrews on the rear of the top cover.
2. Slide the top cover to the rear of the product and then lift it from the enclosure.
Figure 9 Removing the top access panel
4. Use the Torx driver to remove the shipping screw, if present, from the drive tray next to the
thumbscrew.
NOTE: Retain the shipping screw. You will need it again if you move the unit.
5. Loosen the thumbscrew.
6. Remove the drive tray.
1. Push the tray toward the rear of the storage enclosure.
2. Pull the tray up and out at an angle.
10 Drive Installation
 Loading...