44 Husqvarna service manual 104 72 30-26
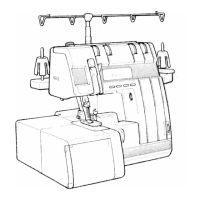
Rear cover
Dismounting
Upper cover
Undo the two screws behind the handle.
Insert a screwdriver from the side of the recess for
the handle and carefully push out the upper edge.
At the same time push the cover upward.
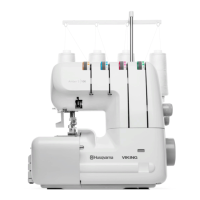
Lower cover
Loosen the screw and push the cover to the right.
Front cover
Dismounting
Turn off the main switch.
Dismount the rear cover and the lamp
guard (A).
Loosen the screw in the cable groove (B).
Loosen the four screws (C).
Press the buttons for On/Off and for the
feed dip.
Push the cover carefully upward.
Remove the two cables that are connected
to the circuit board.
The parts of the front cover
Loosen the three cords from the LCD-board (A).
Loosen the screws that hold the LCD-board and
the printed circuit for the guide (B).
The LCD-board may now be removed and
thereafter the guide board.
Mounting
Fit in the 3 pushbutton assemblies (C) into
their guides.
Fit the printed circuit for the guide into
its place.
Attach the display board under the hook on
the lower edge, fit support (D) into its place.
Fit the insulating plate and tighten the screws.
Connect the cords.
 Loading...