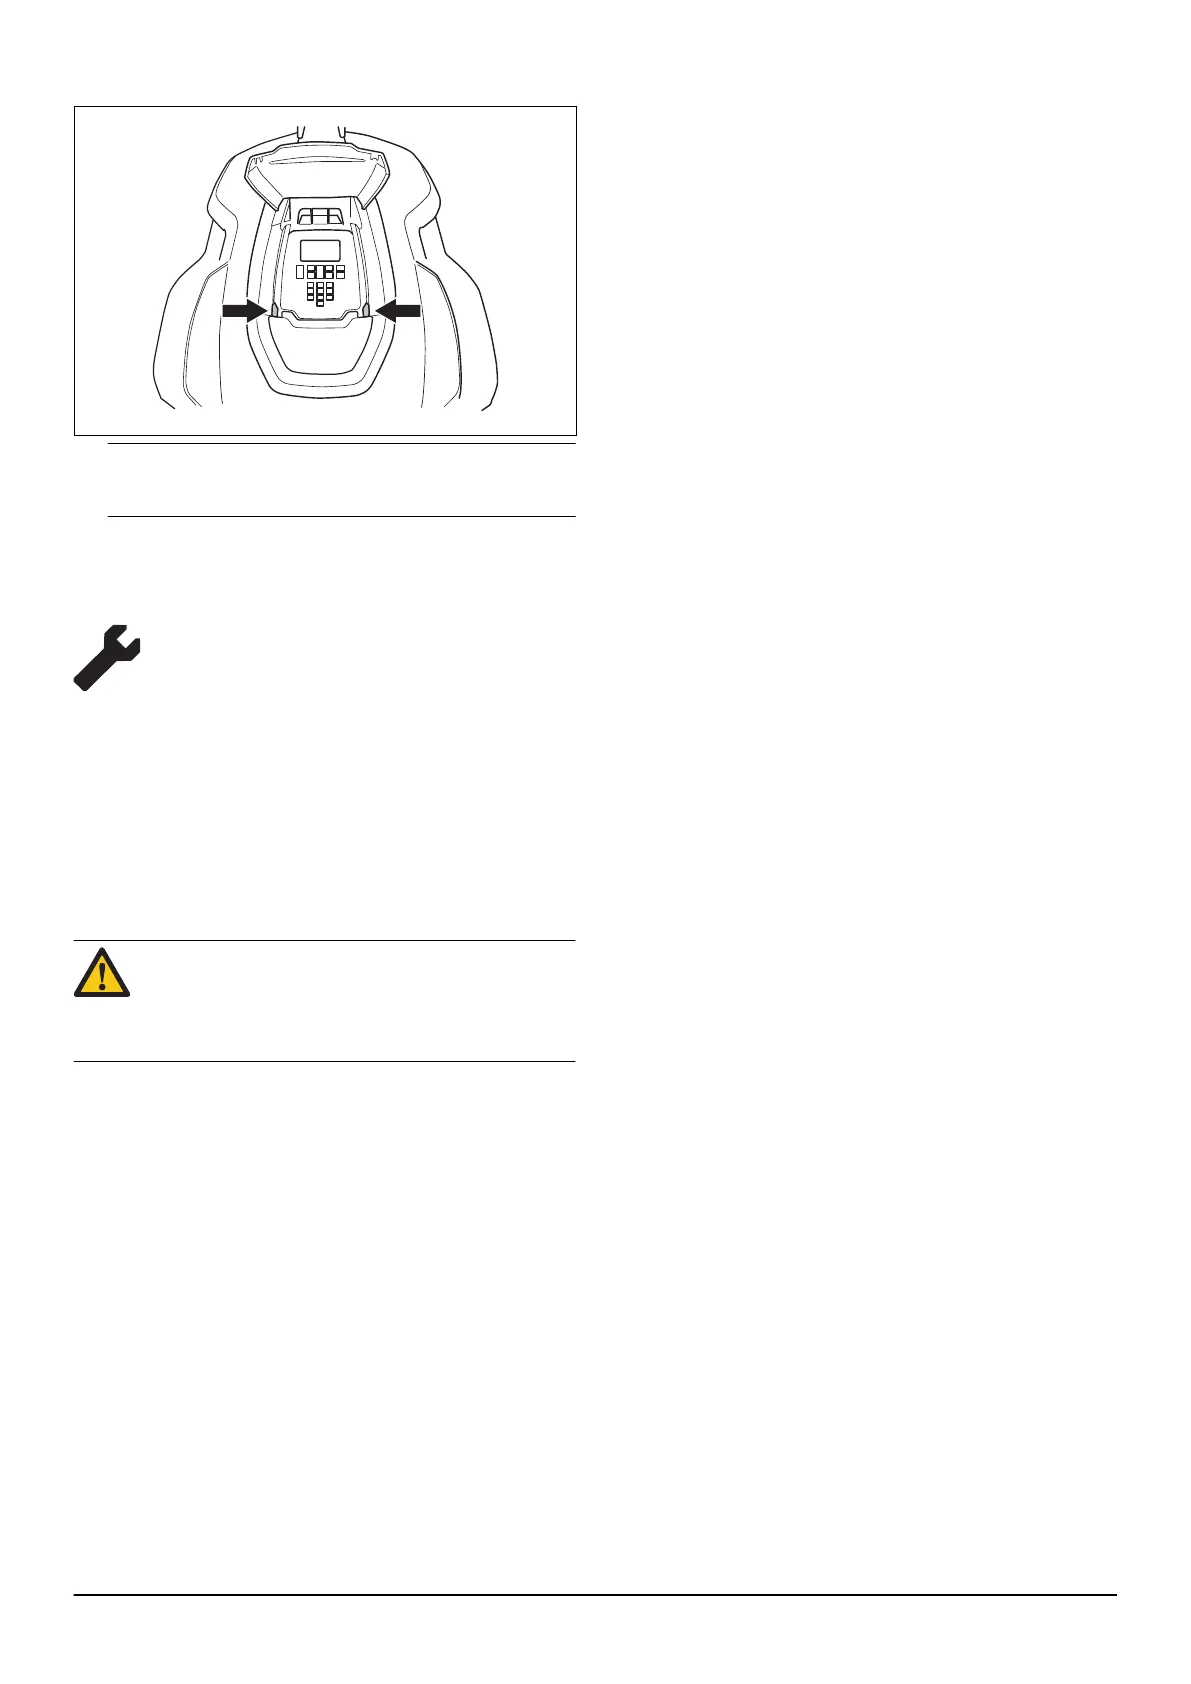
3. Keep the hatch opened and push the hatch locking
devices.
Note: The product will operate as usual with the
hatch opened.
4. Push the STOP button to stop the product.
4.4 Tools menu (Expert mode)
The
Tools
menu is an expert view, where additional
information and special settings are available.
When the main menu is displayed:
1. Push and hold down the 7 key and 9 key for 2
seconds to access the
Tools menu
.
For more information about the product's display menus,
refer to the chapter about the Menu structure in the
Operator's manual.
WARNING: Do not return the product to the
customer with an activated
Tools menu
. Always
switch off the product so that the main menu is
reset to normal mode.
4.4.1 Tools - Info
The
Info
menu shows the status of the product's
subsystems.
4.4.1.1 Tools - Info - General
The Tools - Info - General
menu has 2 sections:
SW
and
Prod
.
The
Info - General - SW
menu shows:
•
Article number
for software/firmware package.
•
Main
: The version of the MSW (Main Software)
program (also called the main program).
•
HMI
: The version of the HMI (Human Machine
Interface) program.
•
SUB
: The version of the SSW (Subdevice Software)
program.
•
COM
: The version of the communication board
program (Automower
®
Connect).
•
U.SONIC
: The version of the program for the
ultrasonic sensors.
The
Info - General - Prod
menu shows:
•
Total running
: The total hours the product has used
the wheel motors (cutting and searching).
•
Mower s/n
: The product's serial number. This
number must correspond with the serial number on
the inside of the hatch.
•
Prod. date
: The product's date of manufacture.
•
MCB s/n
: The main circuit board’s serial number.
This is not linked to the product's serial number.
•
MCB prod
: The main circuit board’s date of
manufacture.
•
COM s/n
: The communication board's serial
number. This is not linked to the product's serial
number.
4.4.1.2 Tools - Info - Battery
The
Tools - Info - Battery
menu has the sections:
Overview
,
Bat 1
and
Bat 2
(
Bat 2
is for models with 2
batteries). The
Overview
shows a summary of the
information.
The
Bat1/Bat2
menus show:
•
Voltage
: The voltage level of the battery. About 20.5
V indicates a fully charged battery and about 17 V
indicates a flat battery.
•
Charges
: The accumulated number of charge
cycles since date of manufacture, or since the
counter was reset.
•
Charge level
: The state of charge of the battery.
When the battery is fully charged, the charge is
approximately 1 700 mAh. When the charge has
dropped to approximately 1 000 mAh the product
returns to the charging station.
•
Current
: The nominal regulated charge current to
and from the battery. A positive value indicates that
the battery is charging and a negative value
indicates that the product is using current from the
battery.
•
Temp
: The temperature in the battery.
•
Capacity
: The maximum capacity of the battery.
4.4.1.3 Tools - Info - Loop
The
Tools - Info - Loop
menu has 3 sections:
•
A-loop
shows the loop signal from the boundary loop
measured by the loop sensors in the product. The
value should lie between approximately 40 and 320
to ensure good functionality. The closer to the loop
the product is, the higher the value. When the
product is directly over the loop, the value is 0 and
when the product is outside of the loop, the value is
negative.
•
G/F/N
shows the loop signals from the Guide and
the field for F/N. To ensure good functionality, the
value for the Guide signal should be (-) 70-120
beside each guide wire.
•
Quality
shows the loop system’s signal quality. The
loop signals can only be correct interpreted if the
10 - Special menus 420/430X/430XH/
440/450X/450XH
1191 - 001 -

 Loading...