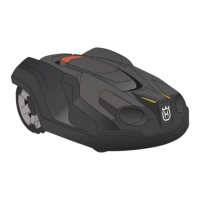
b. Close the hatch and remove the 3 screws that
hold the bracket.
c. Lift up and remove the bracket.
For 520/550/550H:
a. Remove the display cover. Refer to
To remove
and install the center console on page 22
.
3. If the filter is not damaged, clean the filter carefully
with a clean and soft brush and move to step 7.
4. Remove the damaged filter.
5. Clean fully around the mounting surfaces.
6. Attach the new filter. Make sure that the adhesive
surfaces attach correctly to the chassis.
7. Install in opposite sequence.
6.14 To replace the front joysticks
1. Remove the body. Refer to
To remove and install
the body on page 20
.
2. Remove the upper chassis. Refer to
To remove and
install the upper chassis on page 20
.
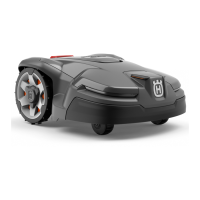
3. Remove the 3 screws that holds the front collision
brackets to the chassis.
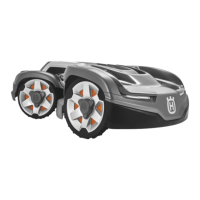
4. Remove the 3 screws that holds the bracket to the
joystick.
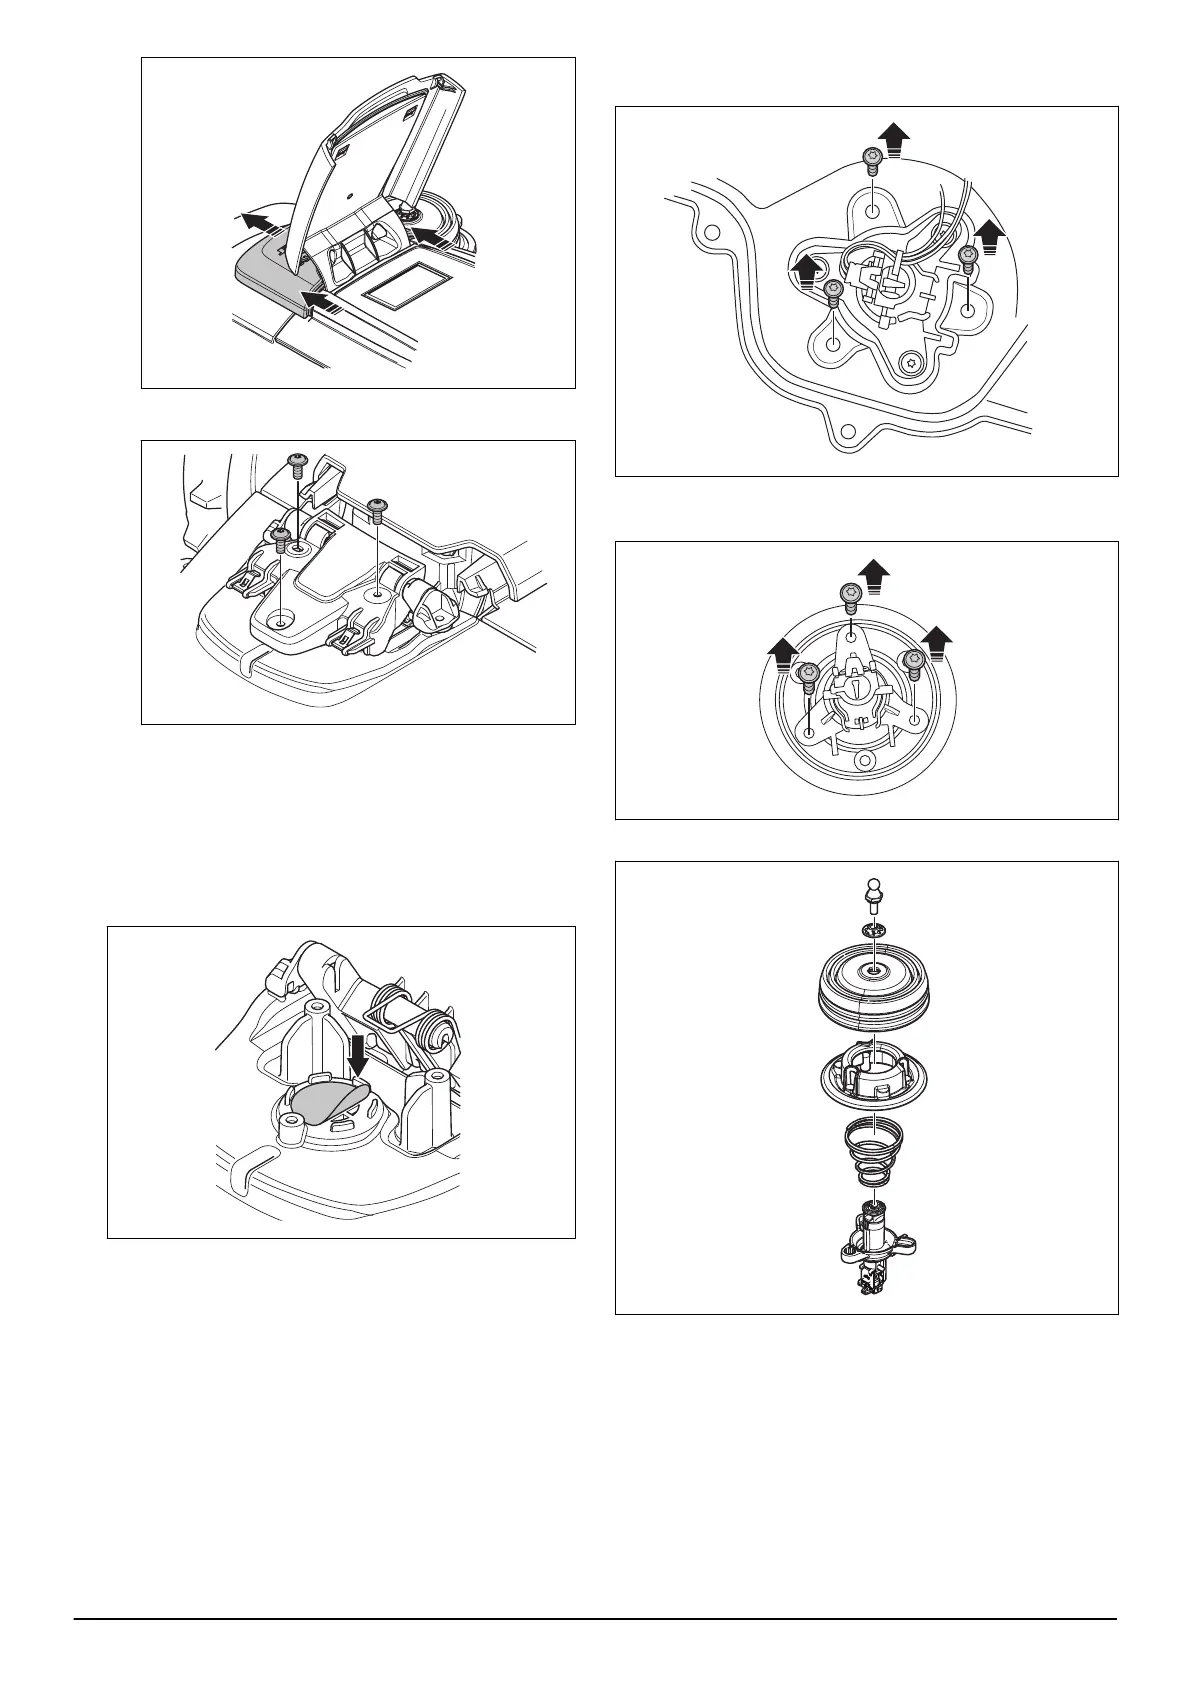
5. Remove the stud (13 socket wrench).
6. Remove the washer and the bellows.
7. Replace the joystick or bellows.
1191 - 001 - Repair instructions - 25

 Loading...