3-11
SETUP
Operator Manual
GAS SUPPLY CONNECTION
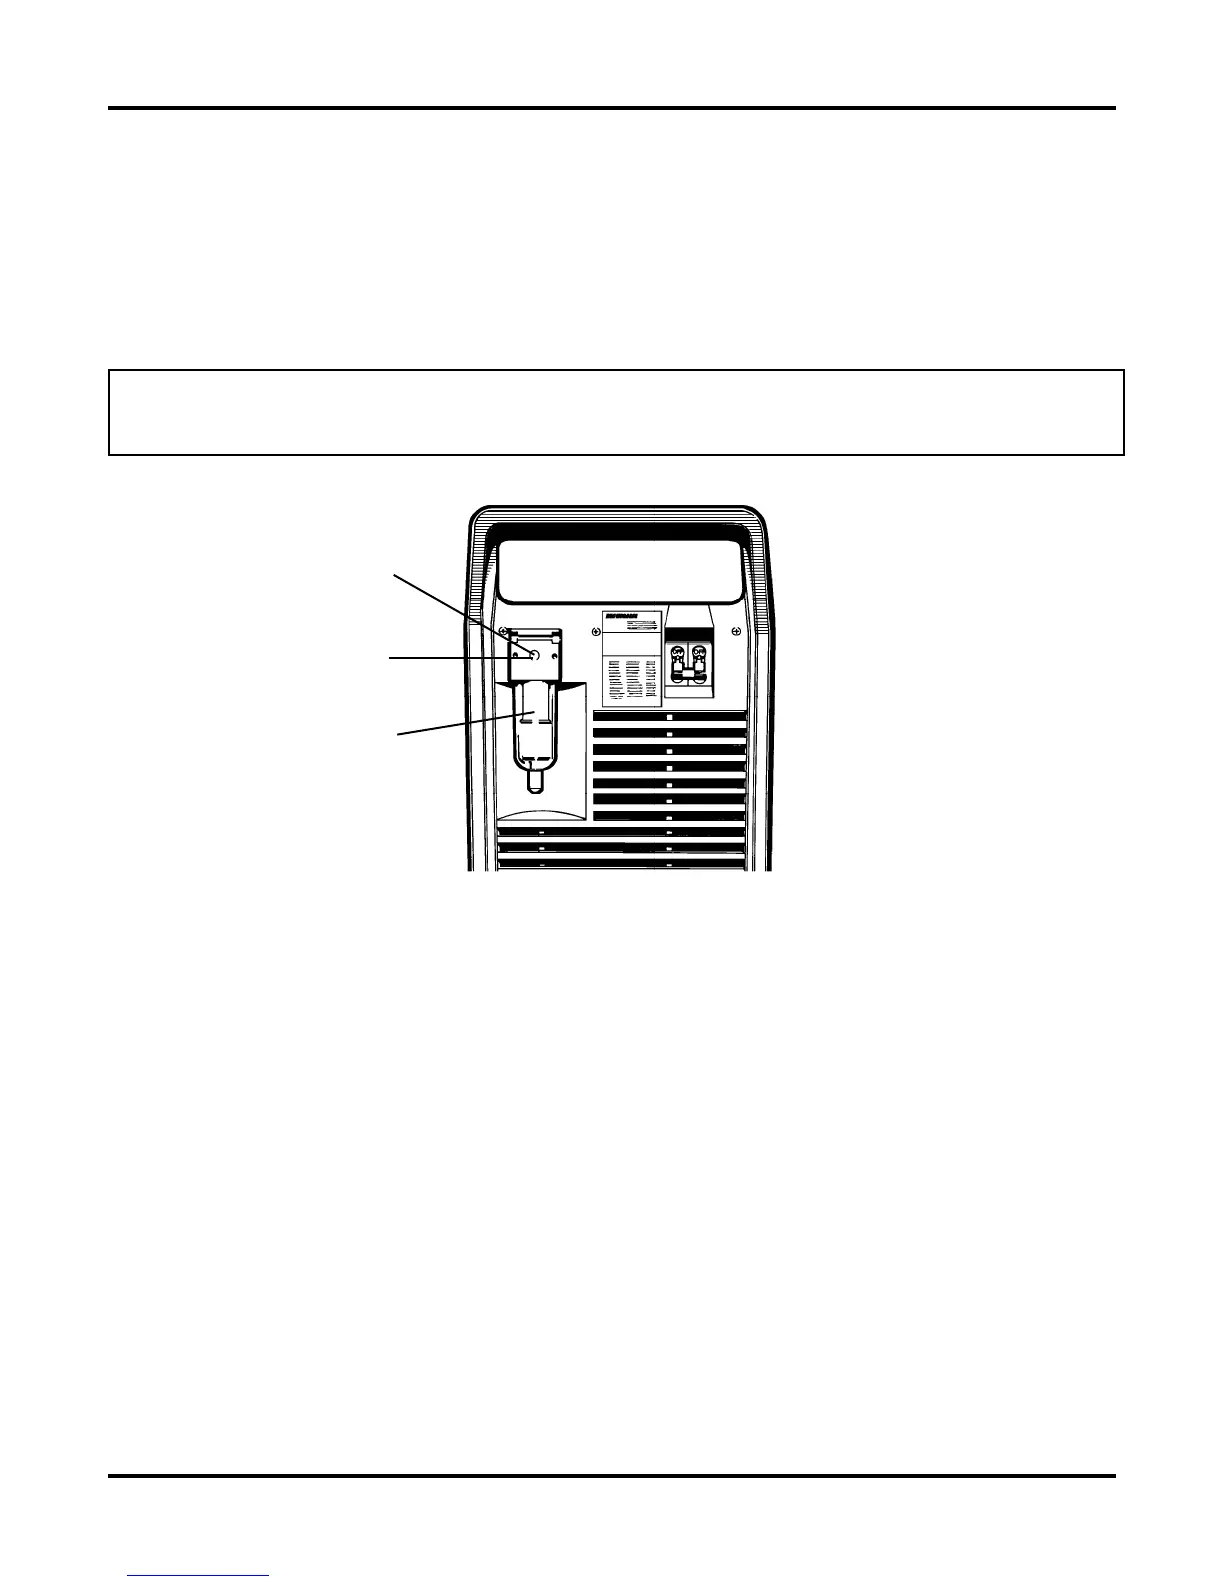
Use a 3/8 inch ID inert gas hose to connect the gas supply (air or nitrogen) to the filter at the rear of
the power supply. To connect the hose to the power supply, install a 1/8 NPT nipple or adapter to the
filter block as shown in Fig. 3-12. Apply liquid pipe sealant to the threads to ensure a leak-free instal-
lation. A nipple and adapters are included with the consumable parts kit.
CAUTION: Never use PTFE tape when installing the nipple or adapters. Bits of tape can break
off and enter the air line and harm the pressure regulator, pressure switch and valve.
Figure 3-12 Rear Panel, Gas Supply Connection to Filter
Filter
1/8 NPT Nipple
or adapter
Gas Supply
Hose Connection
TORCH LEAD CONNECTION
To connect the PAC125T or PAC125M torch lead to the power supply:
1. Align the connector key plugs (on the torch lead) with the connector receptacle key slots (on
the power supply) and push in until the pins seat.
2. Turn the connector securing ring 1/4 turn to the left to ensure that the securing ring threads and
the connector receptacle threads are aligned prior to tightening.
3. Turn the connector securing ring to the right to tighten.
Note: The PAC121 torches (used with the Powermax800 and other Hypertherm products), cannot
be connected to the Powermax900 power supply.
powermax900

 Loading...