49
CLEANING THE HEAT EXCHANGER
48
CLEANING THE CONDENSATE ‘S’ TRAP & CONDENSATE PUMP (IF FITTED)
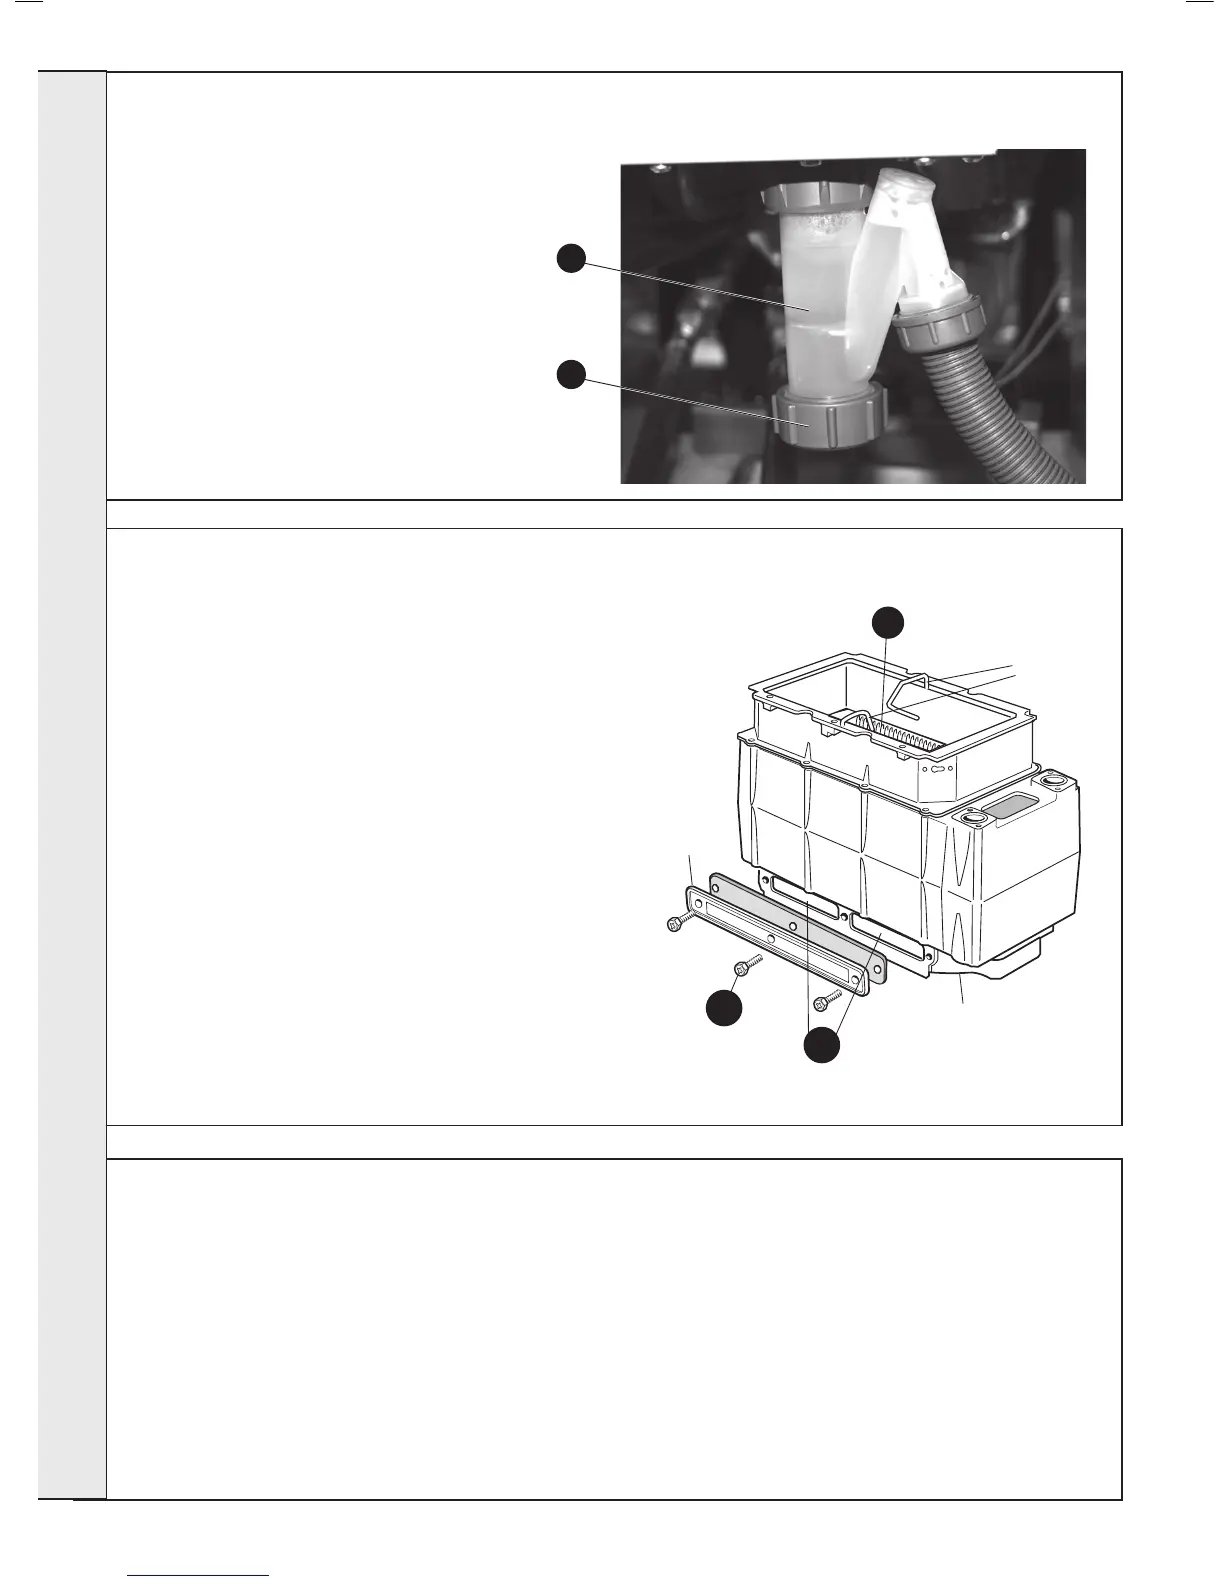
1.
pulled forward to gain access to the condensate ‘S’
trap. Refer to Frame 69.
Note. Care must be taken with residual water when
removing the outlet pipe.
2. Remove the plastic union sealing nut on the bottom of
the condensate ‘S’ trap.
3. Remove and clean from the cartridge and ball any
residual deposits.
4. Inspect the opaque ‘S’ trap for further signs of dirt and
clean as necessary.
5. Replace the cartridge and ball and replace the plastic
sealing nut.
6. Replace the condensate pump.
50
REASSEMBLY
Reassemble the boiler in the following order.
1
2.
55 and 56).
3.
4.
5. Reconnect the fan electrical leads.
6.
IMPORTANT.
that a good seal is made.
7.
8. Turn on the gas supply at the gas service cock.
9. Reconnect the electrical supply.
1.
Frames 55 and 56.
2. Remove the 3 screws retaining the sump cover and remove.
3.
through the sump cover. Also vacuum any debris from the top
of the heat exchanger.
4. Remove any loose deposits from the sump.
5.
are clean and in good condition - replace if necessary.
6. Check the condition of the combustion chamber insulation
must be replaced.
Note. Take care not to disturb the ionisation probes at the front
and rear of the combustion chamber.
7. Check that the ignition and detection gaps are correct. Refer
to Frames 55 and 56.
 Loading...