13
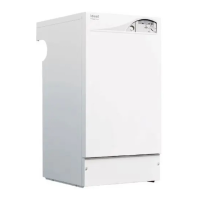
Mexico Super RS 3/100 & 3/125 - Installation
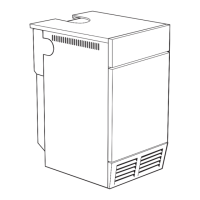
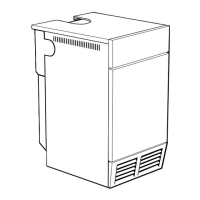
INSTALLATION
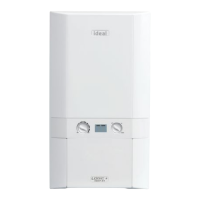
Flue terminal
shown in position
A. Air duct join
B. Flue duct join
INSTALLATION
5.Terminal grille assembly.
6.Terminal grille.
7.Securing screws - 2 off.
8.Splitter plate.
Legend
1.Boiler air duct.
2.Boiler flue duct.
3.Terminal air duct.
4.Terminal flue duct.
A. Air duct join
B. Flue duct join
C. Terminal air
duct join
D. Terminal flue
duct join
6. Extension air duct
7. Extension flue
duct
Typical minimum
overlap - 50mm (2")
9
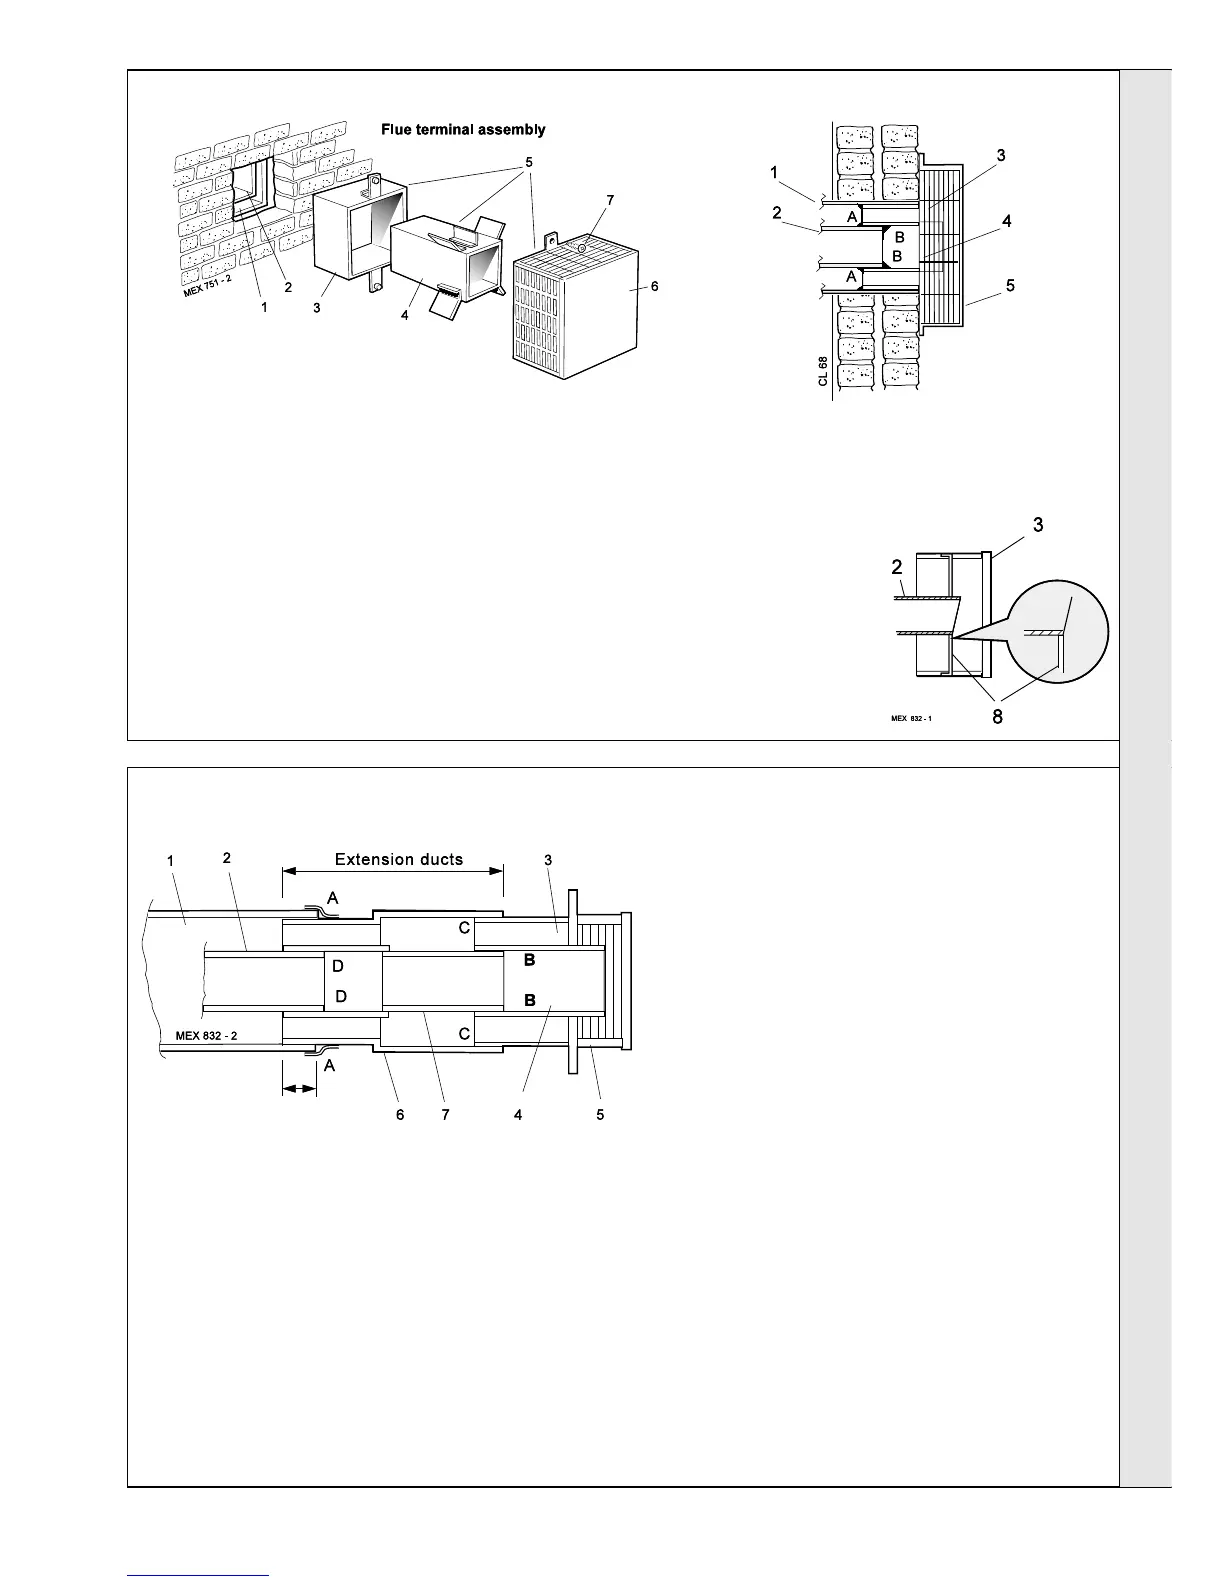
EXTENSION DUCTS - Duct lengths greater than 400 mm (16")
Extension ducts shown fitted
1. Remove the 2 screws and separate the terminal grille,
terminal air duct and terminal flue duct.
2. From OUTSIDE of the building, pass the terminal air duct
through the wall opening and slide it into the extension air
duct, locating it as shown.
3. Push the duct fully in until the fixing brackets contact the
wall face.
4. Ensure that the duct is level and make good between the
wall and the duct from OUTSIDE of the building.
5. From OUTSIDE the building, seal the duct join (A) with the
mastic provided.
Legend
1. Boiler air duct
2. Boiler flue duct
3. Terminal air duct
4. Terminal flue duct
5. Terminal grille
8
FITTING THE FLUE ASSEMBLY - Duct lengths up to 400 mm (16")
6. From OUTSIDE the building, pass the terminal flue duct
through the wall opening and
slide it into the boiler flue duct
pushing the flue duct fully in,
up to the locating stops.
Locate it as shown .
7. From OUTSIDE of the
building, seal the duct join (B)
with the mastic provided.
8. Fasten the terminal grille to
the duct assembly.
is made, particularly at the 2 bottom corners
where the boiler duct is flanged .
3. Remove the terminal assembly.
4. Place the boiler in position, entering the extension
duct into the wall opening.
5. Make good the brickwork around the air duct
inside.
6. Separate the terminal grille, terminal air duct and
terminal flue duct. Refer to Frame 8.
7. From OUTSIDE of the building, pass the terminal
air duct through the wall opening and slide it into
the extension air duct, locating it as shown.
8. Push the duct fully in until the fixing brackets
contact the wall face.
9. Ensure that the duct is level and make good
between the wall and the duct from OUTSIDE of
the building.
10. From OUTSIDE of the building, seal the duct join
(C) with the mastic provided
11. From OUTSIDE of the building, slide the
extension flue duct into the boiler flue duct to the
same distance as the extension air duct. Seal the
duct join (D) with the mastic provided
12. Go to Frame 8 note 6.
1. BEFORE PLACING THE BOILER IN POSITION, loosely fit
the extension air duct and terminal assembly to the boiler
air duct and adjust to the required overall duct length.
Note.
Ensure that any of the duct overlaps are not less than
50 mm (2").
2. Secure the extension air duct in position, using the
adhesive tape provided, at join (A). Ensure that a good seal
 Loading...