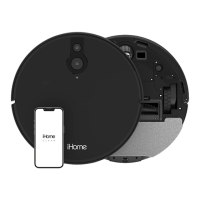
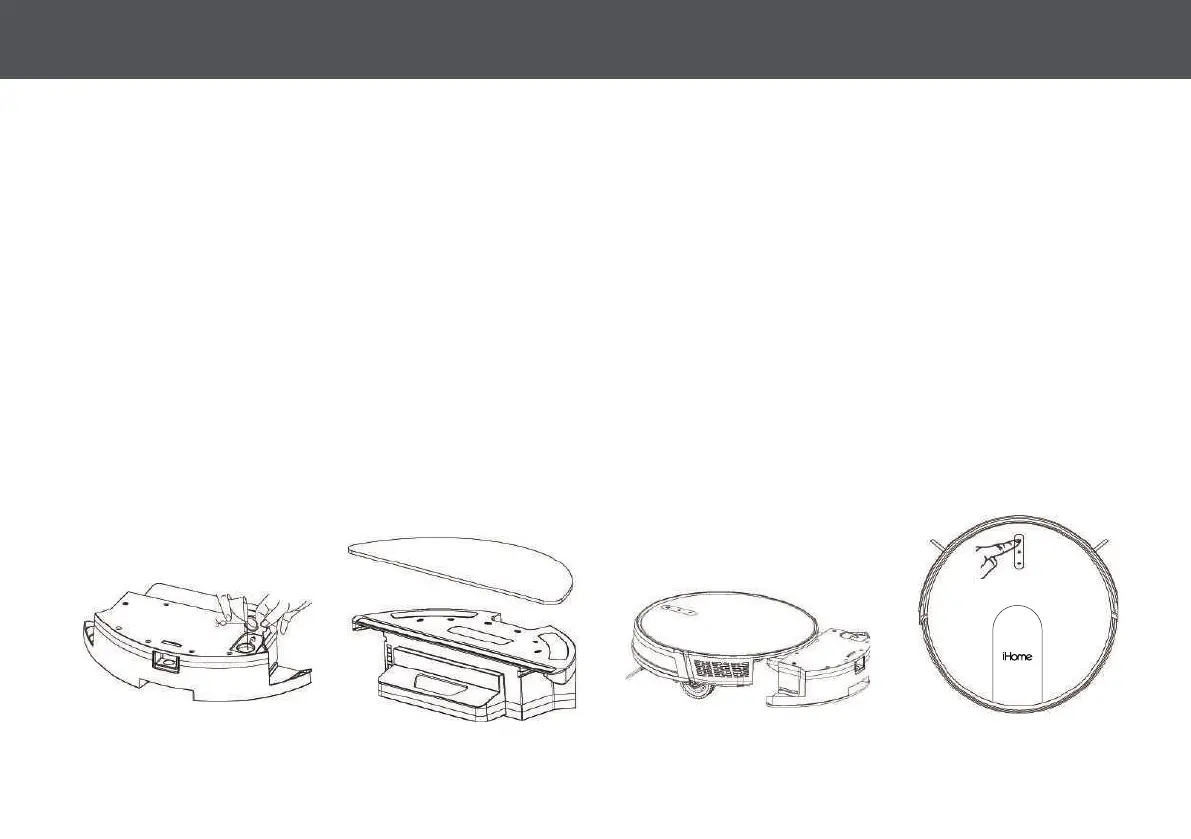
USING THE WET MOP ATTACHMENT 10
Add Water Install Mopping Pad Install Water Tank Start Mopping
The Powermop function is recommended for an extra layer of cleaning after dry dust/debris is vacuumed manually or by your Autovac
Eclipse. Follow the steps below and refer to the diagrams below.
1. Add water to the Water Tank via the fill port on the top of the tank to the desired level marker. NOTE: Some droplets may seep through
the six blue water dispensers. This is normal. We do not recommend using liquid cleaning solutions as they may clog the water dispensers.
2. Install a Mop Pad on the bottom of the Water Tank.
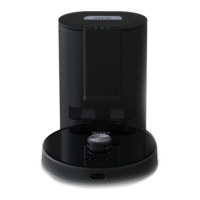
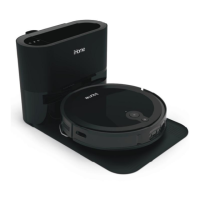
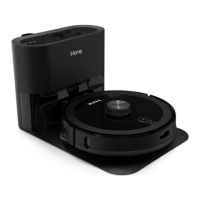
3. Remove the Dustbin from the Autovac Eclipse & set aside for later use.
4. Slide the Water Tank into the Autovac Eclipse.
5. Select Powermop in the iHome Clean App or using the remote control and the Eclipse will automatically mop the surface and return to
the charging base once complete.
NOTE: You can adjust the water flow (low/medium/high) using the iHome Clean App. Do not mop on carpets. Avoid area rugs before
using this function (make use of boundary strips). The water tank will dispense water DIRECTLY into the mop pad.
After mopping is complete, remove the water tank & empty any excess water from the reservoir. Set tank aside to dry. Wash mop pad
and allow to air dry.
 Loading...