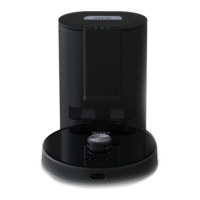
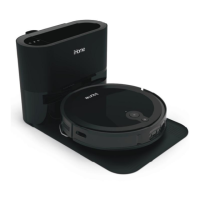
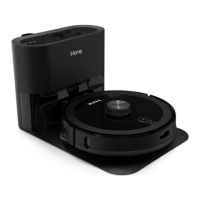
SETTING UP THE CHARGING BASE
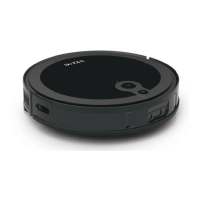
SETTING UP THE AUTOVAC ECLIPSE
4
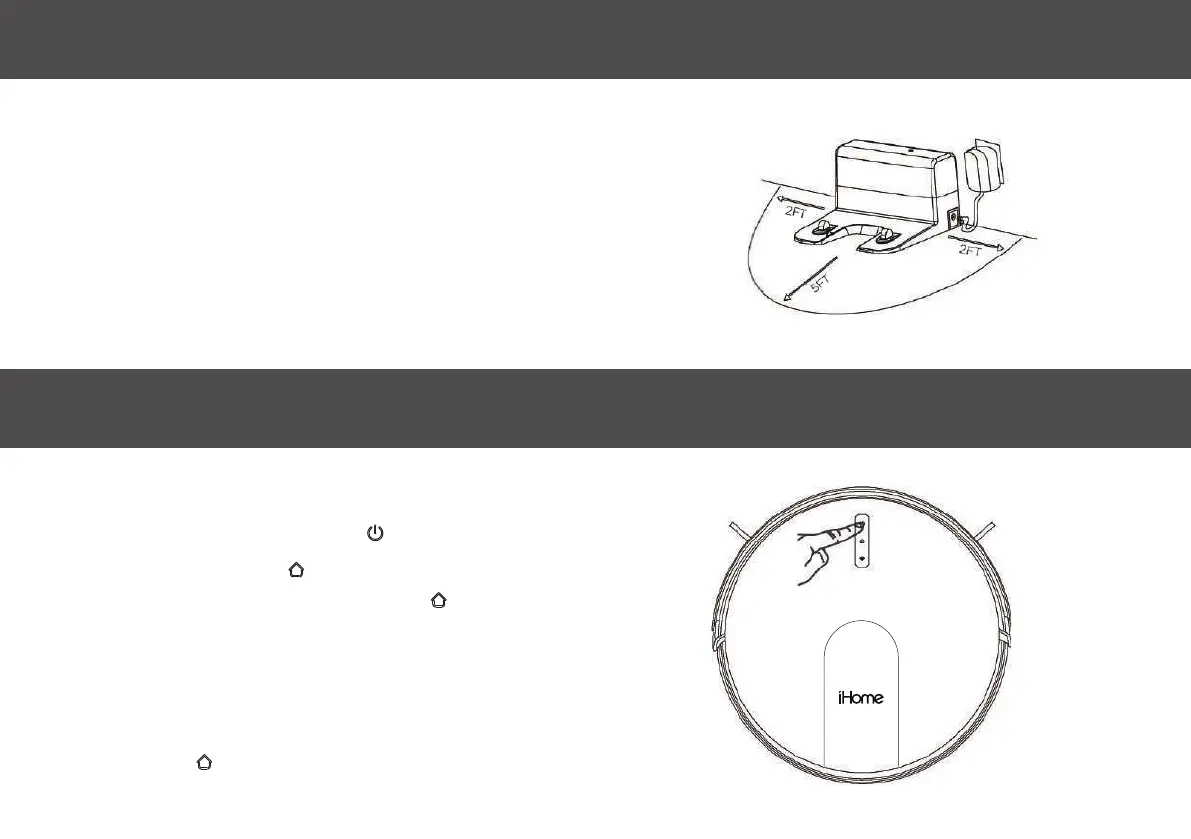
1: Choose a placement near a power outlet and with enough free space in front and on
sides (see diagram to the right)
2: Plug the power adapter into the right side of your charging base and the other end into
a functioning wall outlet.
NOTE: Clearance around the charging base is necessary to prevent obstructions when the
Eclipse returns to charge. Avoid using a power source that may inadvertently be
switched off (e.g. power strip, outlet controlled by a light switch, GFCI)
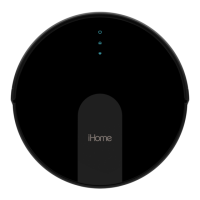
1: Position the Eclipse on the floor in front of your charging base.
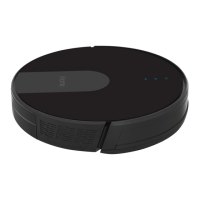
2: Press the touch-sensitive power icon until it turns blue.
3: Now press the Home icon . The Eclipse will navigate to the charging base
and beep when properly docked. The Home icon will flash blue while
charging and turn solid blue when finished.
NOTE: Allow your Eclipse to fully charge before first use . The green light at the
top of the charging base will always flash green when connected to wall power.
This is normal behavior.
The Home icon on your Autovac Eclipse will flash BLUE while charging and
will turn solid BLUE when completely charged.
 Loading...