11
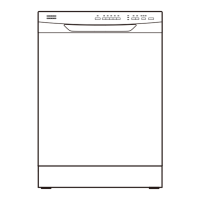
Top Control Dishwasher
www.insigniaproducts.com
Step 3: Adjust the leveling legs
1 Move the dishwasher close to the installation location and lay it on its back.
2 Measure the installation height and the dishwasher height.
3 Extend the leveling legs out from the dishwasher base 1/4 in. (6.35 mm) less than the installation height.
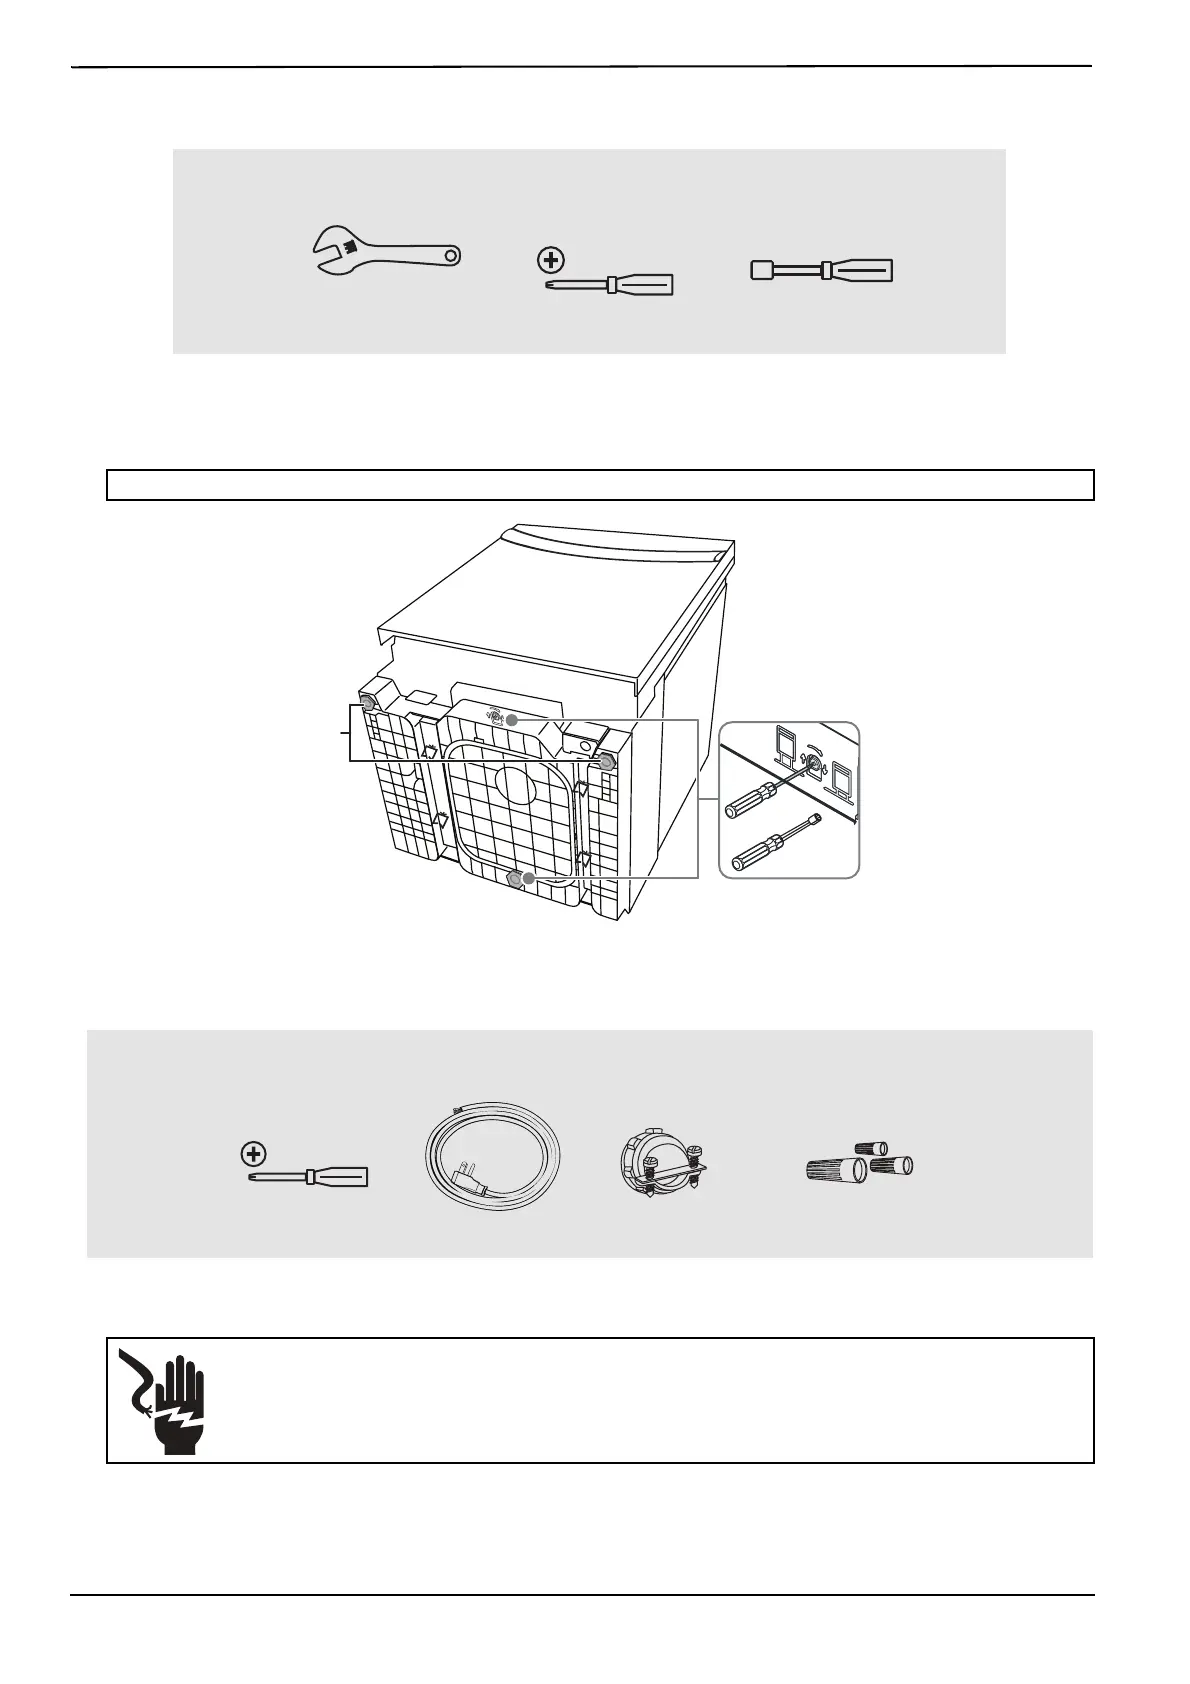
Step 4: Install the power connection
Power cord
Turn off the electricity to the dishwasher’s electrical circuit.
Make sure that the electrical power is turned off at the source.
1 Remove the junction box cover on the right front of the dishwasher.
2 Make sure that the junction box’s electrical wires are pulled inside the junction box.
3 Remove the lock nut from the strain relief, then push the strain relief into the round opening of the junction box.
You’ll need:
Note: To extend the front legs, turn them by hand. Raise or lower the back leg by turning a screw in the front.
You’ll need:
WARNING:
• If your house wiring is not 2-wire with a ground, a ground must be provided by the installer.
• If your house wiring is aluminum, be sure to use cUL/UL listed anti-oxidant compound and aluminum-to-copper
connectors.
Phillips screwdriver
Adjustable wrench
1/4 in. and 5/16 in. nut
driver
Adjust to 1/4 in. (6.35 mm)
less than the installation
height.
Adjust to 1/4 in. (6.35 mm) less
than the installation height.
or
Phillips screwdriver
Wire nuts (UL listed)
Power cord
Strain relief
 Loading...