4
MC450e
Replacing External Parts (4) Front Cover
Replacing the front cover
To remove:
1. Remove the face cover and bed cover (refer to pages
1 and 3.).
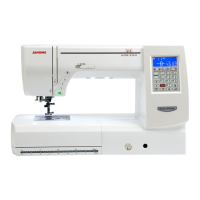
Turn the power switch on.
Press the built-in design key q and the rst page of
the design list of Petite Designs will open.
Press the embroidery pattern #1 w to move the
carriage to the starting position, then turn the power
switch off.
Setscrew (A)
q
w
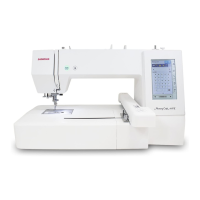
2. Loosen the setscrew (A).
Setscrews (B)
3. Remove the 2 setscrews (B) near the spool pin.
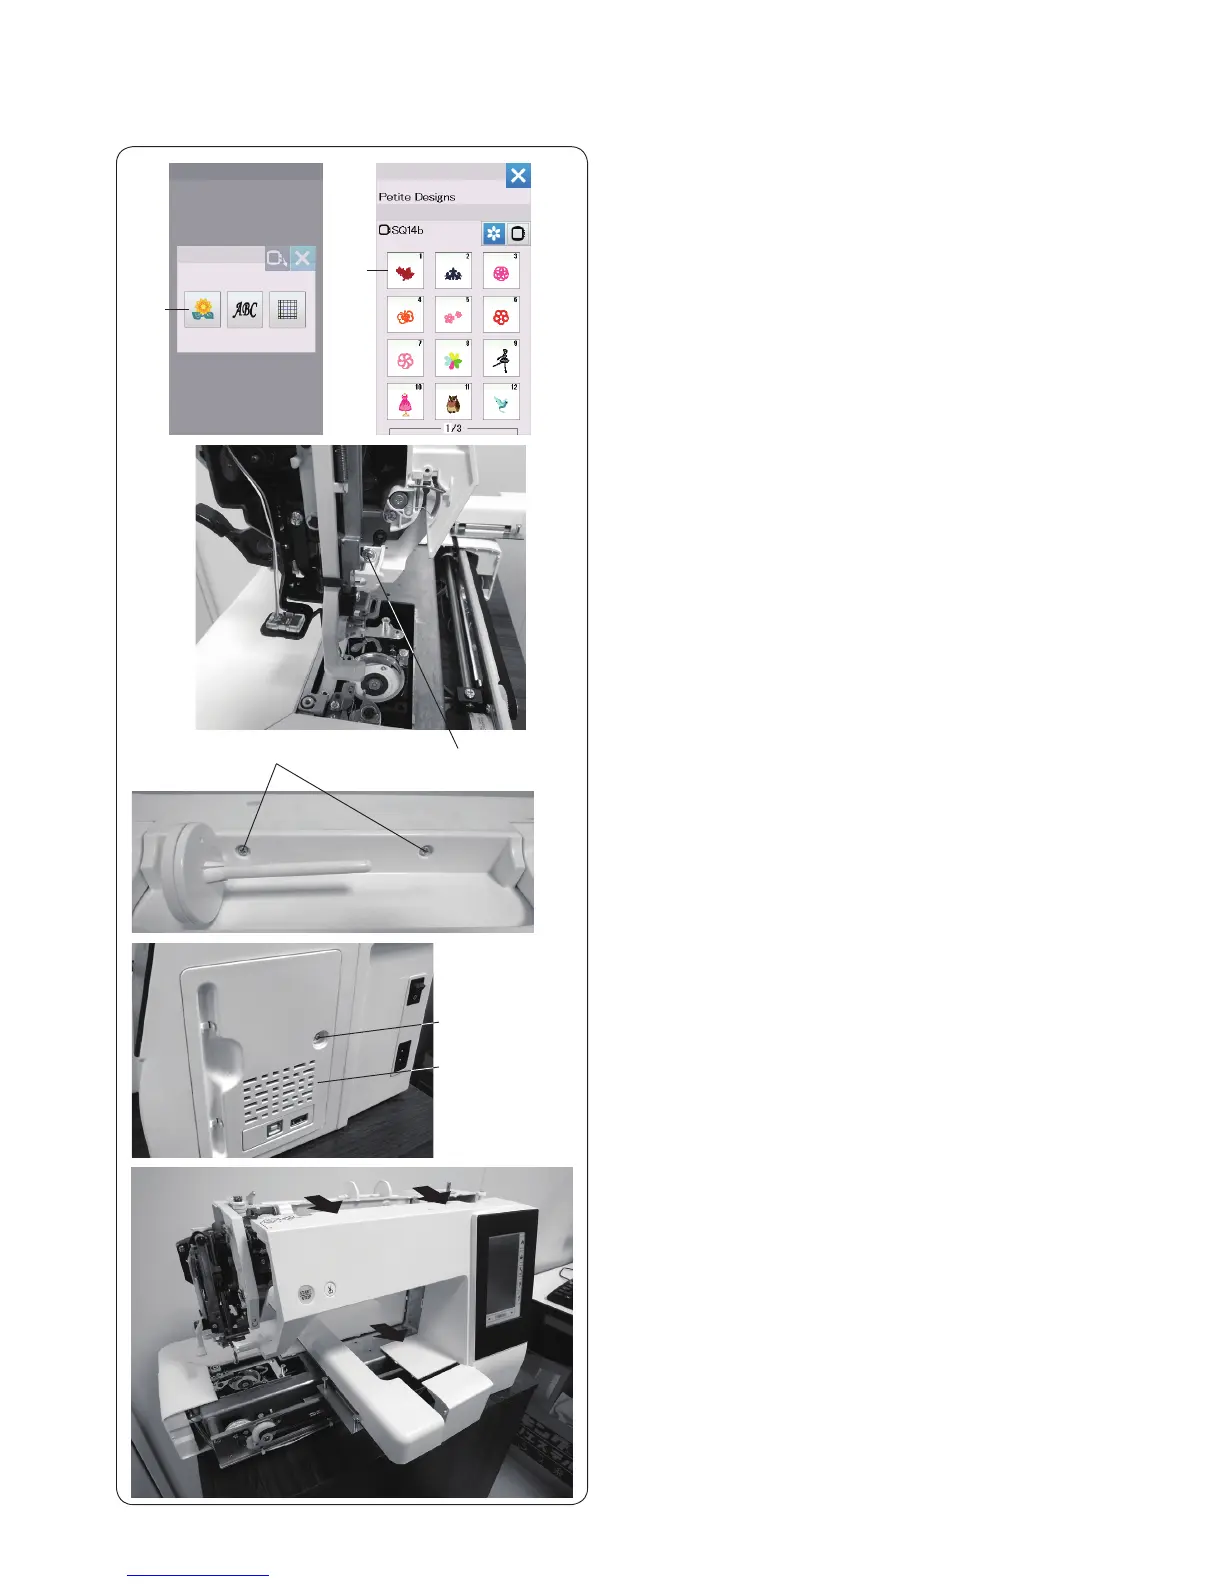
4. Remove the cap and setscrew (C).
Remove the belt cover.
Setscrews (C)
5. Remove all the connectors from the pointed circuit
board A and unlock the hooks, then remove the front
cover.
To attach:
6. Follow the above procedure in reverse.
NOTE:
Refer to page 18 to locate the connectors.
Belt cover
 Loading...